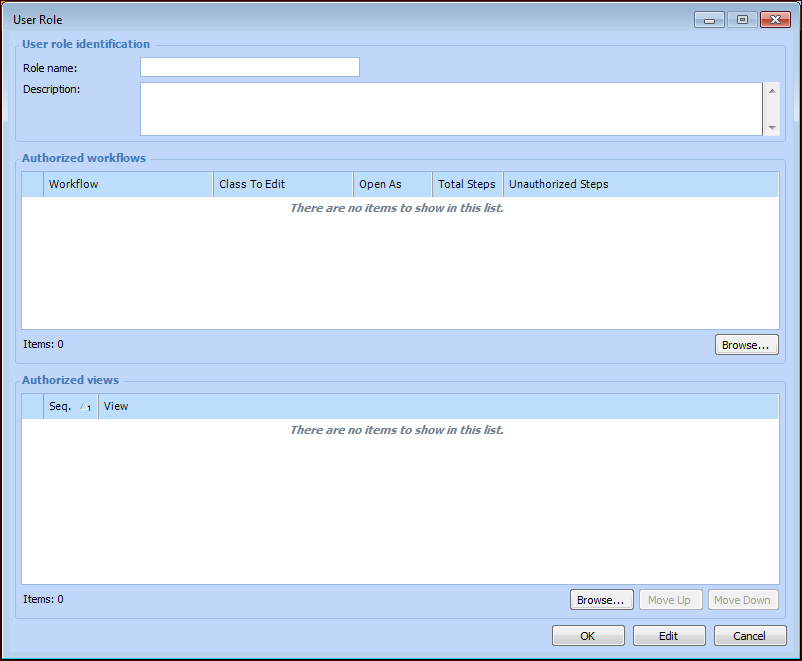
Creating User Roles

User roles are essential to APM workflows. The role’s definition determines the views and workflows available to users with that role.
APM comes with the Inspector. Contractor. and MTA2 Facilitator and Team Member roles as examples. The Inspector role allows users to perform tasks like creating RBI and CPR analyses, creating inspection plans, executing inspections, reviewing inspection results, and creating anomalies or failures. Views on the Site window reflect these tasks:
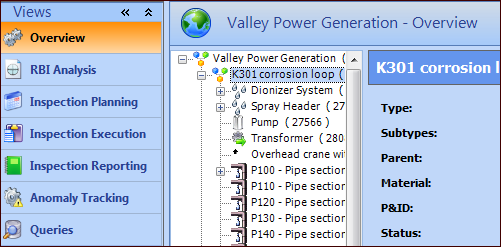
Users can take advantage of summary information in the Overview view or search of items using the Queries view, if these views are assigned to their roles.
You can modify the supplied user roles and create new ones. This topic explains how to create a user role.
Note: You must activate workflows at the enterprise level before they can be added to user roles. Activated workflows must be added to site properties to make them available in Site windows. See Activating APM Workflows.

To Create a User Role

1.
2.
Select the Security view, Users tab, and then the User Roles tab. This tab lists the user roles defined for the enterprise.
3.
Click New. The User Role dialog appears:
4.
5.
6.
Click Browse at the bottom of the Authorized workflows table. The Browse Workflows dialog lists the activated workflows.
7.
8.
Click Browse at the bottom of the Authorized views table. The Browse Views dialog lists standard site views, such as Assets, as well as views provided for workflows. Workflow views are:
9.
Select the views appropriate for the role and click OK. The views are added to the table.
10.
11.
Click OK to save the user role and close the dialog. The role is listed on the User Roles tab.
Tip: To test the user role, assign it to your user ID. If a Site window is open, close it. When you open the Site window, it displays the views that you added to the role.