|
|
What’s New in APM 7.12.5
Contents
AWEIS – Failure Codes
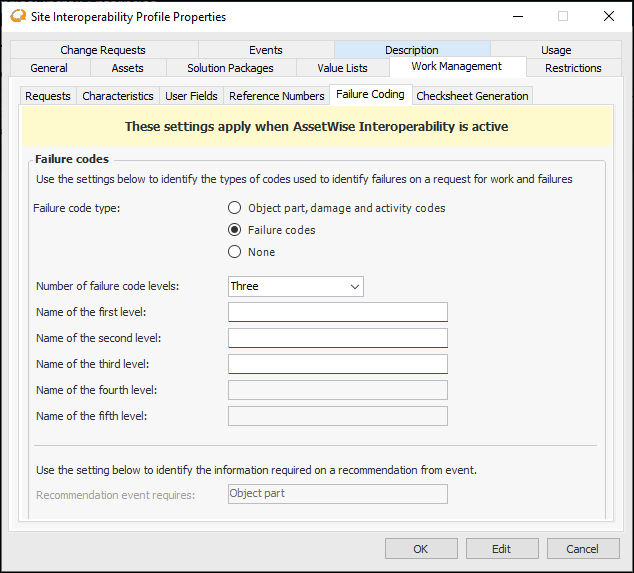
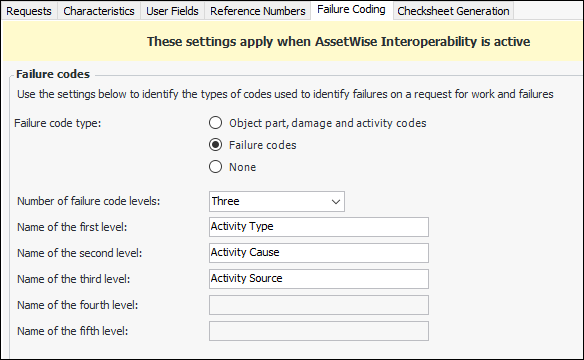
Failure codes provide a more flexible alternative to the object parts, damage codes, and activity codes referenced on recommendations from events. Failure codes and levels are independent of each other, unlike object parts, damage codes, activity codes, which form logical hierarchies of ownership. The Failure code type setting in the site interoperability profile determines if failure codes, object parts (and so on), or neither are available on a site.Note: To use this functionality in APM, you must first enable feature 46. In the Enterprise window, select the Features view and the Enabled Features tab. Click Browse, select “Failure codes support with AssetWise Interoperability”, and click OK. If APM is running as a smart client, click Refresh Enabled Features on the server. Then restart the client to use the functionality.Setting up APM to use Failure Codes
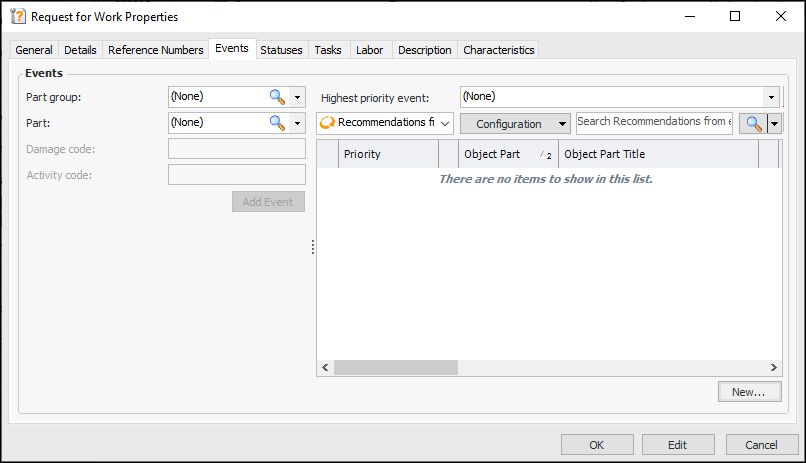
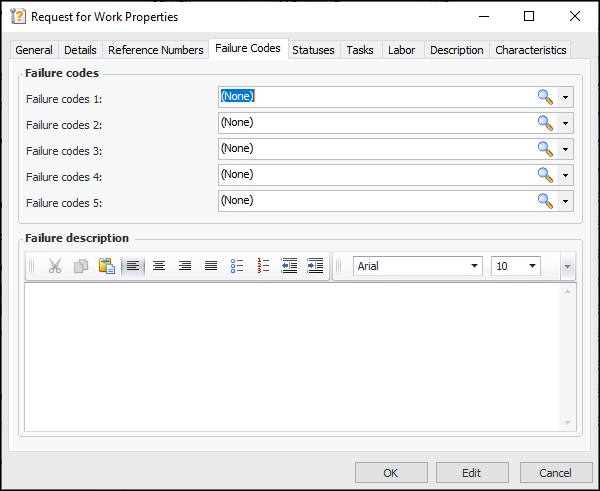
Requests for Work
Maintenance Action Plans
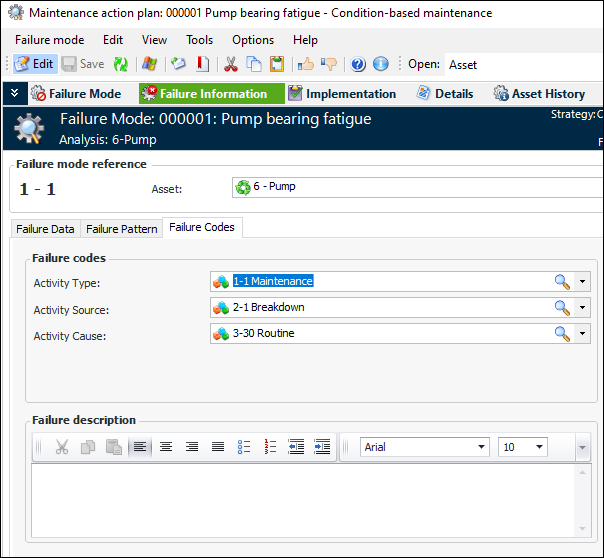
When you are developing failure modes on a strategy development analysis (MTA2, RCM2, or RBI), you can add failure data and patterns in the Maintenance Action Plan window, Failure Information view. The third tab in this view is labeled either Events or Failure Codes, depending on the Failure code type setting in the site’s interoperability profile.On the Failure Codes tab, you can select codes and add a failure description. For example:Failure Records
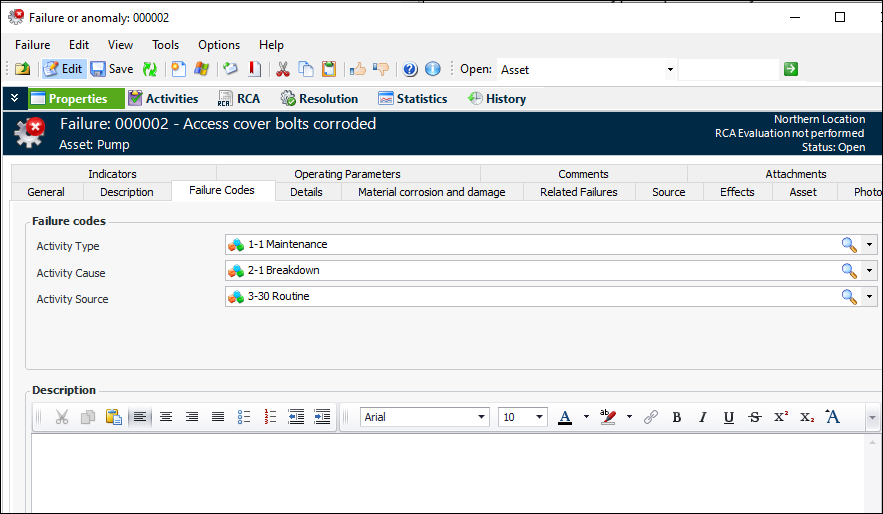
In the Failure or Anomaly window, the Properties view contains a tab labeled either Events or Failure Codes, depending on the Failure code type setting in the site’s interoperability profile.When you reference a failure mode on the General tab, the failure mode’s failure codes and description are copied to the Failure Codes tab. You can also select codes and add a failure description. For example:Solution Packages
Solution packages support failure codes, if specified by the Failure code type setting in the site’s interoperability profile. You can select failure codes and provide a default description on solution package templates. When a solution package is referenced in a request for work or other work document, the failure codes are copied from the solution package. Note that if the work document already has one or more failure codes, those codes are not replaced by values from the solution package.AWEIS – Publish APM Events
Data Loading
MTA Templates
RBI FMEA
Features Management
Site Window
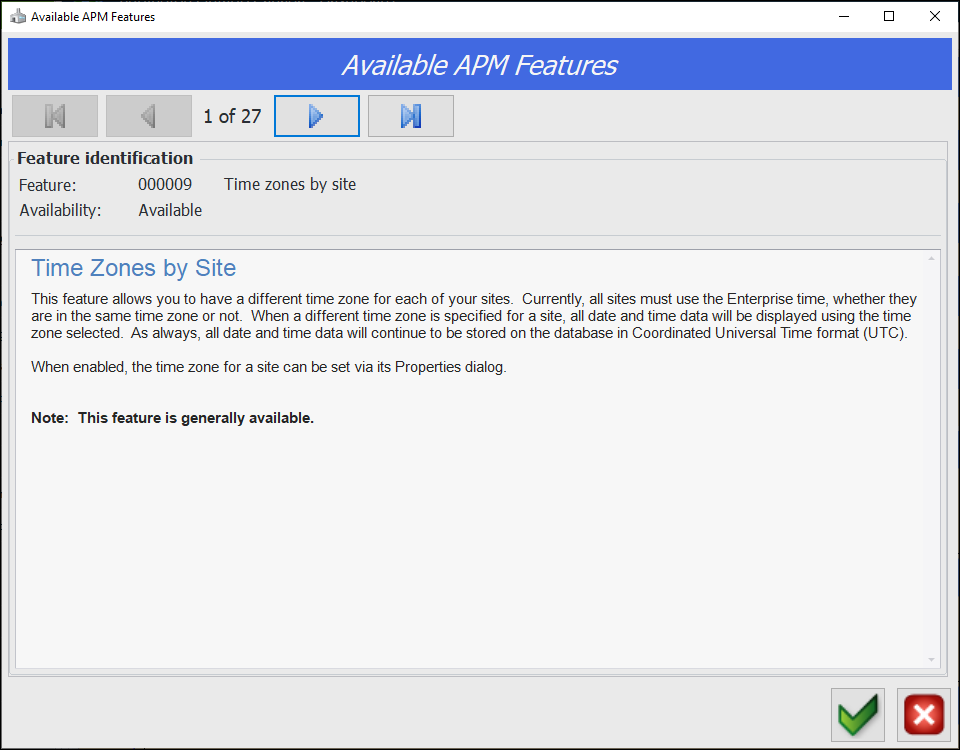
In the Site window, you can click the Administration or Help menu and then APM Features to open the Available APM Features dialog. Use the navigation buttons to browse through the features that are generally available or available for preview. For example:Enterprise Window
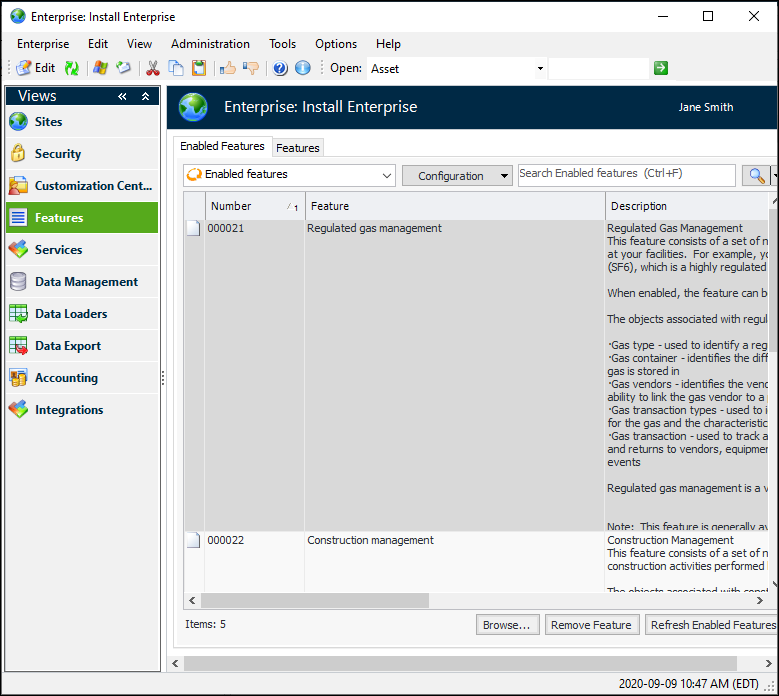
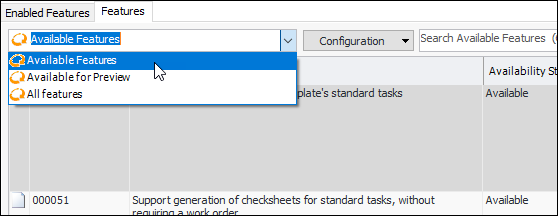
In the Enterprise window, the Enabled Features tab moved from the Customization Center to the new Features view:The new Features tab provides three ways to filter information:Inspection Management
Checksheets – Approvals
“Default to Normal” Setting
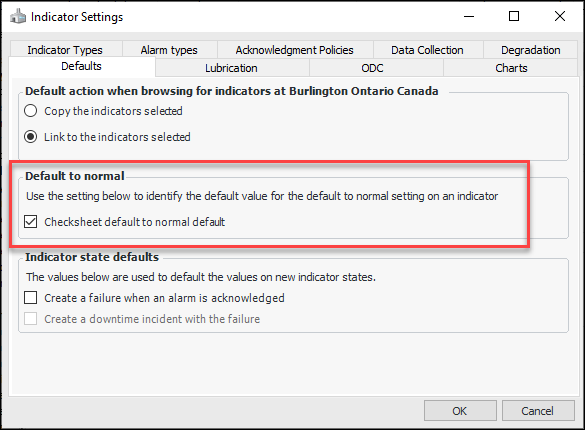
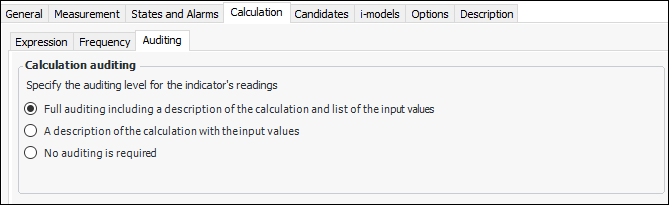
You can now turn on a setting that defines the Default to Normal is allowed for this indicator option as the default on indicator templates for the site.In the Site window, click the Administration menu, Inspection Management Settings, and then Indicator Management to open the Indicator Settings dialog. Select the Defaults tab and click Checksheet default to normal default:On new descriptive indicator templates, the States and Alarms tab shows the result:The setting is copied to indicators based on the template, and checksheet readings have the Default to Normal option available.Calculation Auditing
To set the level, open the Indicator window. Select the appropriate option on the Calculation tab, Auditing tab. For example:
Calculation Metrics
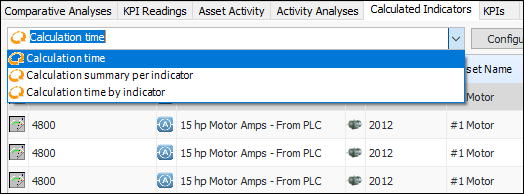
You can now monitor the performance of calculated indicators by reviewing calculation times on readings. For an individual indicator, select the Readings view and the Calculation Times tab. The “Calculation time” table displays the indicator’s readings and the time it took APM to calculate each reading value in milliseconds.In the Site window, select the Analytics view and the Calculated Indicators tab. The configuration list provides three ways to view the information:Reliability Program – Remove Overrides
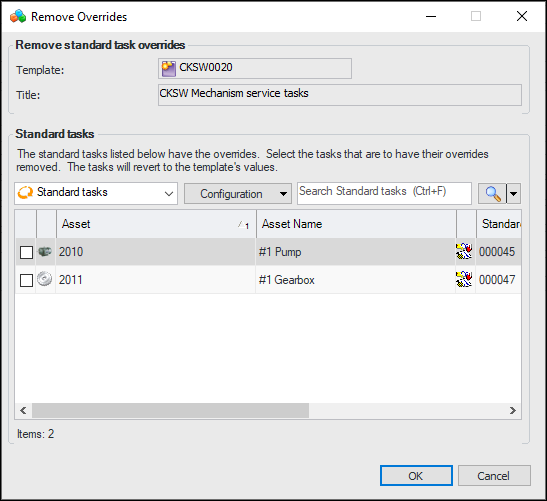
You can now open a task template and remove overrides from the standard tasks that are linked to it. In the template’s Standard Task window, click the Tools menu and then Remove Overrides. The Remove Overrides dialog appears listing only standard tasks that were created from the template and that have overrides. For example:Select the standard tasks that you wish to change and click OK. Their overridden properties will be returned to the template’s values.Note: To use this functionality in APM, you must first enable feature 52. In the Enterprise window, select the Features view and the Enabled Features tab. Click Browse, select “Remove overrides from a task template’s standard tasks”, and click OK. If APM is running as a smart client, click Refresh Enabled Features on the server. Then restart the client to use the functionality.SELECTserver Licensing Simplified
Supported Database Software
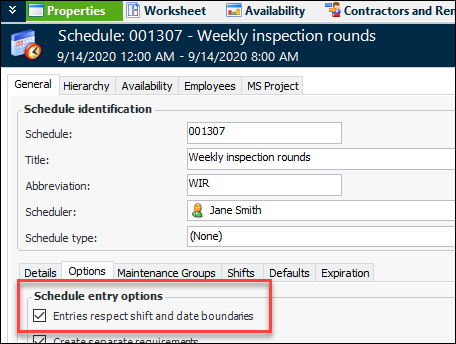
APM no longer supports version 11.2.x of the Oracle® database management system.For a complete list of supported software, see APM Installation Prerequisites.Work Schedules – Limiting Hours
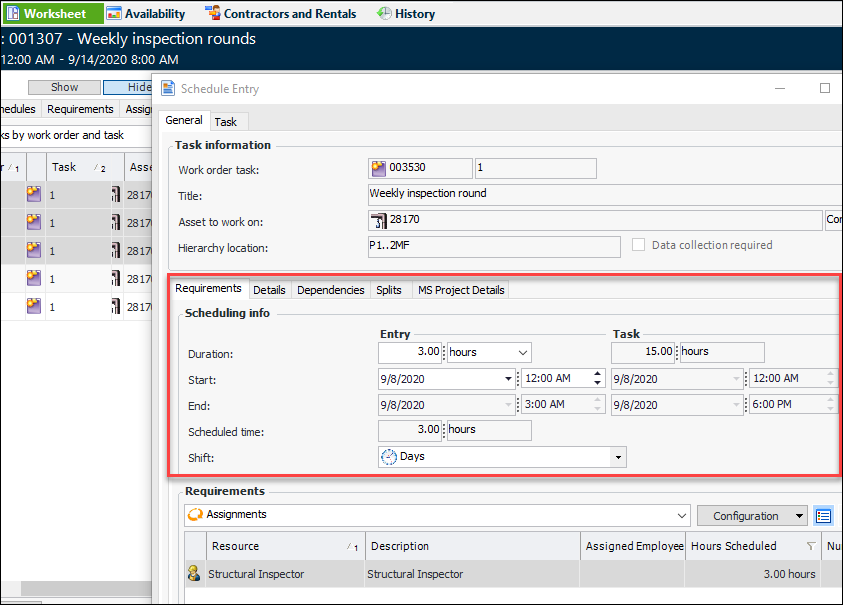
To set this up, you would set the Limit scheduled duration property on the work order task to 3 hours. For example:When you create the first schedule entry, assign the work order task, duration, shift, and start date. When you click OK, APM automatically generates entries for the remaining time requirements, that is, three hours for each of the remaining days of the week. For example:Note: To use this functionality in APM, you must first enable feature 50. In the Enterprise window, select the Features view and the Enabled Features tab. Click Browse, select “Support ability to limit the duration that is scheduled for a work order task”, and click OK. If APM is running as a smart client, click Refresh Enabled Features on the server. Then restart the client to use the functionality.