|
|
What’s New in APM 24.0.1
Contents
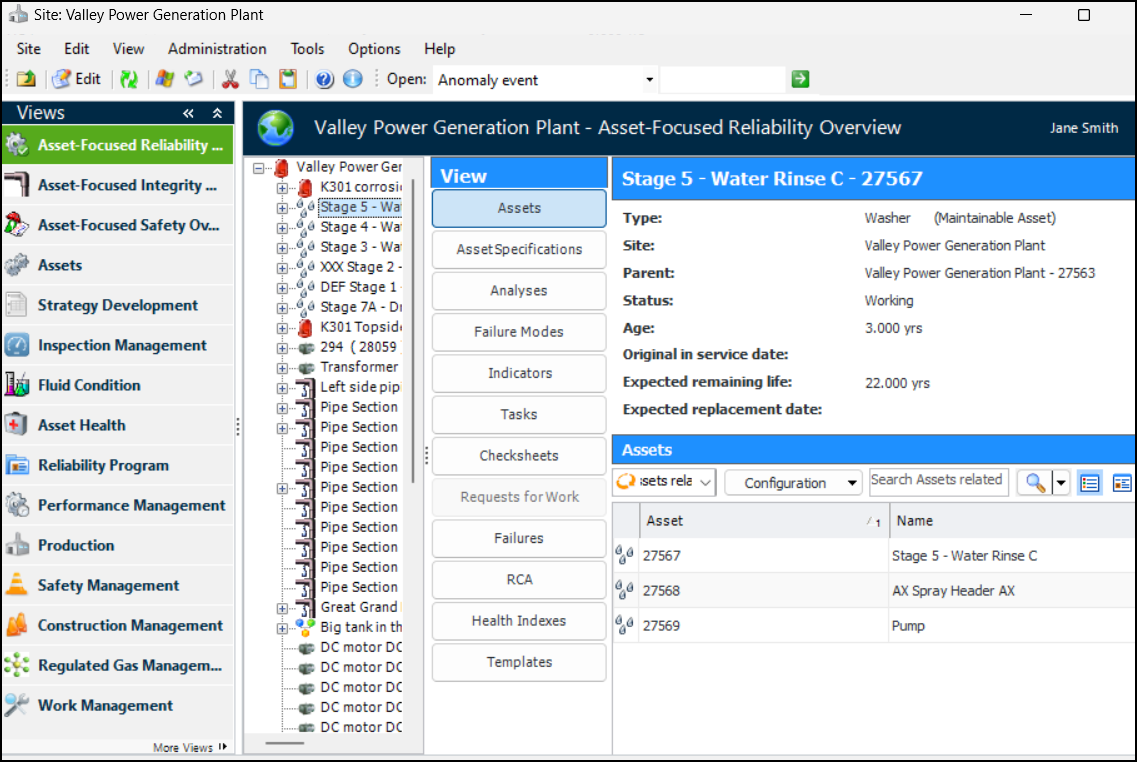
Asset-Focused Overviews
AWEIS – Anomaly Risk Assessment
Resubmitting Anomaly Events
Overriding Risk Assessment Results
AWEIS – Anomaly and Strategy Development Risk Assessment
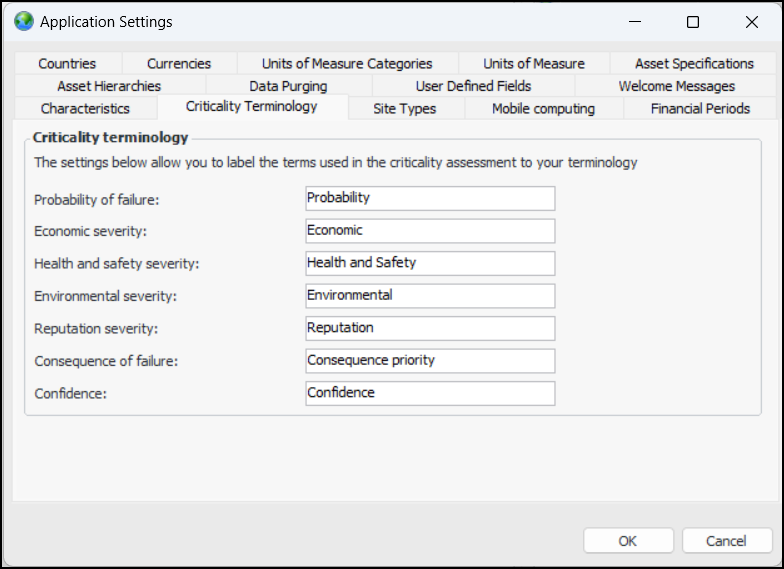
Custom Criticality Terminology
From the Enterprise window, click the Administration menu and then Application Settings. In the Application Settings dialog, select the Criticality Terminology tab:Note: After upgrading to v 24.0.1, if you run APM in two or more languages other than English, you will need to enable multi-language data and translate the labels from the default English. For more information, see Setting up Multi-Language Data.AWEIS – Checksheet Splitting
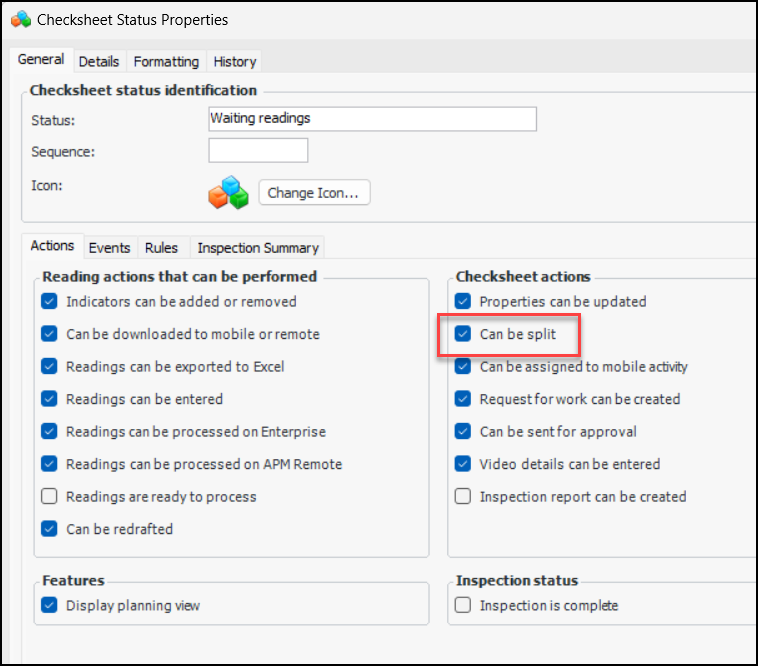
Checksheet Status
Control which checksheets support splitting using checksheet type and, now, checksheet status. Ensure that Can be split is selected on checksheet statuses:Note: Checksheet splitting is a “generally available” product feature. You must first enable feature 118 to use the functionality in APM. In the Enterprise window, select the Features view and the Enabled Features tab. Click Browse, select “Checksheet splitting” and click OK. If APM is running as a smart client, click Refresh Enabled Features on the server. Then restart the client to use the functionality.Checksheet Documents
AWEIS – Restrict Work Priorities on Work Types
As of this release, you can restrict the work priorities available for use with a work type. In the Work Type window, the new Priorities tab is available when AWEIS is active and feature 131 is enabled:Note: The restricted work priorities feature is generally available in APM. You must first enable feature 131 to use the functionality. In the Enterprise window, select the Features view and the Enabled Features tab. Click Browse, select “Provide the ability to limit the priorities that can be used by a work type” and click OK. If APM is running as a smart client, click Refresh Enabled Features on the server. Then restart the client to use the functionality.AWEIS – Synchronize Checksheets to Interop Work Orders
Data Loading – Asset Characteristics with Pivoted Values
Note: This data loader is a “generally available” product feature. You must first enable feature 120 to use the functionality in APM. In the Enterprise window, select the Customization Center view and the Enabled Features tab. Click Browse, select “Asset characteristics pivoted data loader”, and click OK. If APM is running as a smart client, click Refresh Enabled Features on the server. Then restart the client to use the functionality.For information about setting up data load sets and using the data loader, see Importing Asset Characteristics using Pivoted Values.Data Management – Audit Log of Deleted Objects
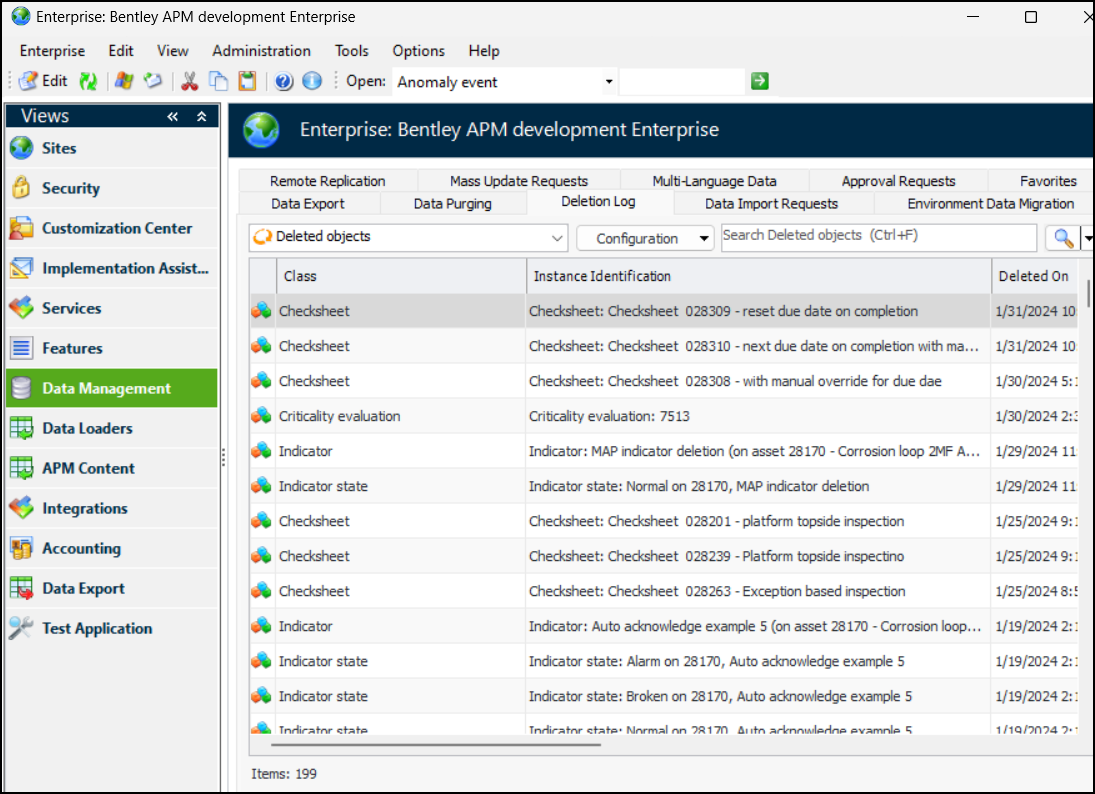
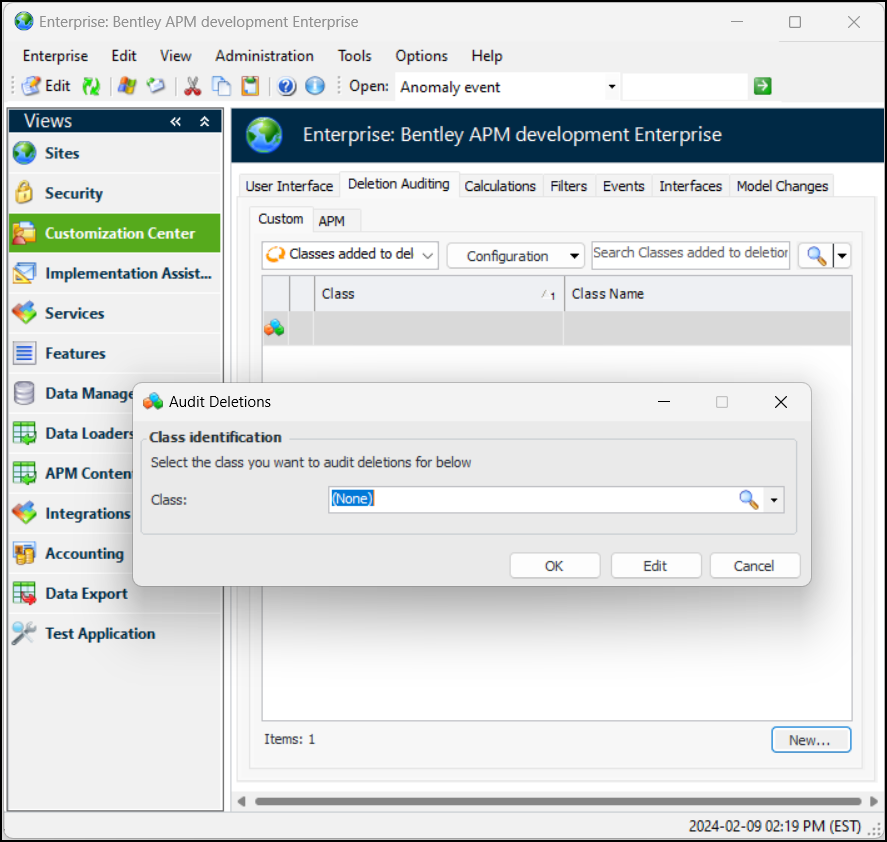
To view this log, open the Enterprise window, select the Data Management view and the Deletion Log tab. For example:
Implementation Assistants
Several new assistants are available in the Enterprise window, Implementation Assistants view. The following assistants for oil and gas asset specifications are now available:
Inspection Management
Checksheet Status History
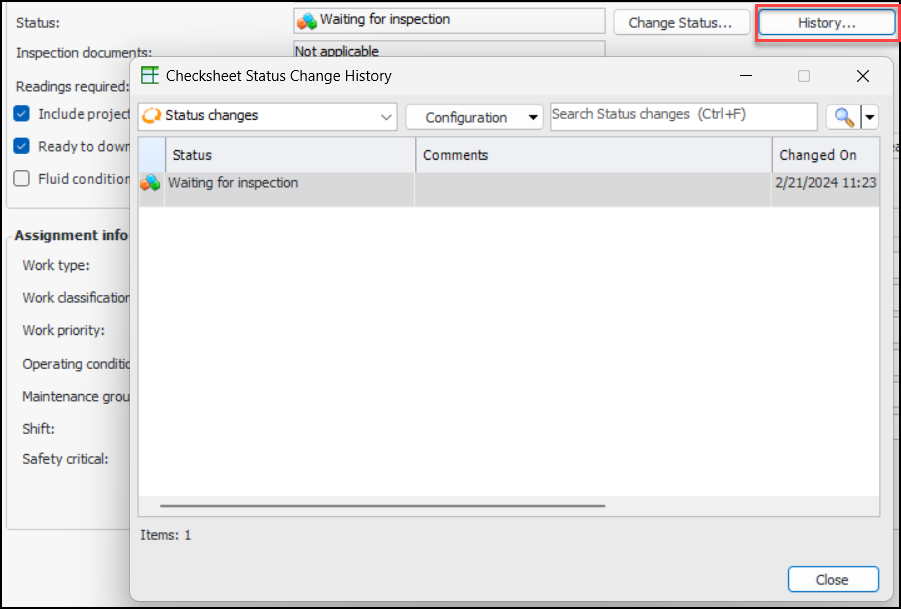
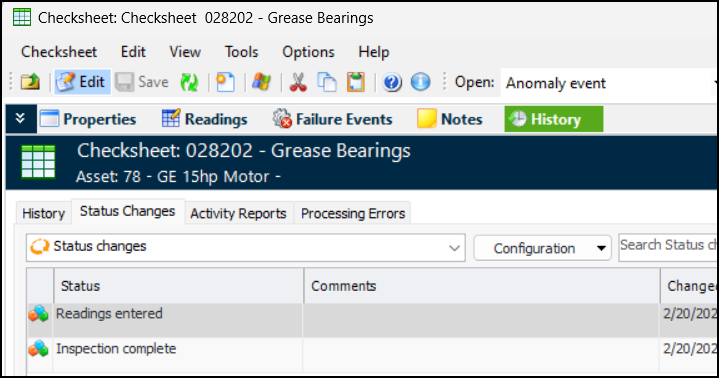
You can view a checksheet’s status change history by opening the Checksheet window, selecting the Properties view and General tab. Click History to open the Checksheet Status Change History dialog.Generate Checksheet Report Options
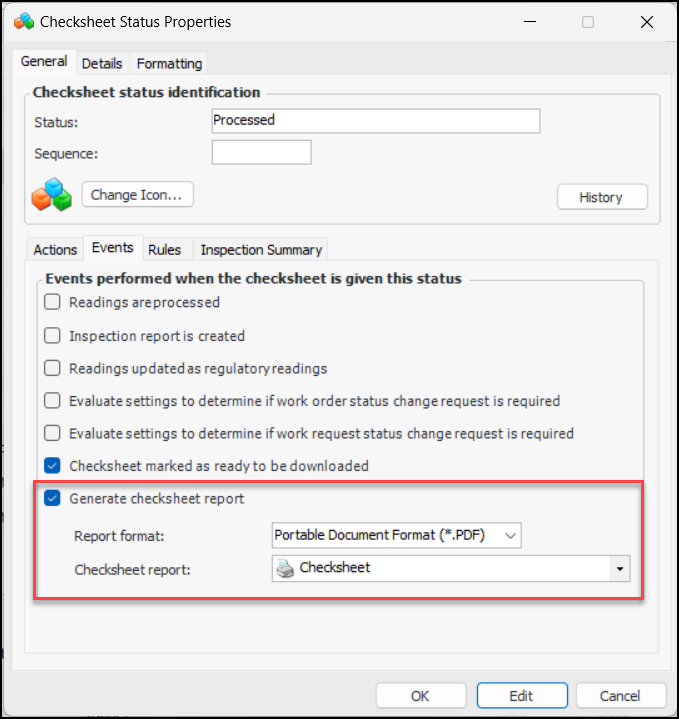
You can have a checksheet report generated automatically when the checksheet status changes. The report file is saved to the Checksheet window, History view, History tab, By Event tab.To set up this functionality, open the appropriate checksheet status window and enable editing. Select the General tab, Events tab and select options. For example:Export to Excel Supports HTML Text on Workbook Header
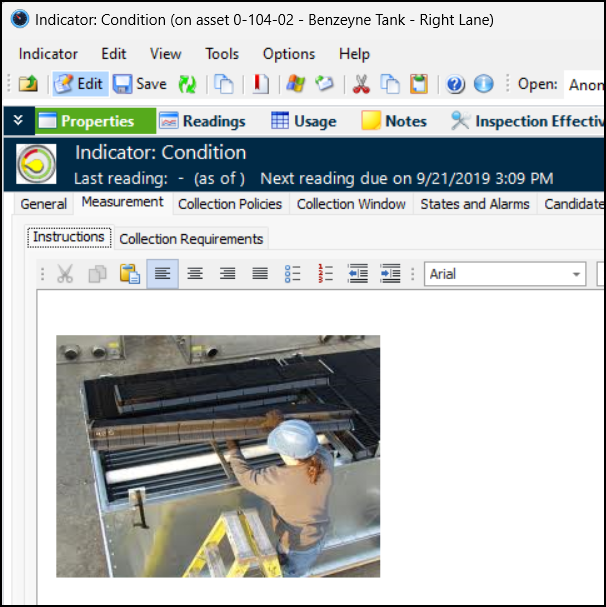
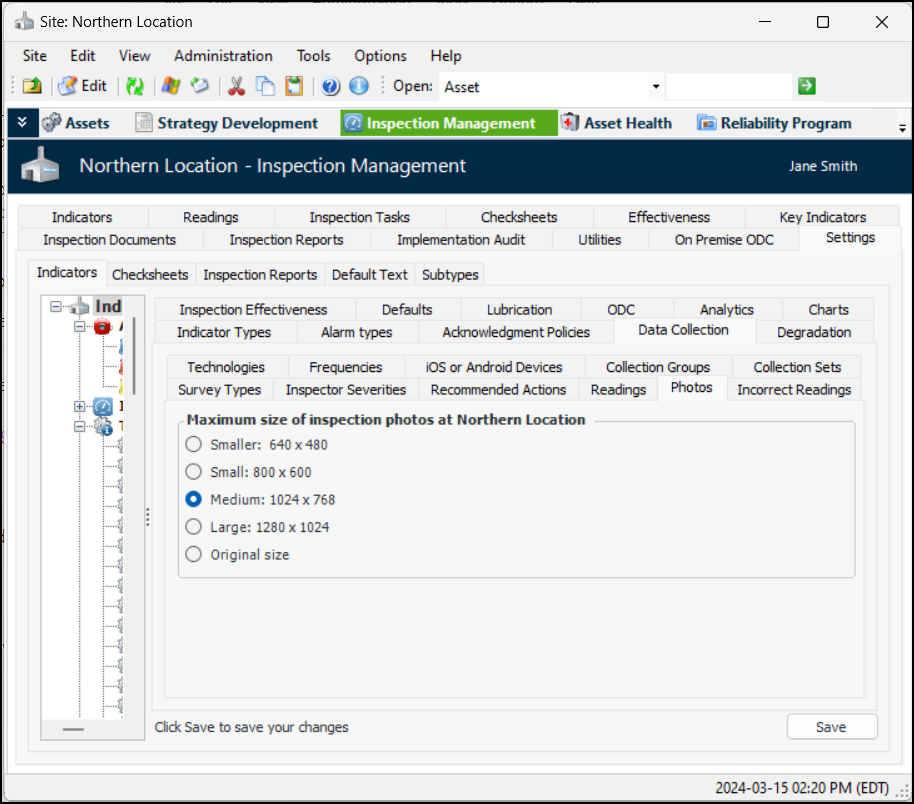
Indicator Instructions and Photo Size
When you paste or drag-and-drop a photograph onto the Instructions tab of an indicator, the dimensions of the image are controlled by the Maximum size setting in Indicator settings.To view these settings, select the Inspection Management view and then the Settings, Indicators, Data Collection, and Photos tabs:Mobile Computing
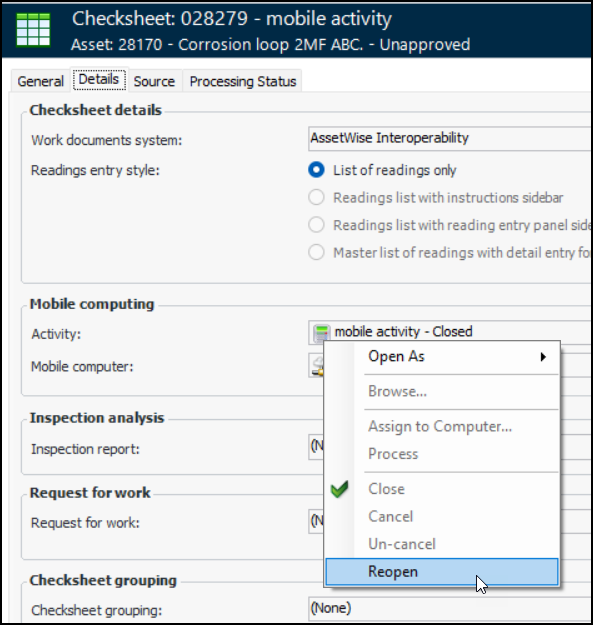
Reopening Closed Checksheet Activities
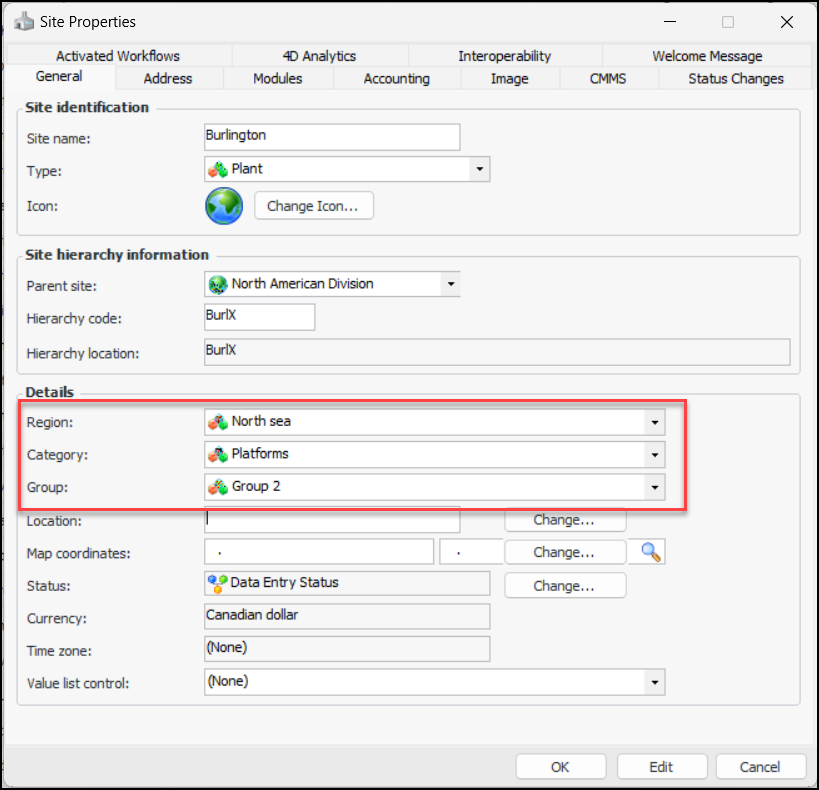
Open the mobile activity’s checksheet and select the Properties view, Details tab. Right-click the activity and click Reopen:Site Management – Regions, Site Categories, and Site Groups
In the Enterprise window, click the Administration menu and then Application Settings. In the Application Settings window, select the Regions, Site Categories, and Site Groups tabs to add these objects:Open a Site window, click the Site menu and then Properties. In the Site Properties dialog, General tab, you can associate the site with a region, category, and group:Standard Tasks
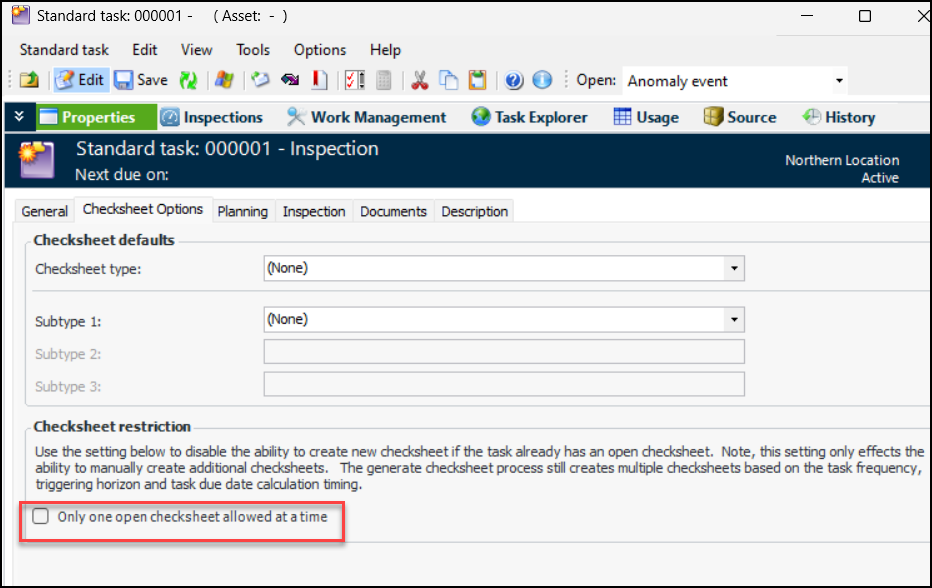
One Checksheet Limit
In the Site window, select the Reliability Program view, Program tab. Open the standard task or task template and select the Checksheet Options tab:Select Only one open checksheet allowed at a time and close the task.Standard Task Due Date Calculation
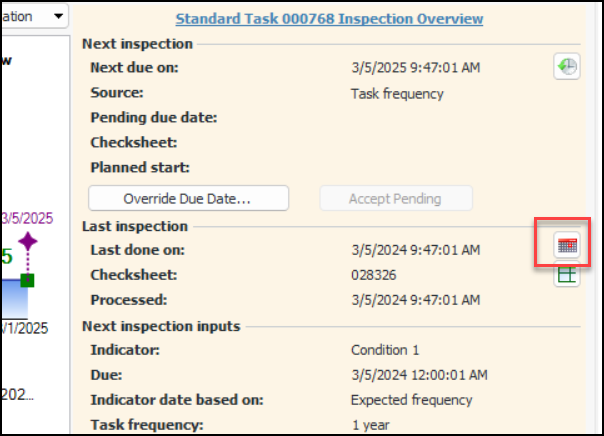
When the earliest checksheet is used as the basis for the next due date, the Last done on date (shown in the Standard Task window, Inspections view, Inspection Status tab) is now set to the processed date of the earliest checksheet when the next due date is calculated.Override Last-Done-On Date
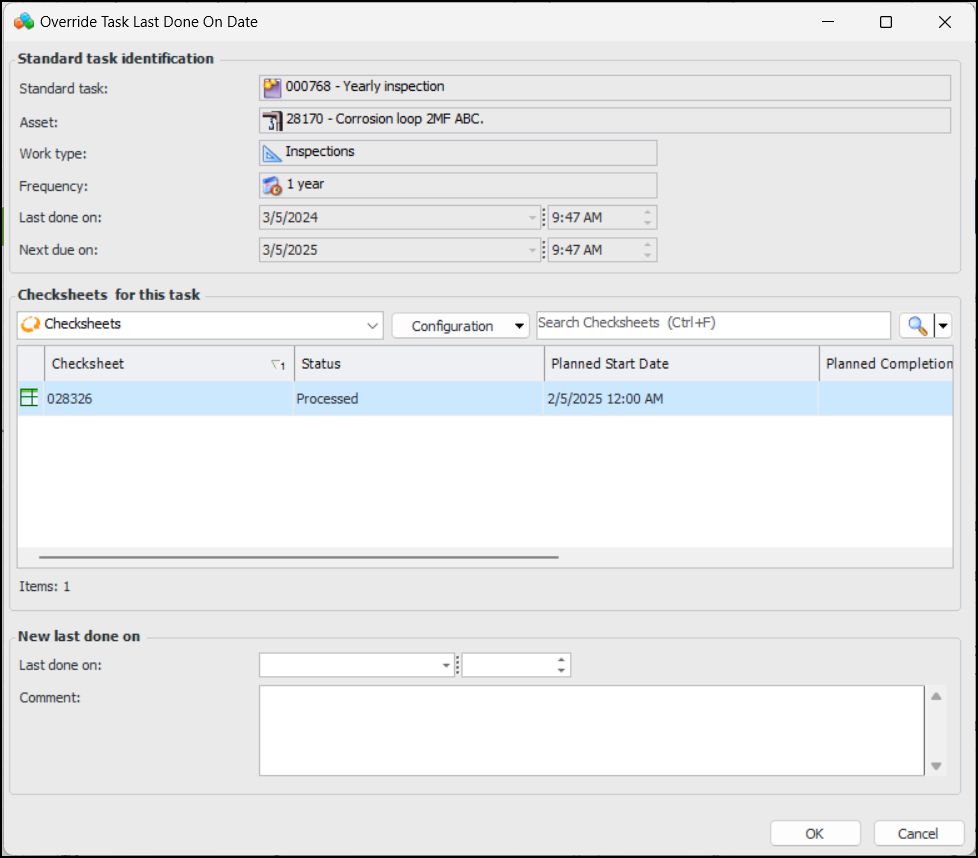
The Override button or icon is available in the Standard Task window, Inspections view, Overview tab and Inspection Status tab. Here’s an example of the Overview tab:You can select two or more standard tasks in a table, right-click and click Dates and then Override Last Done on Date. The Override Task Last Done On Date dialog displays information about the first task. The new last-done-on date and comments that you enter will be applied to all of the selected tasks. Each task’s next-due-on date will be recalculated appropriately.Strategy Development Analysis
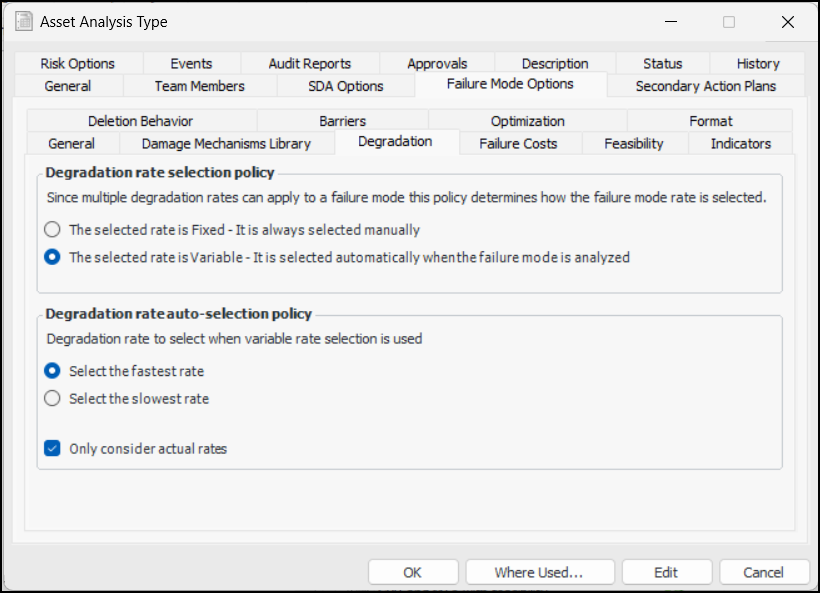
Degradation Rate Selection on Failure Modes
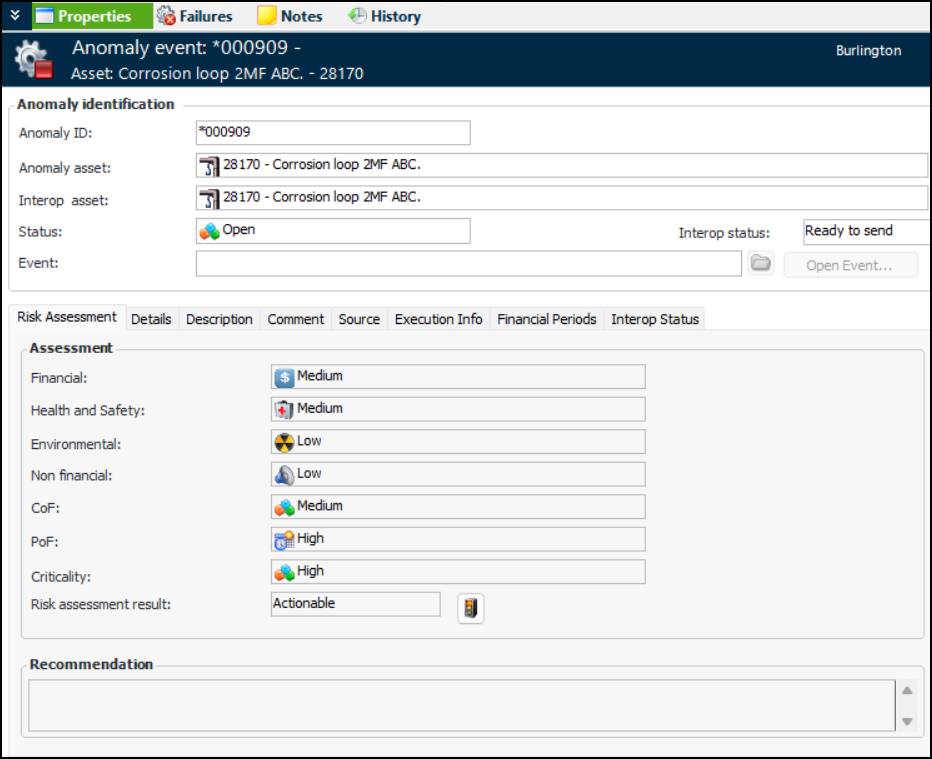
 to change the result to “Non actionable”. The Interop status changes to “Held in APM”. You can make changes to the risk assessment, as long as the status permits it.
 to change the result to “Actionable”. The Interop status changes to “New/Pending”. You can make changes to the risk assessment, as long as the status permits it.