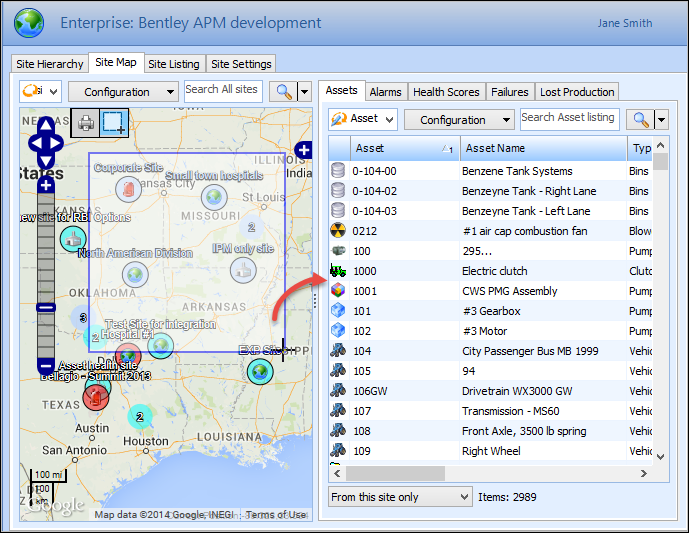
When the Select Locations Mode Icon is selected, (

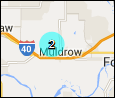
), create a bounding box by dragging over an area of the map and details of all objects selected within that bounding area are displayed in the table to the right. For example:
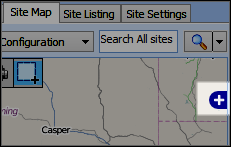
Alternatively, when the Select Locations Icon is not active, (

), the
Pan and
Zoom icons appear toward the bottom left side of the map, as highlighted below:
When the Pan icon (

) is selected, you can drag the map to move the viewing window.
When the Zoom icon (

) is selected, you can drag over an area of the map to increase the magnification.
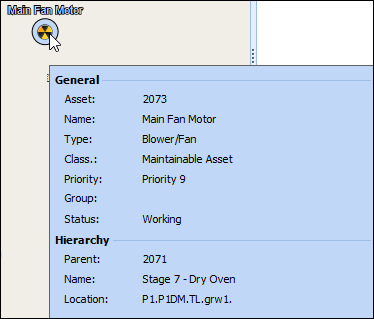
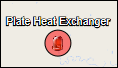
If an object is in an alarm state and the Flash, by alternating with option is selected in the base map’s appearance marker settings, the marker’s icon alternates between its APM representative icon and an alternate icon, such as its alarm state icon, for example:
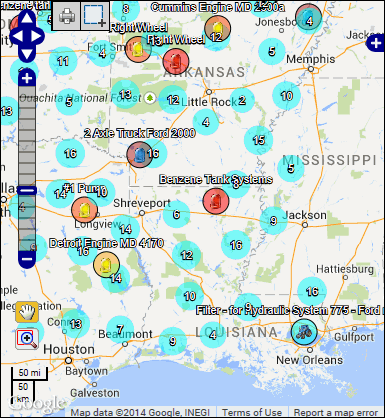
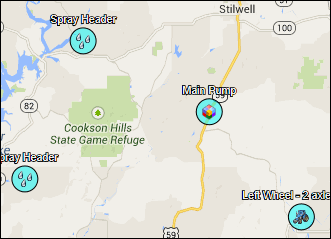
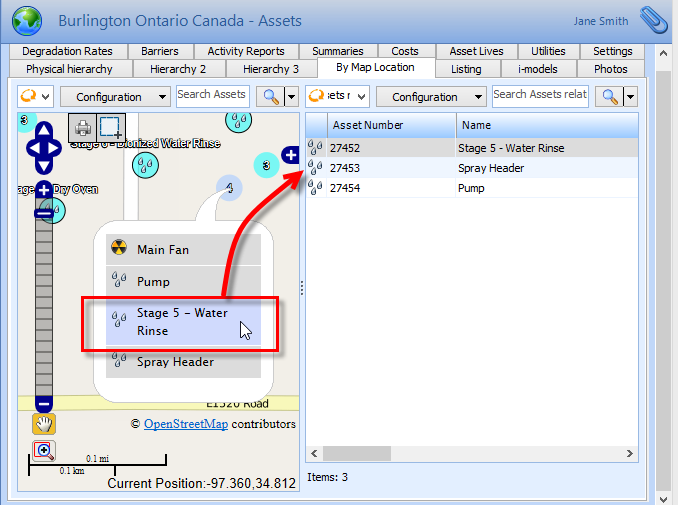
Tip: You can use the Select Locations Mode Icon and drag over a cluster object on the map to view all object details in the table adjacent to the map, otherwise, you can right-click a clustered item and a popup appears displaying the names of each of the objects in the cluster. Then you can select objects individually to have its details displayed in the table adjacent to the map, for example:
APM maps can be printed. When the Print icon (

) is selected, the system invokes the Microsoft Internet Explorer® Print Preview dialog. On this dialog, you can adjust print settings such as page orientation and sizing, before printing the map to your default printer.