Note: To enable site time zones, open the Enterprise window, select the Features view and the
Enabled Features tab. Click
Browse, select “Time Zones by Site,” and click
OK. If APM is running as a smart or remote client, click
Refresh Enabled Features on the server. Then restart the client to use the functionality in the product.
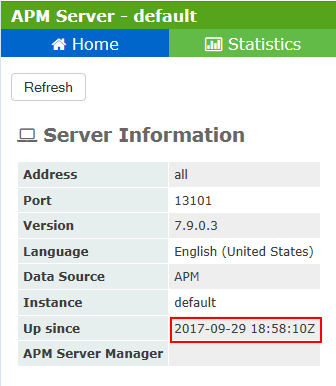
To see the geographical area that supplies the enterprise time zone, open the Enterprise window. Click the Enterprise menu and then
Properties. The Enterprise Properties dialog displays the time zone that was selected when the database was initialized. For example:
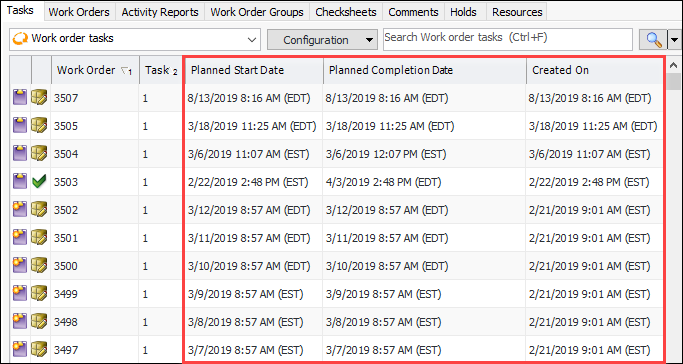
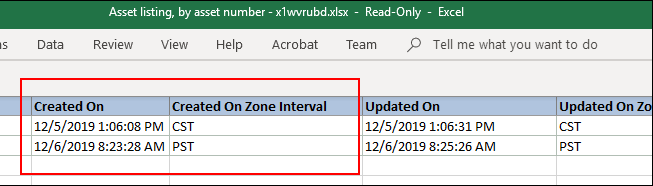
Time zones are specific to each row in the table. For example, if the Tasks tab shown above is set to “From this site and below”, work order tasks created on other sites could have different time zones.
Tables that include date and time data members use the current site’s time zone for any filtering requirements. For example, in the Work Management view,
Work Requests tab, the default configuration shows columns for requested completion date and the date and time closed. If you apply the “Last month” filter to one of the columns, it will be accurate to the current site’s time zone.
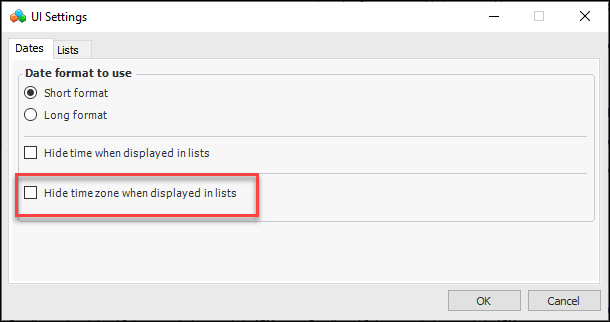
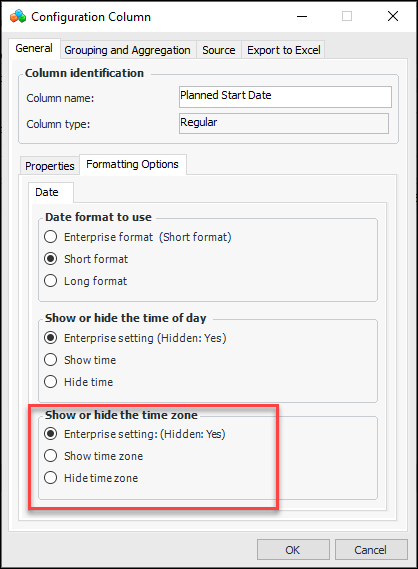
Click Hide time zone when displayed in lists and click
OK. Refresh the APM view to see the change.
The Enterprise setting options show the default formatting that was set in the enterprise UI settings. In the example shown above, time and time zone are hidden by default (Hidden: Yes).