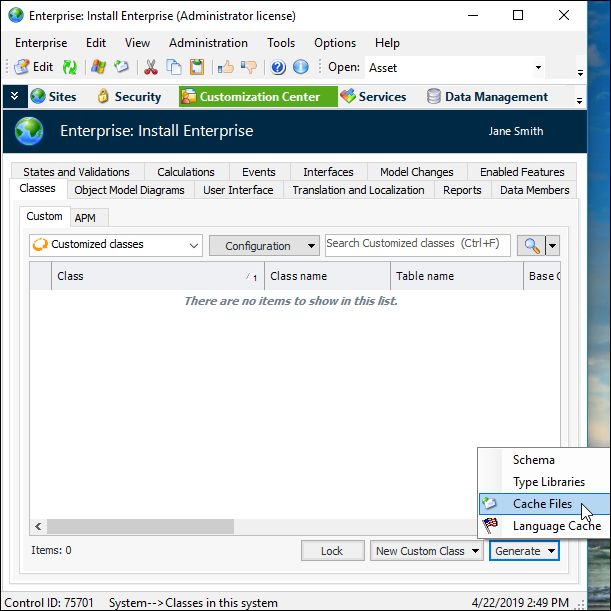
Concepts Tasks Reference Generating Cache Files APM can run efficiently with or without custom cache files. Because of the application server architecture, the benefits of cache files diminish over time. The longer the application server runs, the more data is available in memory, making cache files unnecessary. However, custom cache files can improve initial performance if you have a significant number of customizations. In this case, you might wish to generate and run with custom cache files. You must generate custom cache files manually, and you are responsible for removing or regenerating them in the future. Note: If you generate custom cache files, be sure to remove them when you upgrade the database. The APM Upgrade Wizard includes an optional step for deleting custom cache files when you are upgrading an instance. You can then regenerate custom cache files if needed. Before regenerating custom cache files, delete the cache files for the CustomerData system. Then access the Customization Center in APM and generate cache files. This function creates all of the cache files you need (including the .dict files). Because it is creating so many files, it might take a few minutes to complete. Note: You must log on to the product as an APM administrator in order to generate cache files. Launch a thick-client instance (local server) with the “ -admin” option, and ensure that your APM user ID specifies the administrator privilege. Note: Your Windows user must have full access to the CustomerData directory before you can successfully generate cache files. To Generate Cache Files 1. If the application is currently running, exit and log off APM. 2. Using Windows Explorer, delete the folder CustomerData from the Bentley\Ivara EXP\cache folder. 3. Launch APM as an administrator. 4. From the Site window, click on the tool bar. The Enterprise window appears. 5. Select the Customization Center view and the Classes and Custom tabs. Click the Generate list and then Cache Files. A progress dialog appears. The process might take a few minutes to complete.


 on the tool bar. The Enterprise window appears.