Setting up Site Value Lists

You can restrict a value list (for example, asset types or maintenance groups) to the site where it is used. Rather than being available to all sites in the hierarchy, these value lists are available only at the specified site and the sites below it in the hierarchy. This functionality allows each site to have value lists that are specific to the CMMS with which it communicates.
Note: Starting with release 7.12.2, the APM Upgrade Wizard checks all value lists that support site values. If the site reference is blank, the wizard sets it to the top site in the enterprise.

Supported Value Lists

The following value lists support site identification:
Note: In site interoperability profiles, you can specify a site to filter lists of available secondary statuses.

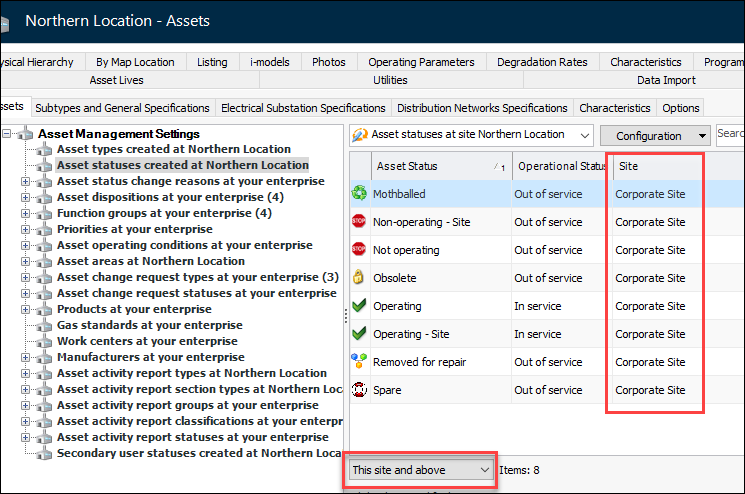
Viewing Site Value Lists

On the Site window, tables that show site-specific value lists include Site columns and use the default recursion filtering “This site and above”. For example:

Setting up Site Value Lists

Setting up site-specific value lists involves these steps:

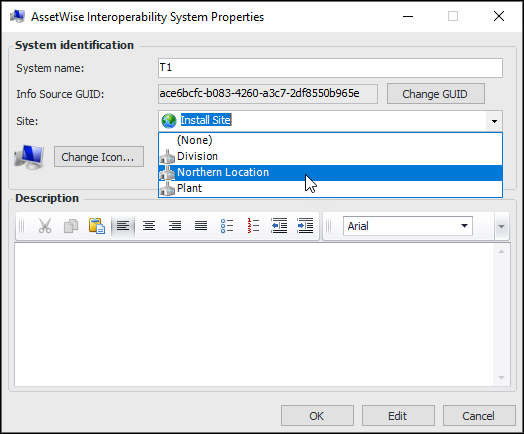
To Update an AssetWise Interoperability System

1.
Open the Enterprise window, select the Integrations view, the AssetWise Interoperability tab, and then the Systems tab.
2.
3.
Click Edit and select the appropriate site. For example:
4.
Click OK to save the system and close the dialog.

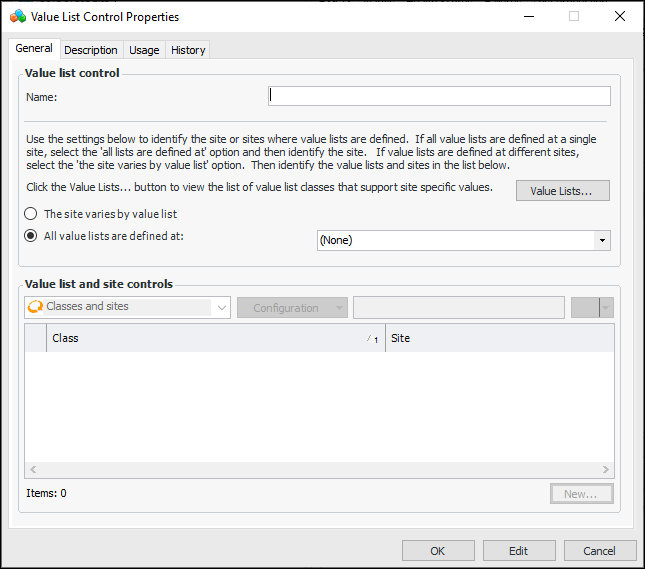
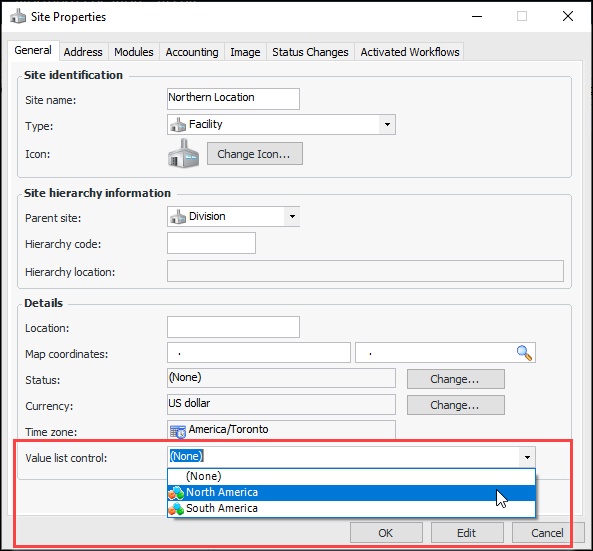
To Create a Value List Control

1.
In the Enterprise window, click the Administration menu and then Value List Controls. The Value List Controls dialog appears:
You can create two or more value list controls and then assign them to different sites. You can also mark controls as inactive until they are ready to implement.
2.
Click New to open the Value List Control Properties dialog:
3.
All value lists are defined at – Select the site from the list
The site varies by value list – You can click Value Lists to see a list of classes that support site values
Click New to open the Value List Control Class Settings dialog:
Select the class and site. When you click OK, the setting is added to the table.
4.

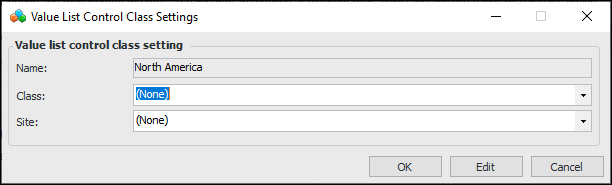
To Assign a Value List Control to a Site

1.
In the Site menu, click Properties. The Site Properties dialog appears.
2.
Select an option from the Value list control list at the bottom of the dialog:
3.
Click OK to save the option and close the dialog.