|
|


Setting up the GraphQL Service Provider
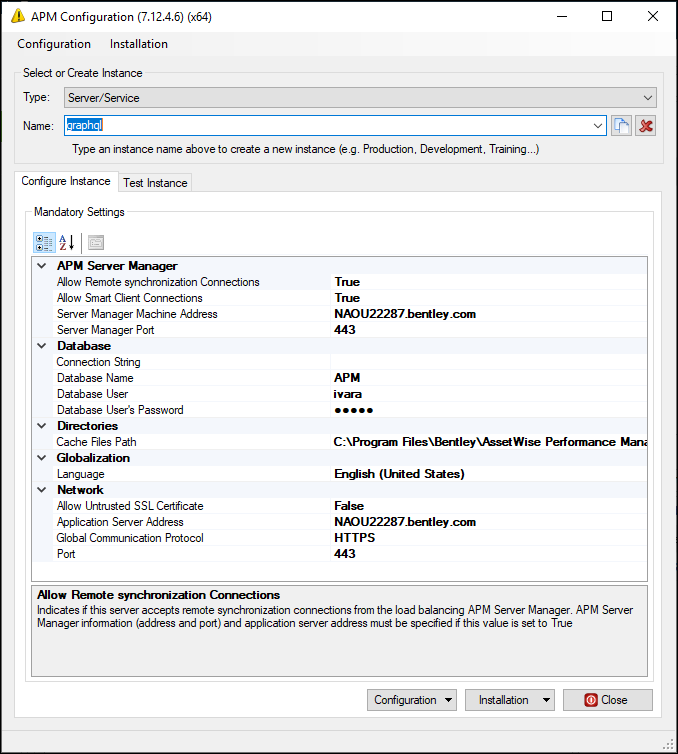
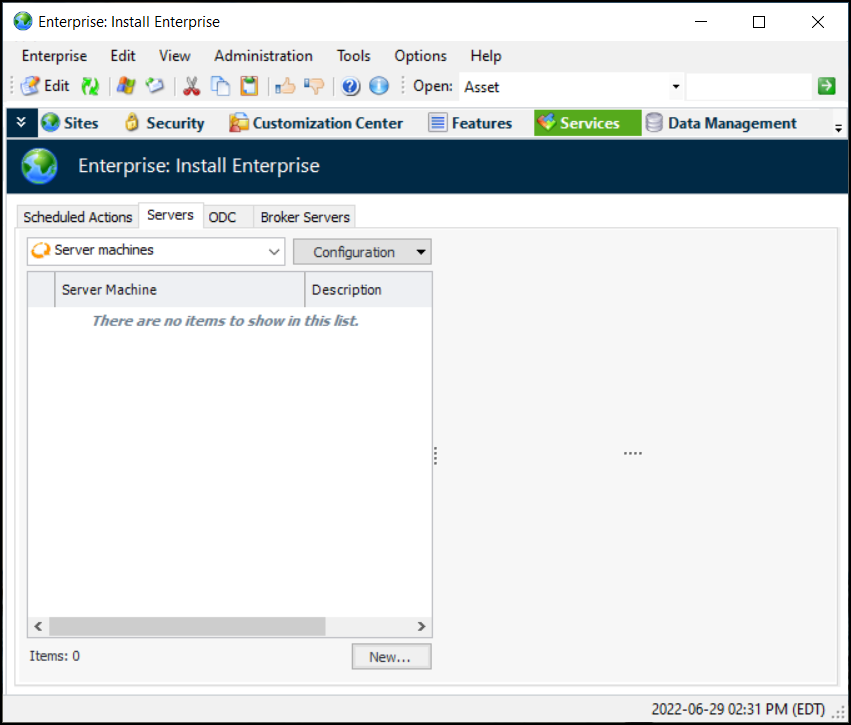
Create and Install the Server Instance for the GraphQL Engine
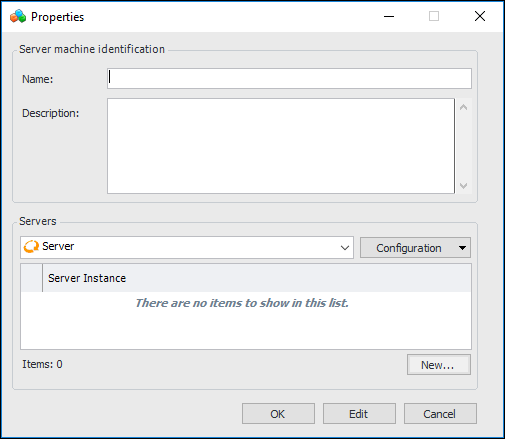
To Create the Server Instance for the GraphQL Engine
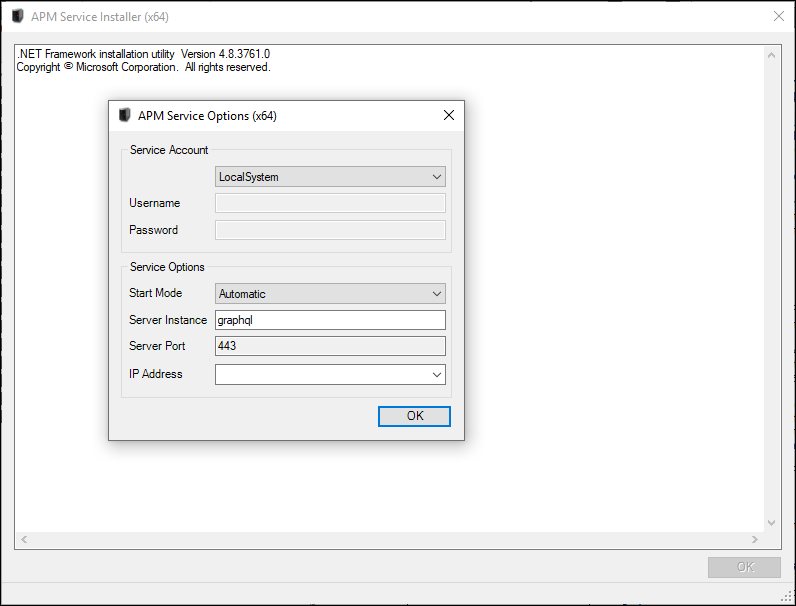
To Install the Service
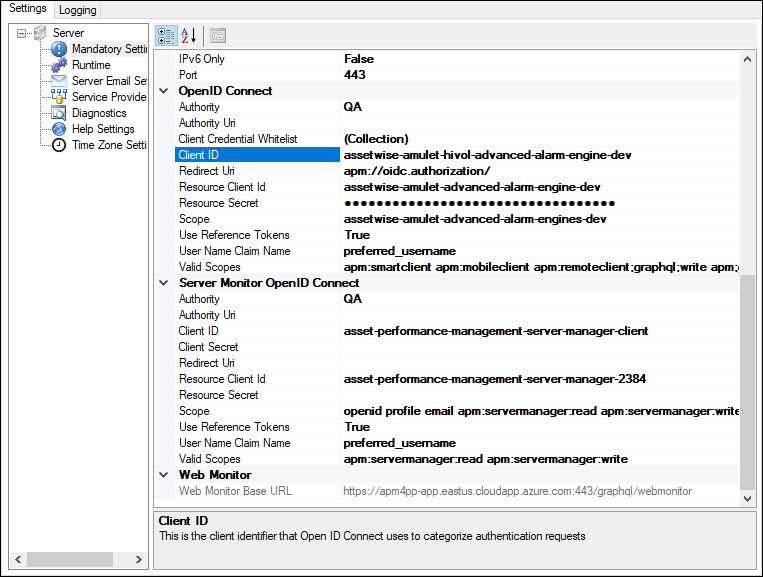
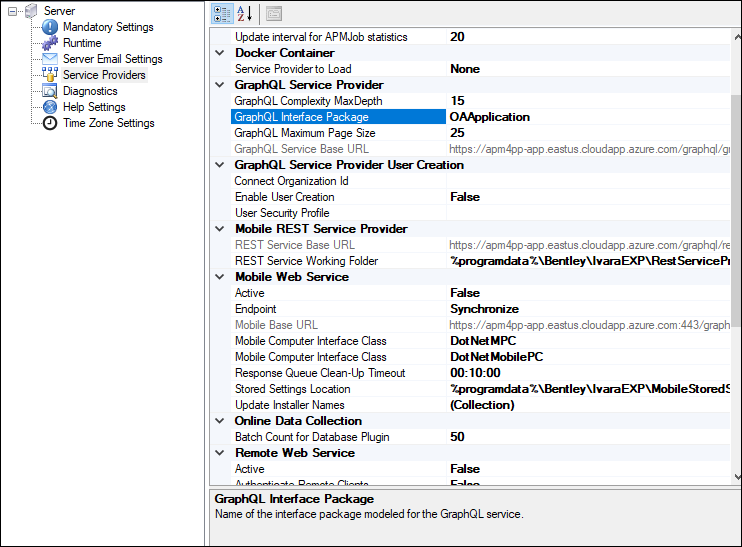
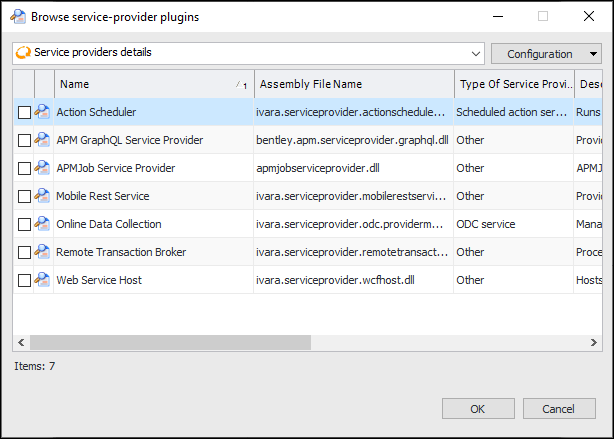
Setting up the Service Provider for the GraphQL Engine
To Set up a Service Provider for the GraphQL Engine
Note: When setting up the service provider, you will need to enter the name of the instance that you created in Create and Install the Server Instance for the GraphQL Engine.