|
|


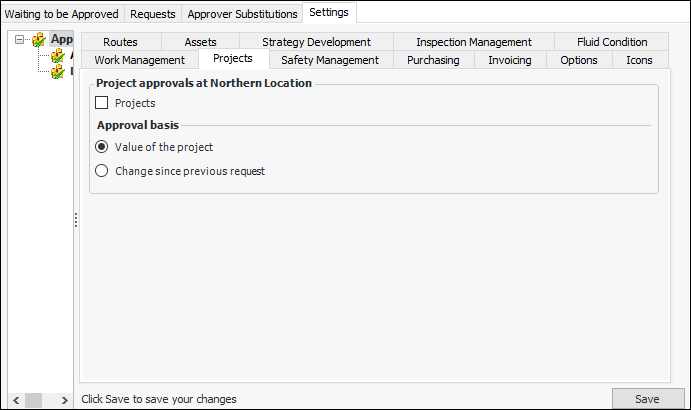
Setting up Project Approvals
The approval process allows APM users to send projects for approval and designated approvers to review the projects and then approve, reject, or forward them. Before you can begin using the approval functionality, you must specify that projects require approval in the site’s approval settings. As well, you must properly configure the project stauses. For the suggested setting for the approved status, see Capital and Operational Project Management.Projects in a hierarchy can be approved separately or inherit their approval status from a higher level project. For more information about the project approval process, see Capital and Operational Project Management.You must also set up an approval route and designate approvers. You can select a default approval route for projects. For more information, see Document Approvals.To Turn on Project Approvals