|
|


Securing Reports
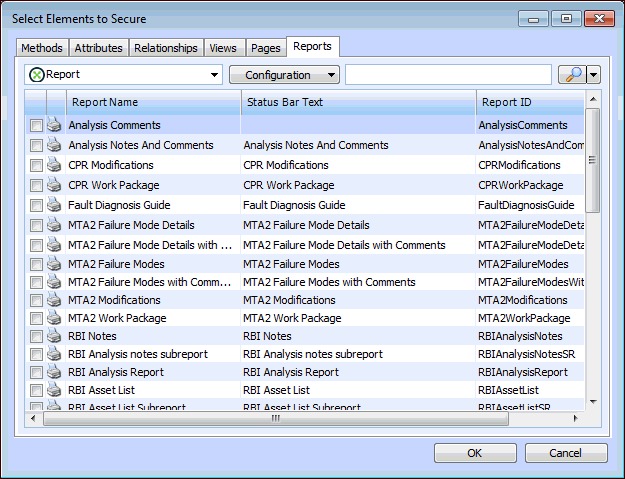
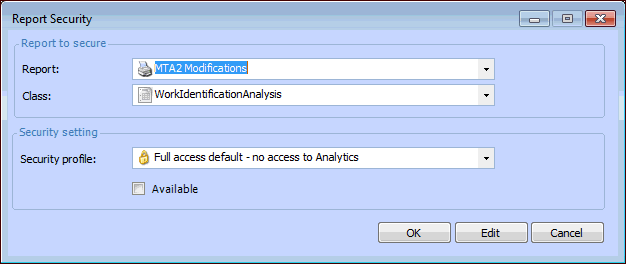
 Then select the Reports tab, click Browse, select the Reports tab in the selector dialog. Select the report from the list. When you click OK, the report is added to the list. Double-click the report to see the Report Security dialog. For example:Note: If a report is enabled, but the data contained in the report has a lower level of security, users will be able to view and print the report. For example, if the failure mode class is set to No access, but the RCM2 Failure Modes List report is enabled, users will be able to view and print the report.
To Secure a Report
 on the tool bar. The Enterprise window appears.
 is enabled.