|
|


Creating a Safety Provision
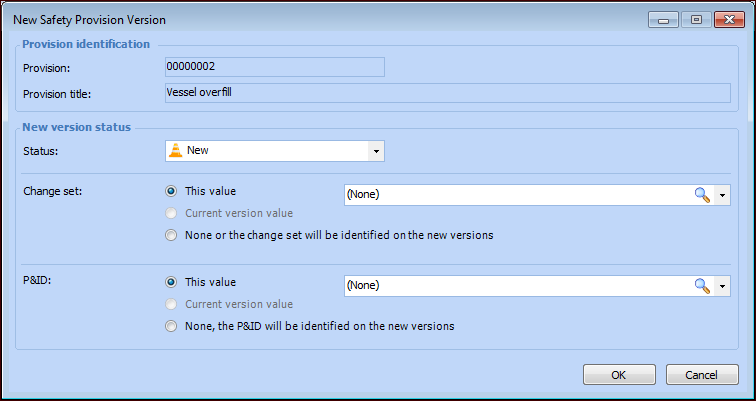
Tip: Once the provision has been added to SIF or HAZOP analyses, you can view the list of failure modes in the Safety Provision window’s Usage view. For a version, select the Usage view in the Safety Provision Version window to see a summary of the high risk scores taken from all of the failure modes that cite the version. If you wish to update this information, click the Tools menu and then Update Risk Levels.Note: You can set up a scheduled action (Update Safety Provision Risk Levels) to update this information in provision versions. For more information, see Scheduling Actions.Tip: If a provision is not linked to failure modes, you can set the highest risk level yourself. In the Safety Provision Version window, select the Usage view. Select the level in the Highest risk level list, which is enabled when the provision has not been added to failure modes.Tip: You can quickly create versions for two or more provisions that do not already have drafts. Select the provisions in the site’s Safety Management view, Provisions tab. Right-click and click New Version. The New Safety Provision Version dialog appears, where you can select a status and options for the change set and P&ID document. This information is applied to all of the new versions. When you click OK, Safety Provision Version windows open for each of the new versions.Mandatory, Optional, and Unavailable Information
Versions, Approvals, and Safety Type
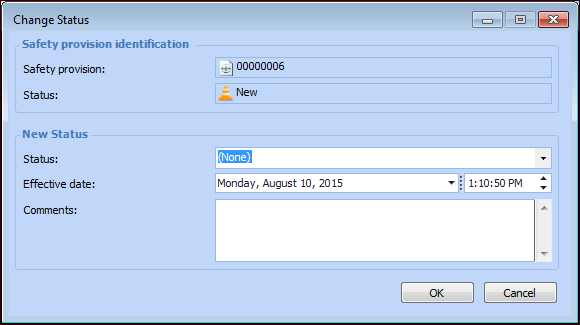
If your organization prefers the alternative to the formal approval process, the object can be reviewed and marked as “Accepted.” In the safety provision’s window, the Versions view lists the versions and shows their current statuses.For information about the approval process, see Sending a Safety Object for Approval. For information about the acceptance process, see Marking a Safety Provision Draft as Accepted.Safety Statuses
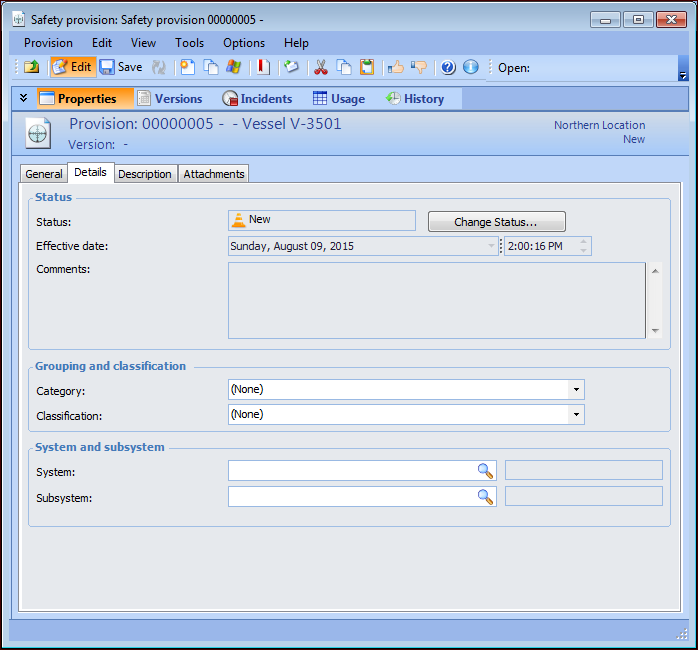
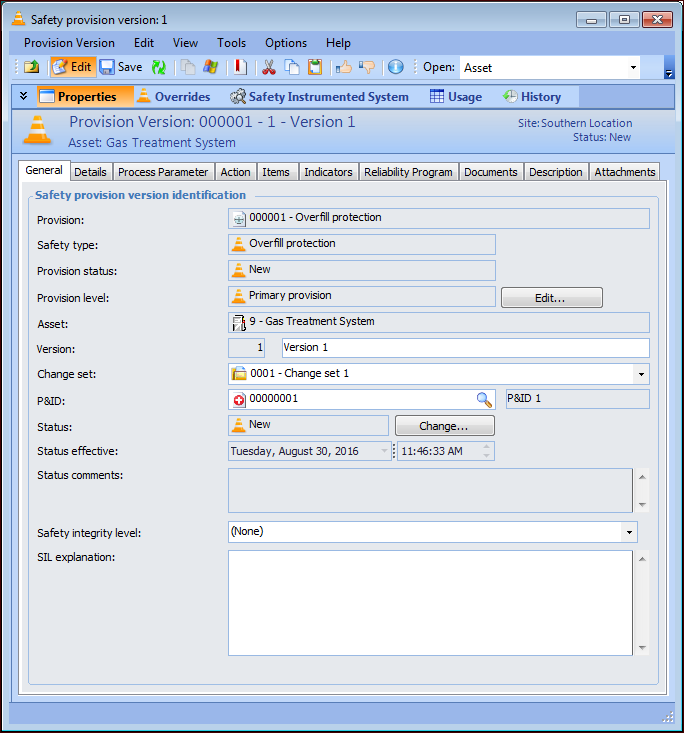
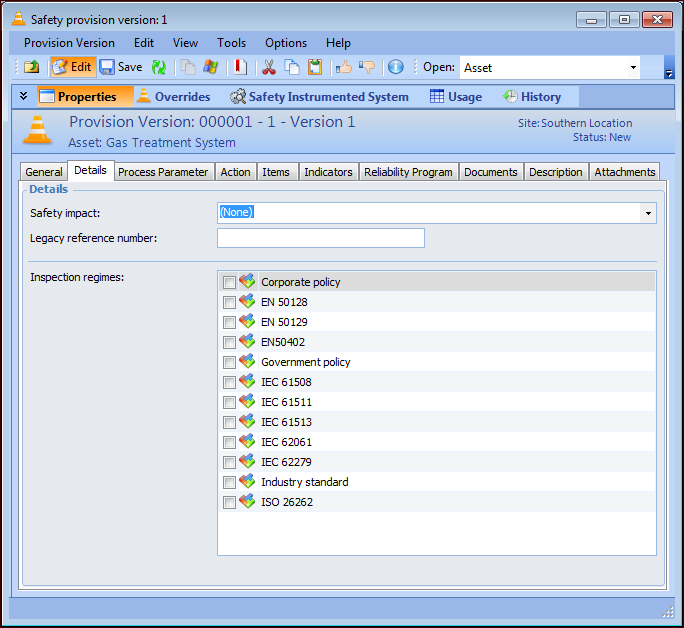
To Create a Safety Provision
To Create a Draft Version
 ) to select one. The asset number and name are added to the window.
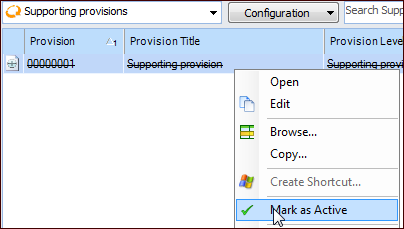 ‘
‘
 to open the list of filters:
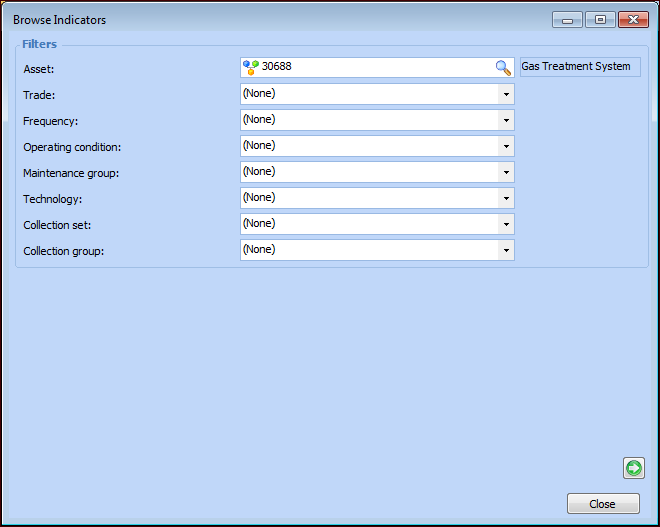
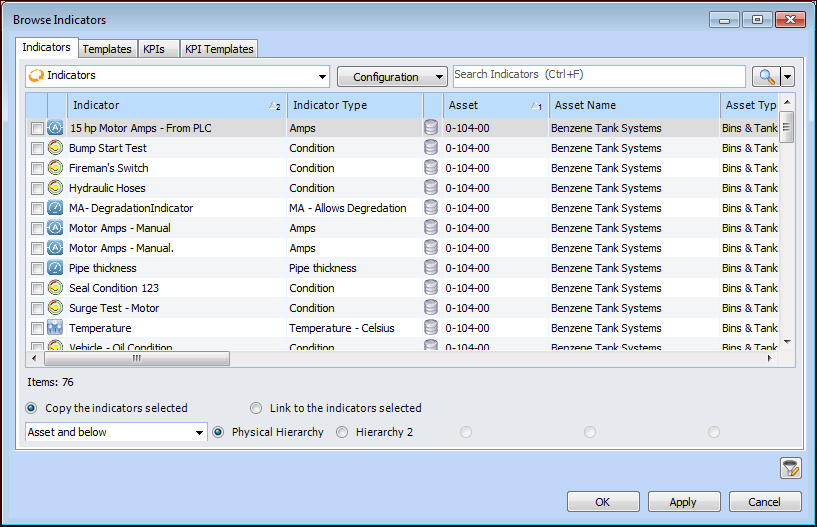
 to return to the Browse Indicators dialog.