|
|


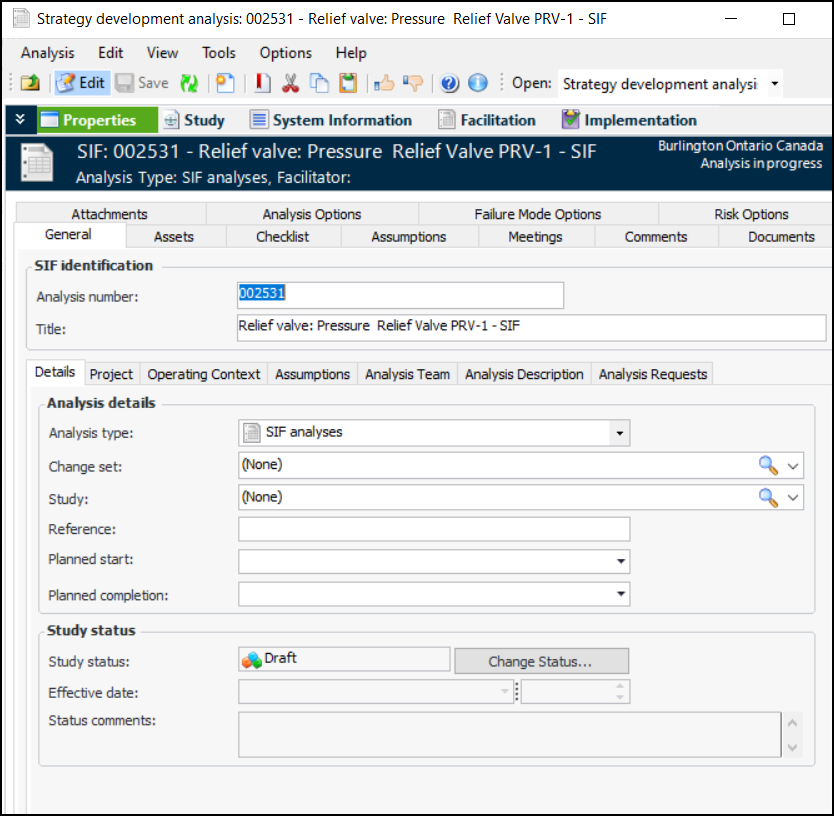
Creating a SIF Analysis from Scratch
This section explains how to create a SIF analysis from scratch and includes links to more detailed explanations of some steps. For information about basing the analysis on a template, see Creating a SIF Analysis From a Template.To Create a SIF Analysis from Scratch
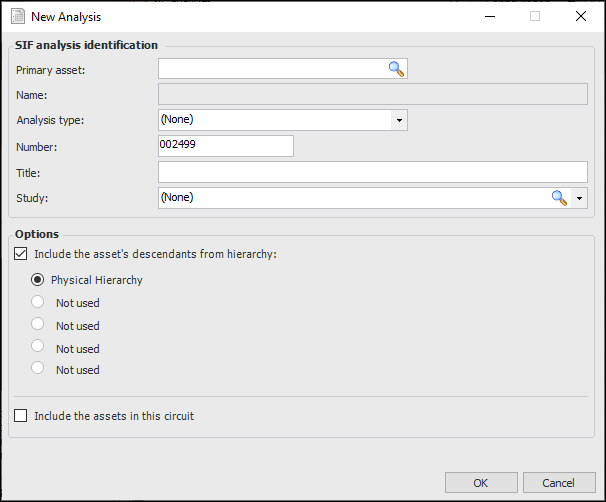
 ) to select the primary asset. The primary asset is usually the top asset in the hierarchy of the system to be analyzed.