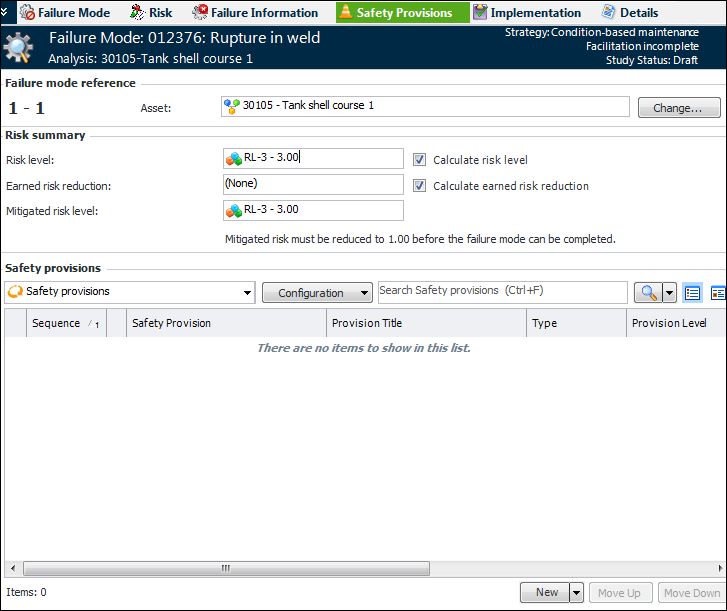
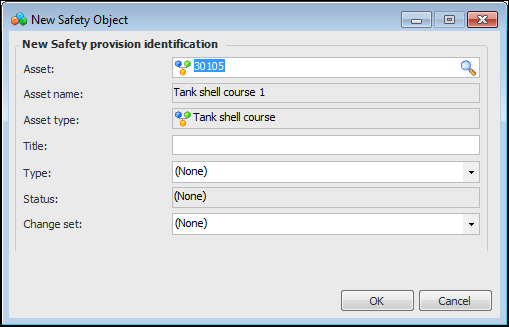
Adding Provisions to a SIF Failure Mode

When risk analysis of a SIF failure mode results in a risk level that is greater than the acceptable threshold, the analysis team can add safety provisions to the failure mode. Each provision’s SIL can be counted as earned risk reduction to reduce the failure mode’s risk level.
Safety provisions record the safety processes, systems, and procedures that prevent or mitigate hazards. They include the actions to be performed, a checklist of items, and instructions. Provisions maintain active links to indicators that monitor assets and the standard tasks and jobs that maintain equipment safety.
The current provision version defines the safety override that identifies the procedures that an operator or technician should follow when a safety device malfunctions in order to keep the facility operating safely while the device is being fixed or replaced. It also defines a table of protected assets and the assets (for example, safety devices and control equipment) that protect them.
The team assigns a safety integrity level (SIL) to each safety provision version. This numeric value, usually on an ascending scale between 0 and 4, is a measure of the amount of risk inherent in the failure that the provision prevents or mitigates. The provision’s SIL is used in SIF analyses to calculate the impact of a possible failure.
Tip: Once the provision has been added to SIF analyses, you can view the list of failure modes in the Safety Provision window’s Usage view. For a version, select the Usage view in the Safety Provision Version window to see a summary of the high risk scores taken from all of the failure modes that cite the version. If you wish to update this information, click the Tools menu and then Update Risk Levels.
For more information, see Creating a Safety Provision.
When adding a provision to a failure mode, you can browse for an existing provision or create one. This topic explains how.

To Add a Provision to a Failure Mode

1.
Open the Maintenance Action Plan window. In the Failure Mode view, ensure that a strategy has been selected. This makes the Safety Provisions view available in the window.
2.
3.
Select the Safety Provisions view. For example:
The Risk summary area contains the following information:
4.
To add an existing safety provision, click the New list and then Browse. The Browse Safety Provisions dialog appears. Select one or more provisions and click OK. The provisions are added to the tab and the earned risk reduction and residual risk level are calculated.
Tip: Provisions in the list are formatted to denote their safety statuses. For example, a provision with the status “Released” could be shown in blue, while a canceled provision could be shown as struck-through and gray. These formatting options are set in the properties of safety statuses.
5.
To create a safety provision, click the New list and then From Scratch. The New Safety Object dialog appears. For example:
6.
Enter a title, select a safety type and change set, and click OK. The Safety Provision Version window appears, where you can select options and provide information. For more information, see Creating a Safety Provision.
When you close the Safety Provision Version window, the provision is added to the failure mode’s Provisions tab and its SIL value is added to the earned risk reduction.
7.