|
|


Reliability Project Management
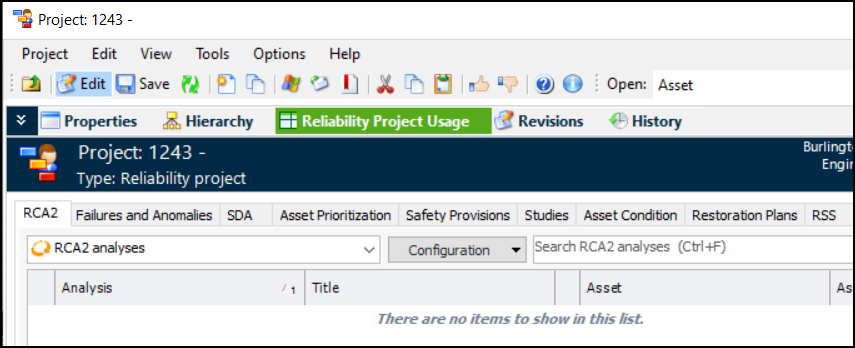
Note: This functionality is generally available. You must first enable feature 99 to use the functionality in APM. In the Enterprise window, select the Features view and the Enabled Features tab. Click Browse, select “Support for reliability projects” and click OK. If APM is running as a smart client, click Refresh Enabled Features on the server. Then restart the client to use the functionality.When Reliability project is selected in the project type, the Project window displays the Reliability Project Usage view, which lists the objects linked to the project. For example:Project Tasks
Note: This functionality is generally available. You must first enable feature 98 to use the functionality in APM. In the Enterprise window, select the Features view and the Enabled Features tab. Click Browse, select “Support for project tasks” and click OK. If APM is running as a smart client, click Refresh Enabled Features on the server. Then restart the client to use the functionality.You can select a project task when linking an object (for example, an analysis) to a project. You can also add tasks to a project in the Tasks tab in the Project window.Project Hierarchy
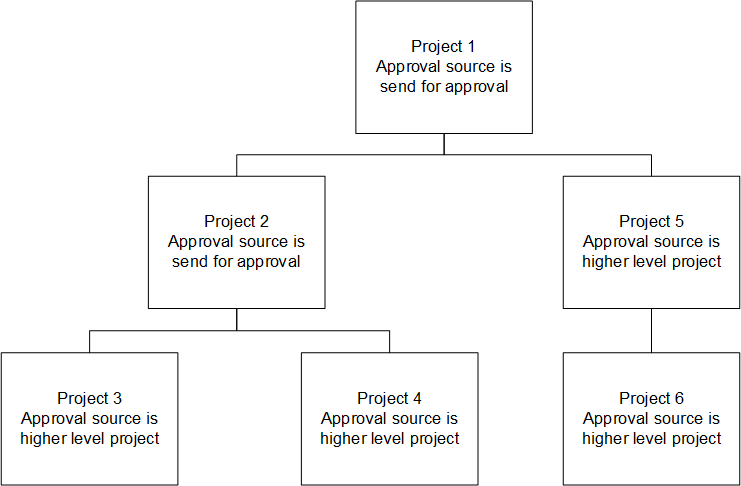
Approvals Process
See Approving Documents for more information on the approval process in APM.Effect of the Project Hierarchy on Approvals
Project Hierarchy Code and Location
Project Status and Events
Project Events
Project Status Controls
Project statuses allow you to control the actions that can be performed on a project. The project’s status is shown in the Project window in the Properties view, General tab. Each project status definition includes the activities that are allowed for that status. For example, whether or not the project’s properties can be changed is controlled by the project status.Approval Process Examples