Creating Gas Emergency Events

Gas emergency events record leaks to atmosphere resulting from events such as earthquake, fire, and flood. The record allows you to identify the type of event, date, amount of gas leaked, location, and a detailed description. You can also record the regulatory body to which the event was reported, as well as the amount of gas approved.
APM can generate a gas transaction when you mark the event as approved. The emergency event type determines the transaction type created.
This topic explains how:

To Create a Gas Emergency Event

1.
In the Site window, select the Regulated Gas Management view and the Emergency Events tab.
2.
Click New. The Gas Emergency Event window appears:
Each emergency event is given a sequential event ID number, which cannot be changed.
3.
4.
5.
Select the Approval tab.
6.
7.
In the Submitted to box, record information about the regulatory body.
8.
Click OK. The window closes and the event is added to the tab.

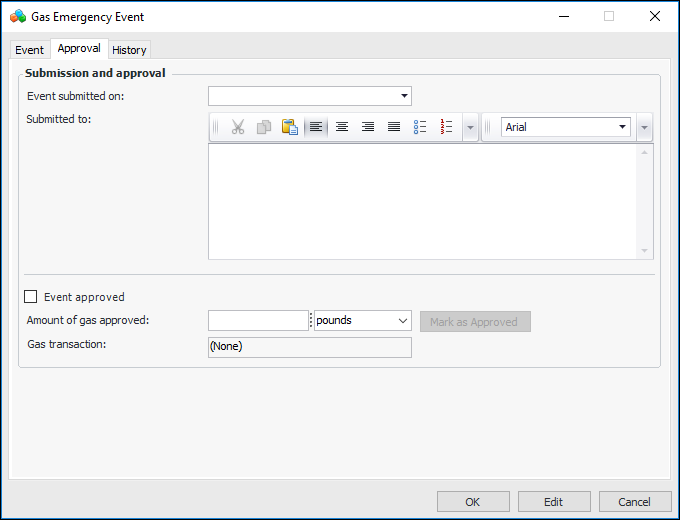
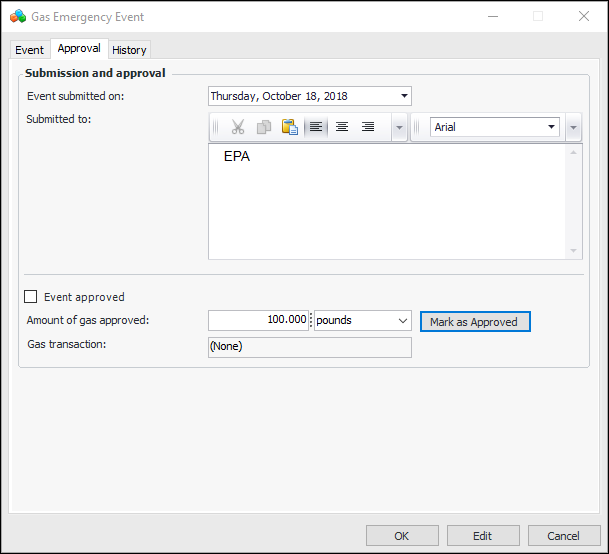
To Mark an Emergency Event as Approved

1.
In the Site window, select the Regulated Gas Management view and the Emergency Events tab.
2.
3.
Select the Approval tab and click Edit.
4.
Enter the amount of gas that was approved. The Mark as Approved button becomes available. For example:
5.
Click Mark as Approved. The window changes accordingly. For example:
6.
7.
Tip: In the Gas Emergency Event window, you can select the History tab to view actions performed on the emergency event.
8.
When you are finished, click OK to save the event and close the window.