|
Setting up a Hierarchy for RCM2 Templates
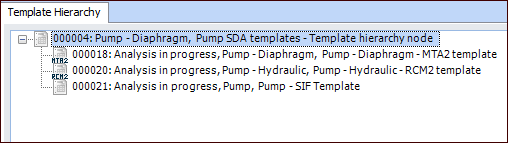
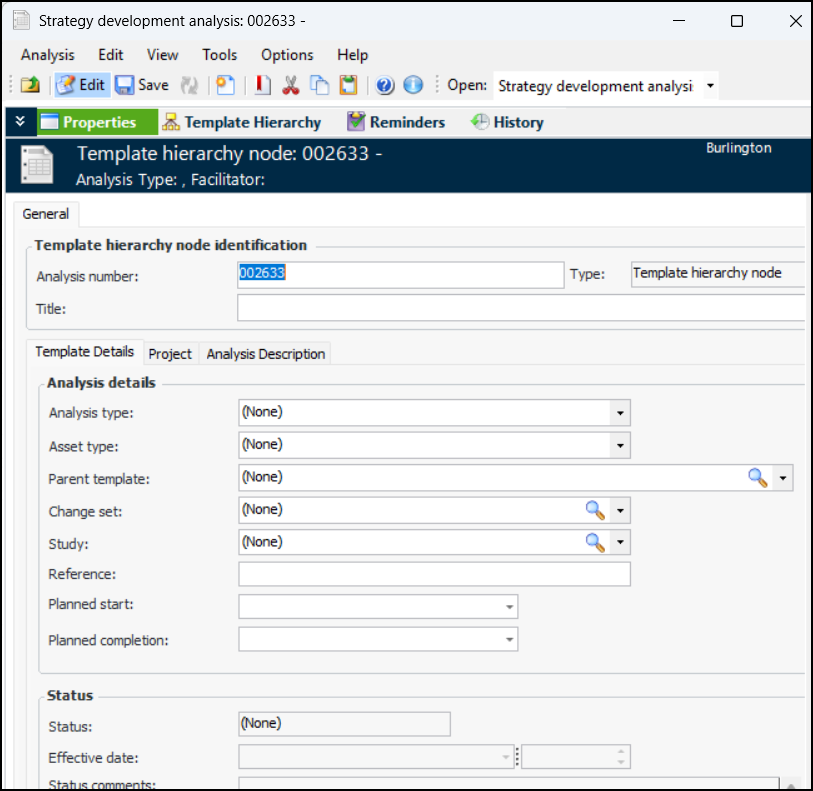
The simplest way to set up this hierarchy is to create a node for the Pump asset type. Then, in each template’s properties, assign the node as the template’s parent. In any template’s Hierarchy view, you can rearrange, add, and remove templates in the hierarchy. This topic explains how:To Create a Hierarchy Node from the Site
1.
2. Select the Hierarchy Nodes tab and click New. The Strategy Development Analysis window appears, open to the Properties view, General tab.
4. Save the hierarchy node and close the window. The node is added to the Hierarchy Nodes tab.
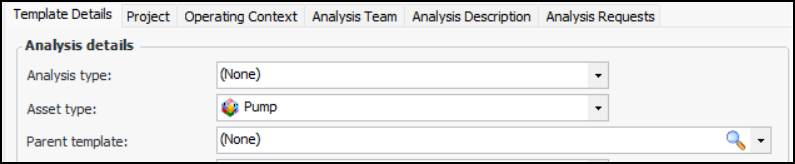
To Assign a Parent In the Hierarchy
1. From the site’s Strategy Development view and tab, select the tab and configuration for the type of template.
2. Open the template and select the Properties view.
4.
5. Click the browse icon to select a parent template, for example, a hierarchy node. In the Template Hierarchy view, the template appears below the parent and any existing child templates.
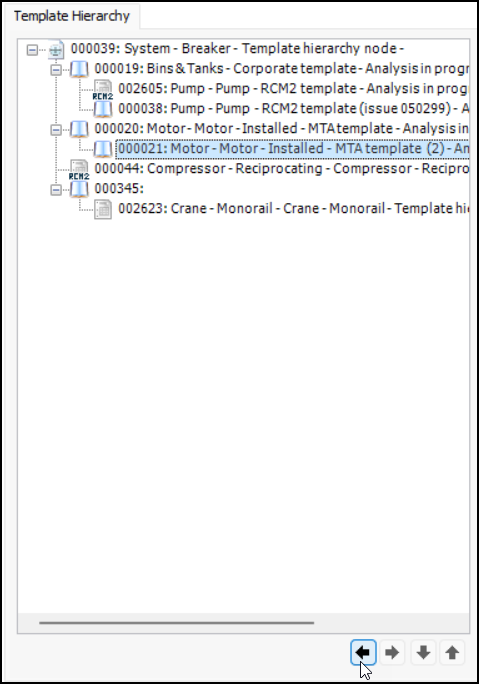
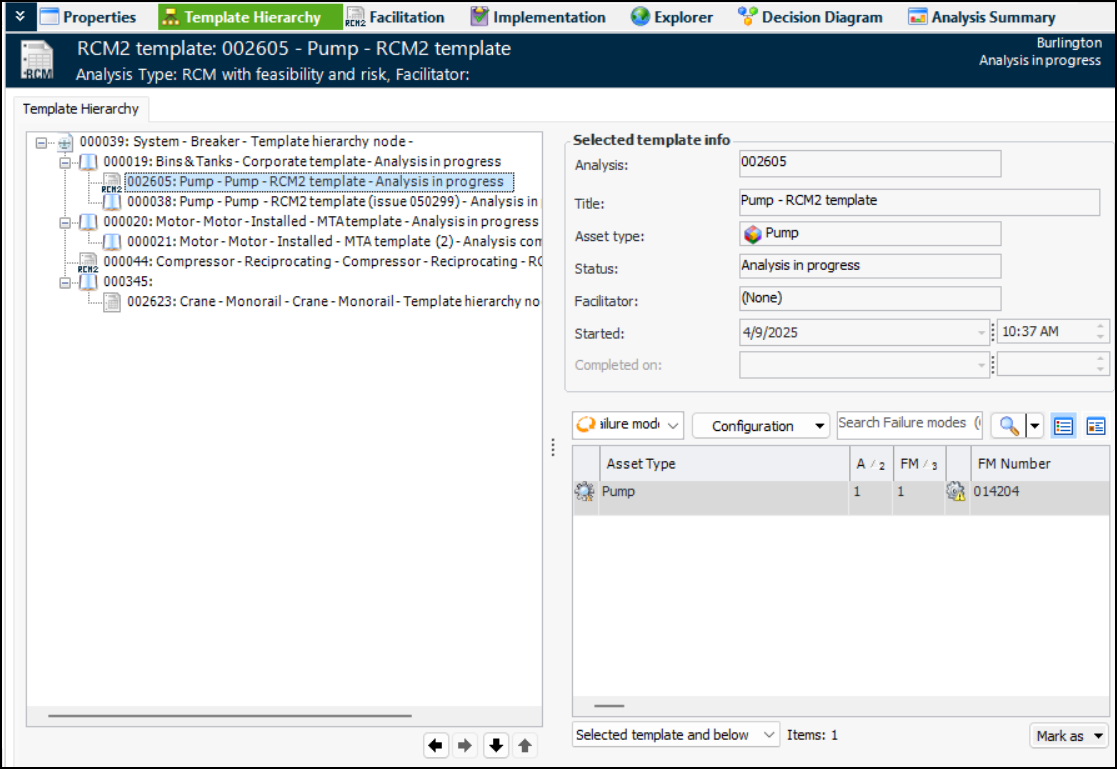
To Position an Existing Template or Node in a Hierarchy
1. From the site’s Strategy Development view and tab, select the tab and configuration for the type of template.
2. Open the template and select the Template Hierarchy view.Tip: You can also use the arrow keys to position templates in the Site window’s Strategy Development view, Templates tab, Template Hierarchy tab.
3. You can move templates up or down and left or right in the hierarchy using the arrow buttons at the bottom of the Template Hierarchy tab. The availability of the buttons depends on the position of the selected template.