|
|


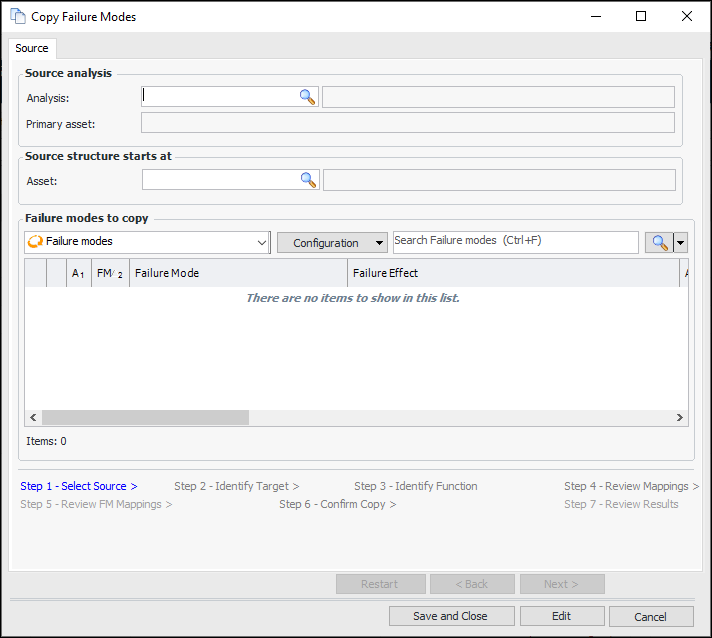
Browsing for Failure Modes for an RCM2 Analysis or Template
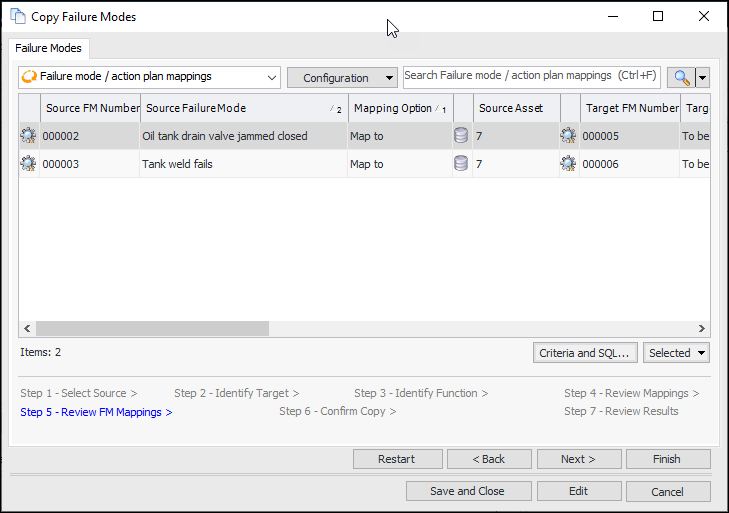
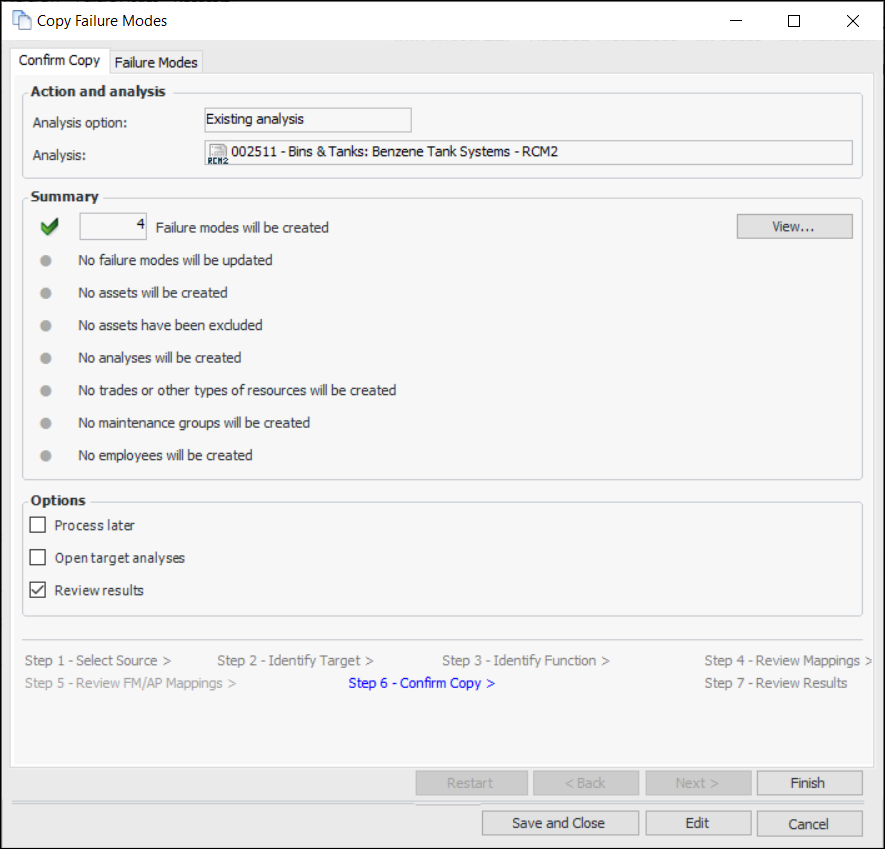
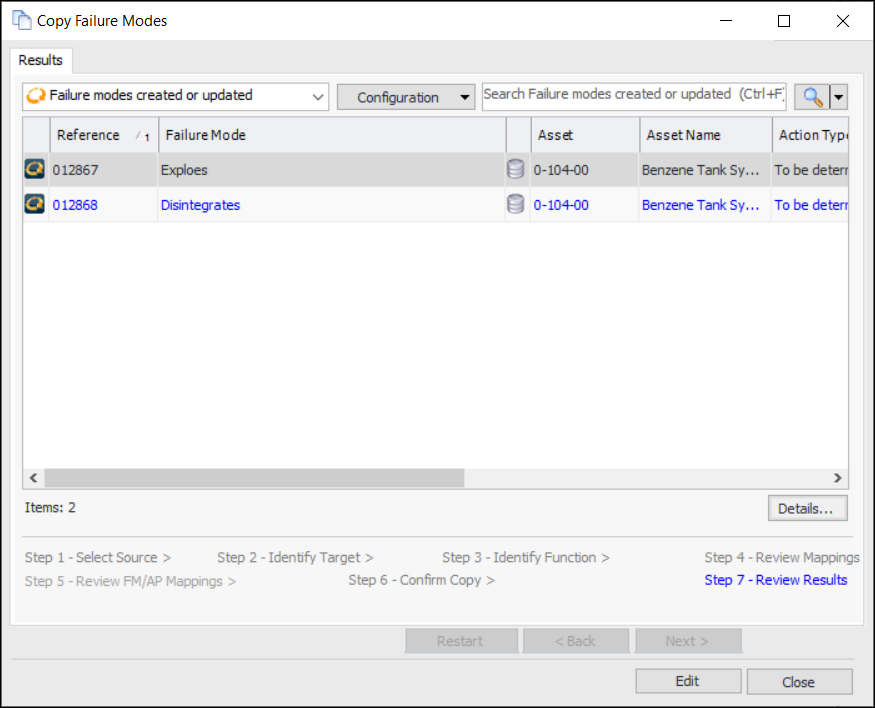
This topic explains how to copy failure modes into the analysis or template that you are working on.Note: When a failure mode is copied, its status changes to Facilitation Incomplete in the target analysis.To Browse for Failure Modes
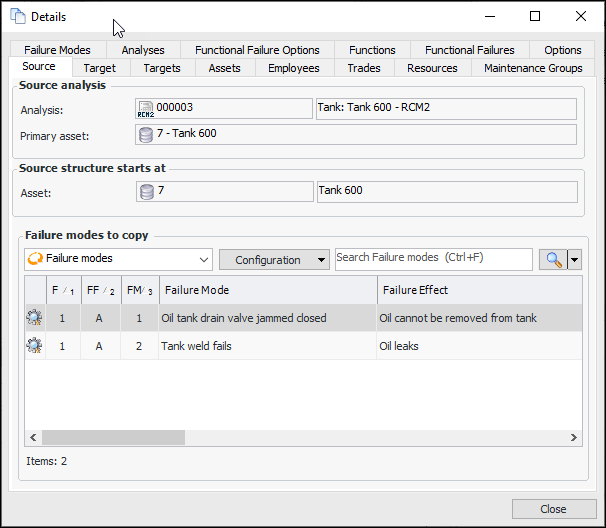
) in the Analysis box to select the source analysis or template. The Strategy Development Analysis Selector dialog appears, displaying analyses appropriate for the target. Select an option from the configuration list to view a specific type of analysis.
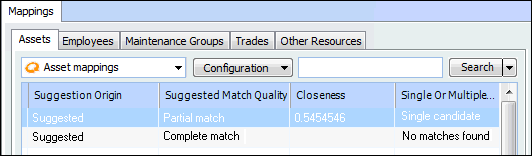
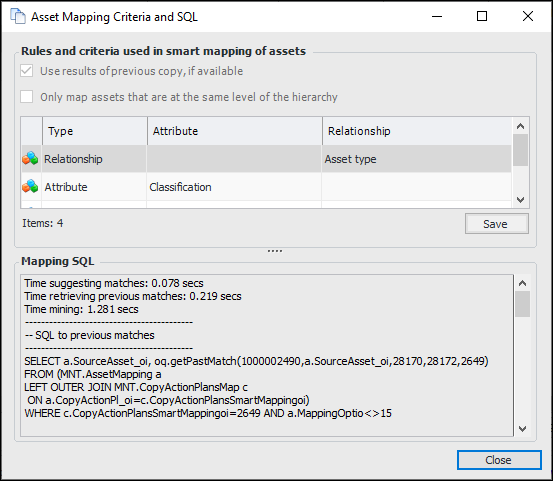
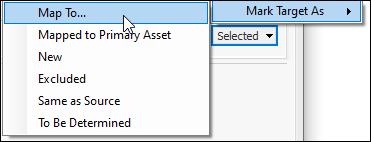
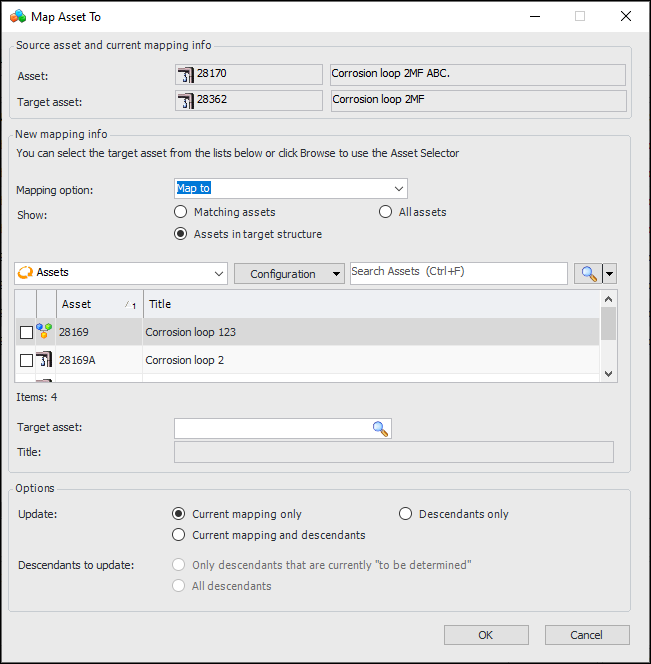
Manually Changing an Asset Mapping