|
|


Creating a Root Cause Analysis
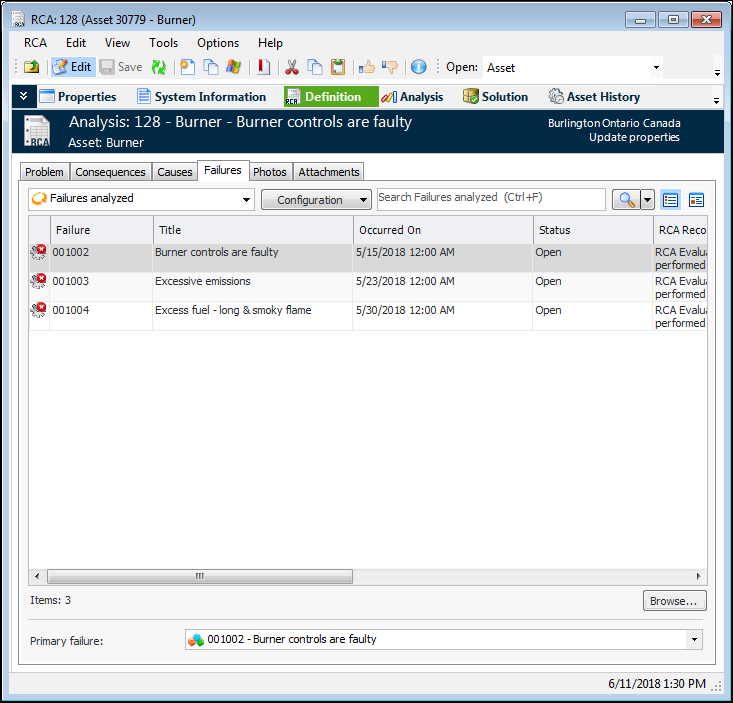
To Start an RCA from One or More Failures
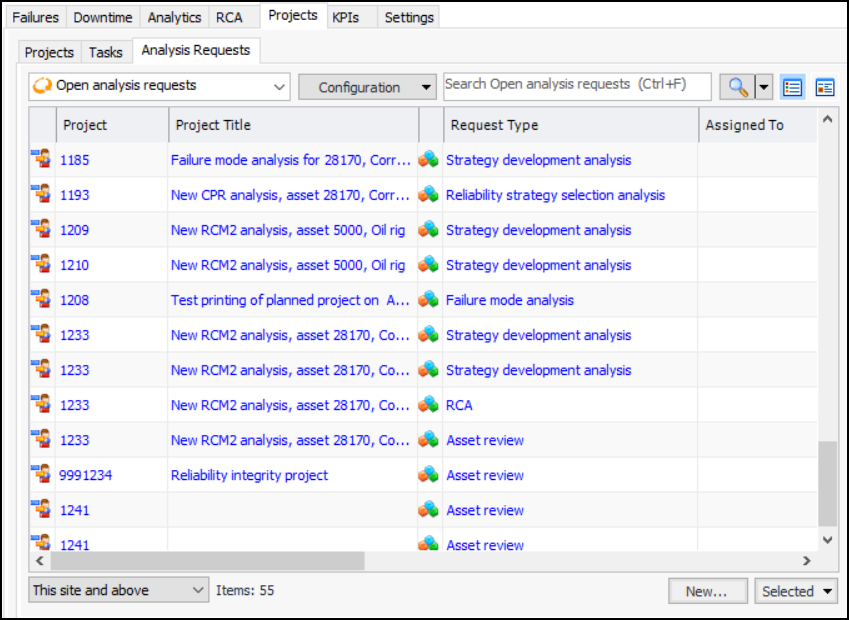
To Start an RCA from an RCA Request
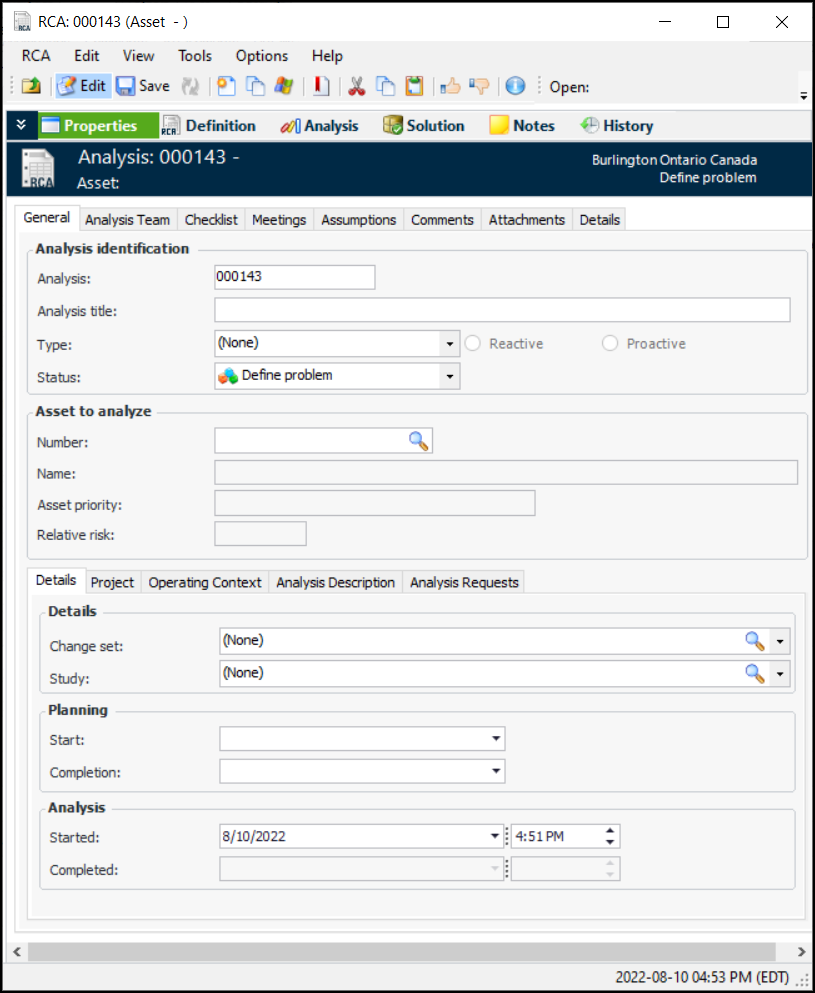
To Create an RCA from Scratch

 ), select the asset, and click