|
|


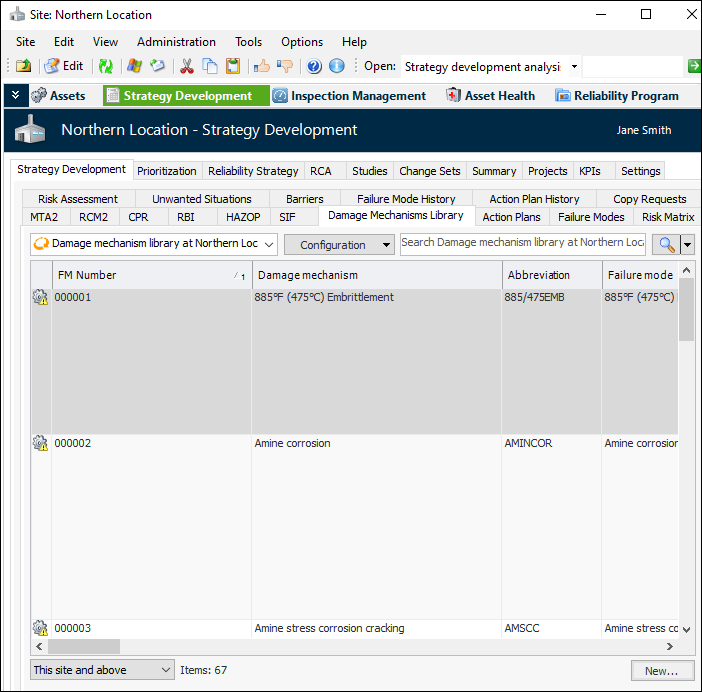
Adding Failure Modes to the RBI Damage Mechanisms Library
Tip: You can view a list of the failure modes that have been created from a library entry. Double-click the entry in the Damage Mechanisms tab to open its Failure Mode window. Select the Usage view to see a table of failure modes based on the damage mechanism.Showing or Hiding Information on a Failure Mode
Steps to Add a Failure Mode to the Damage Mechanisms Library
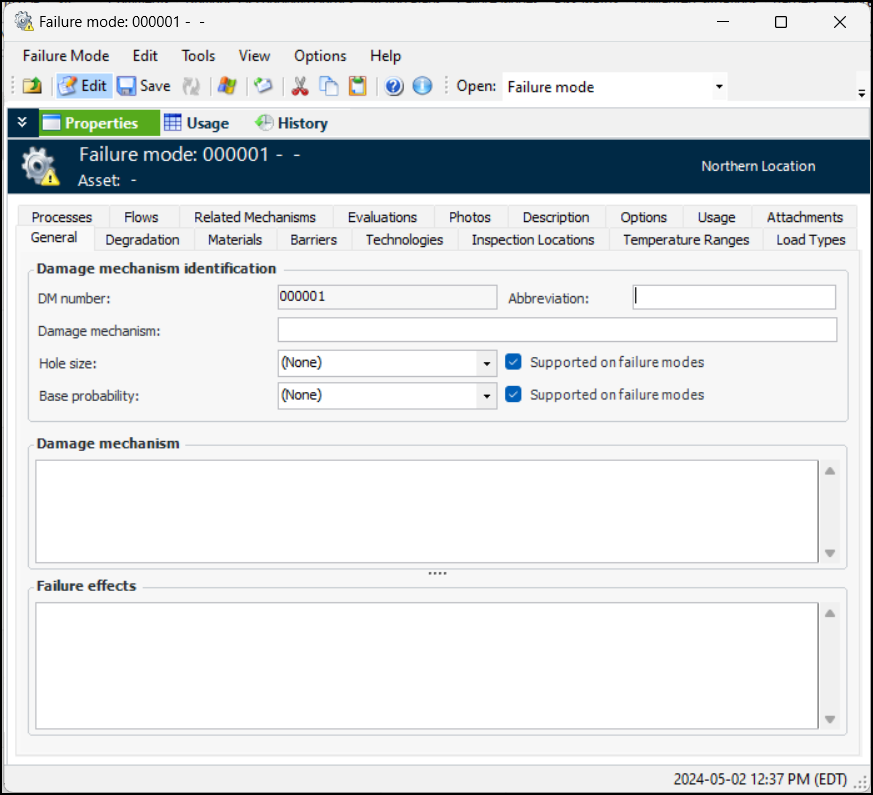
To Create and Identify the Failure Mode
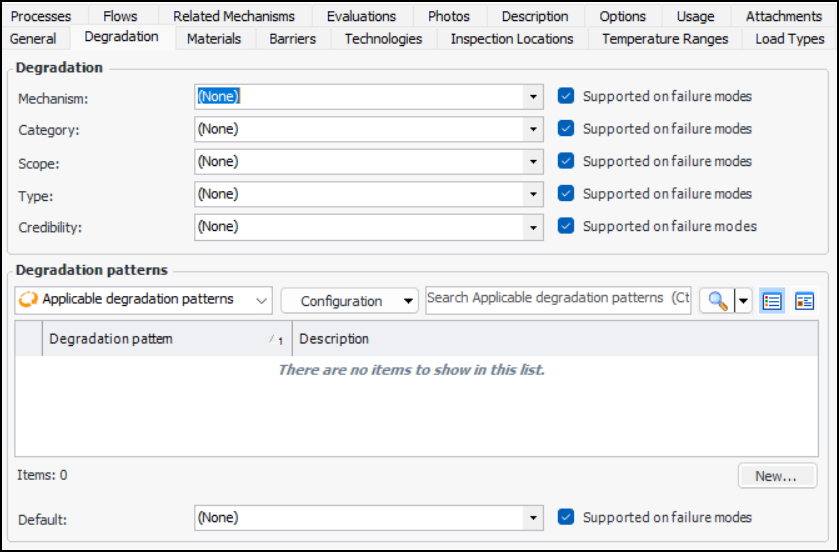
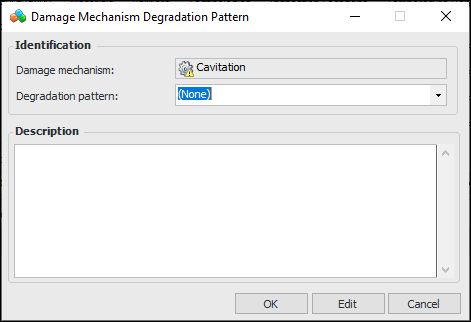
To Select Degradation Information
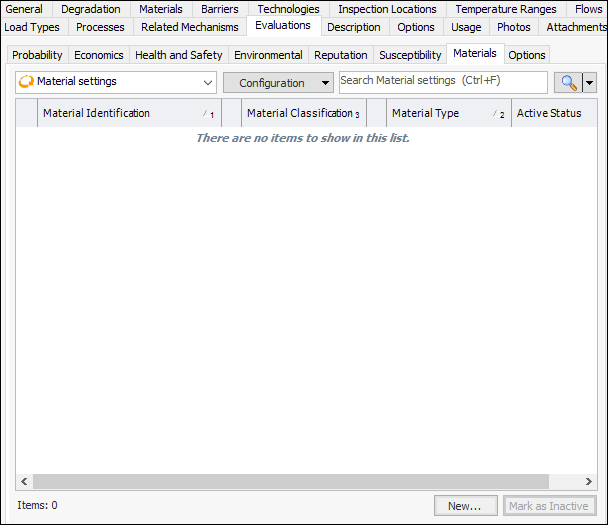
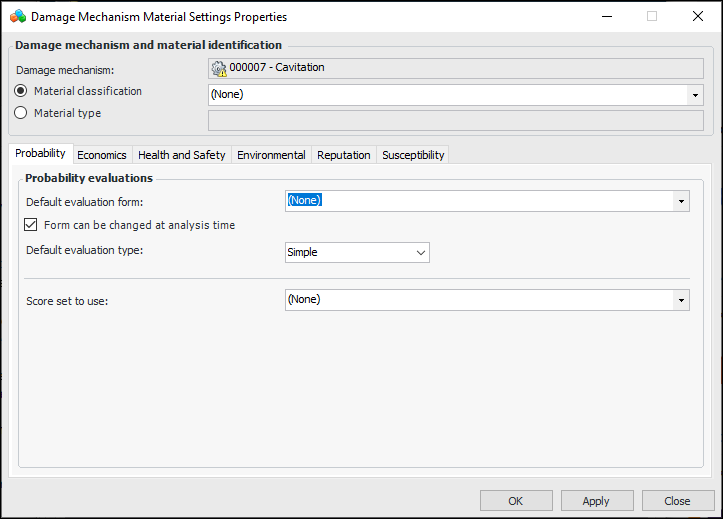
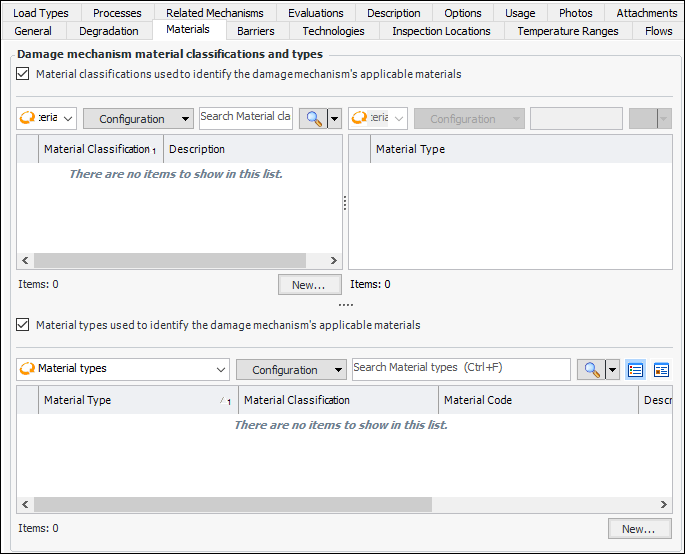
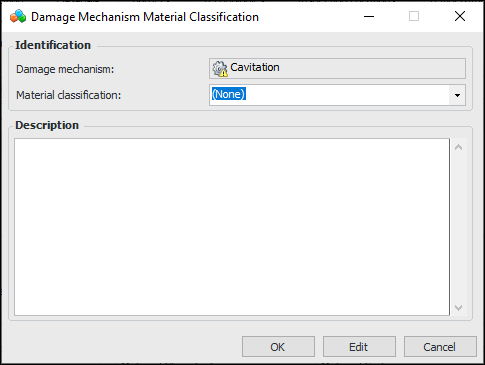
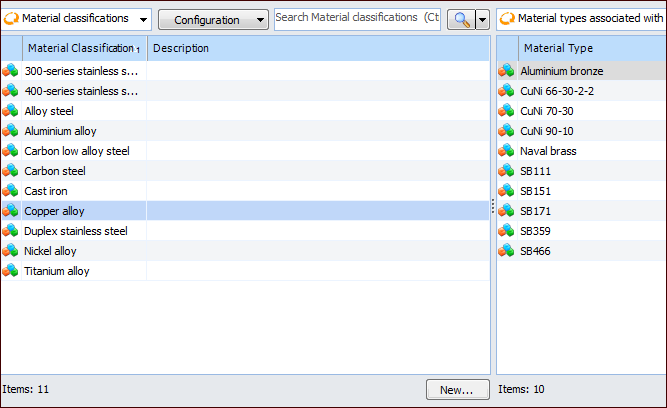
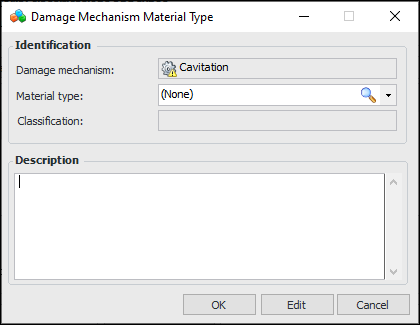
To Select Materials Information
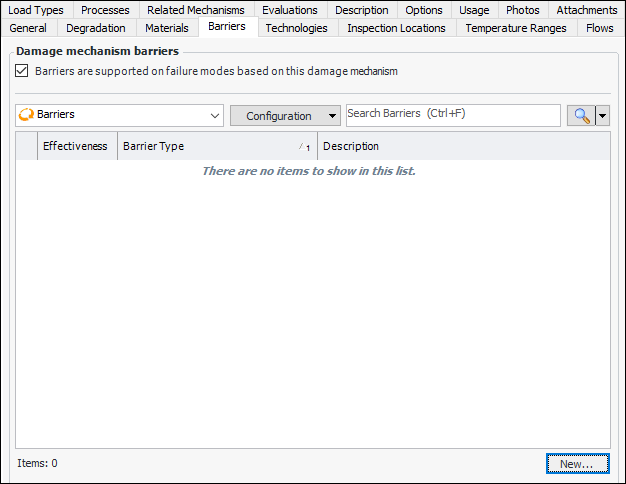
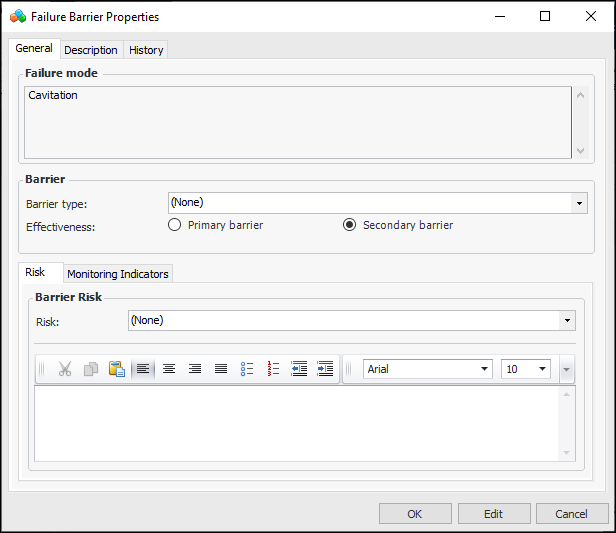
To Add Barriers
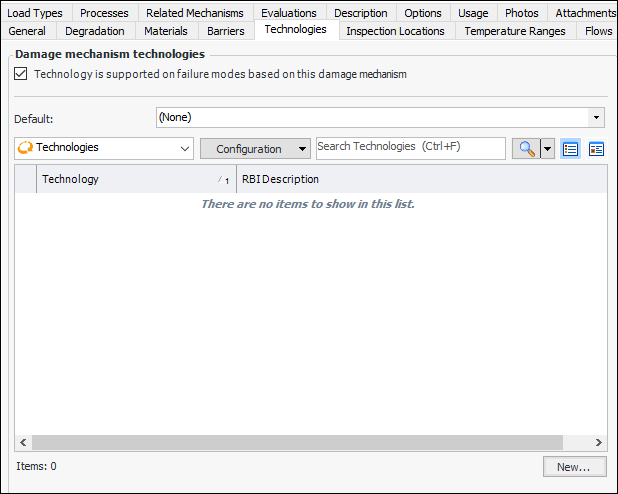
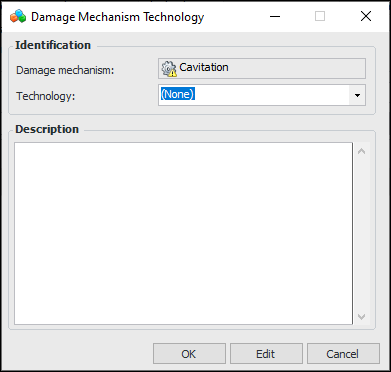
To Add Technologies
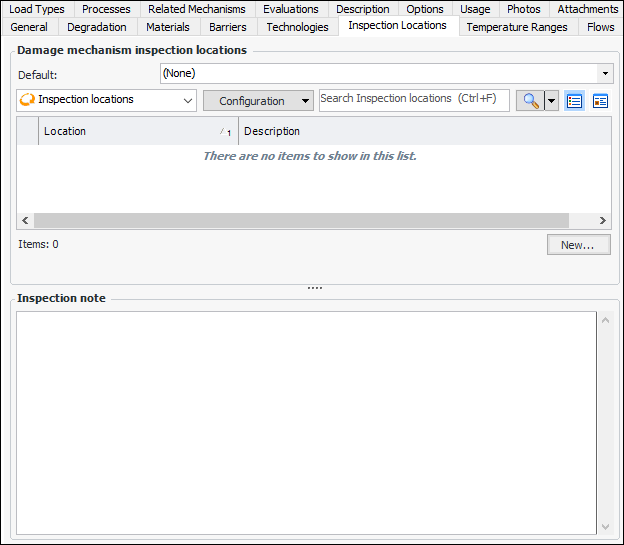
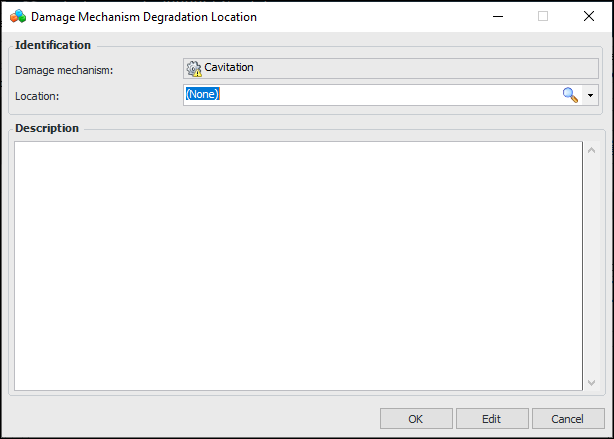
To Add Inspection Locations
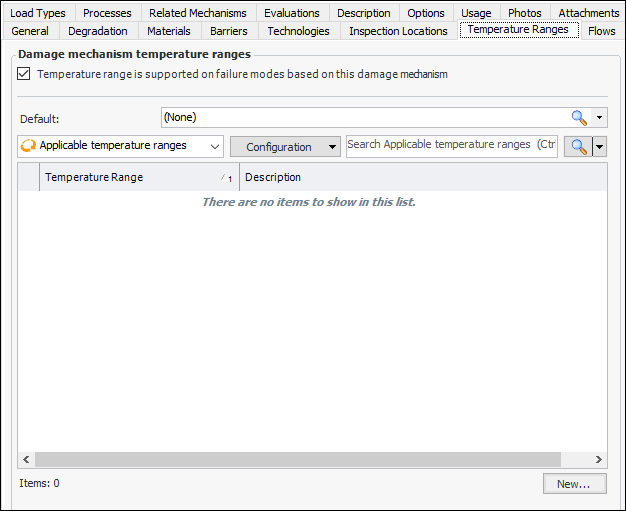
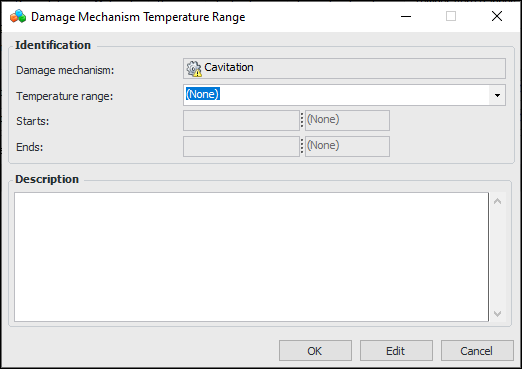
To Add Temperature Ranges
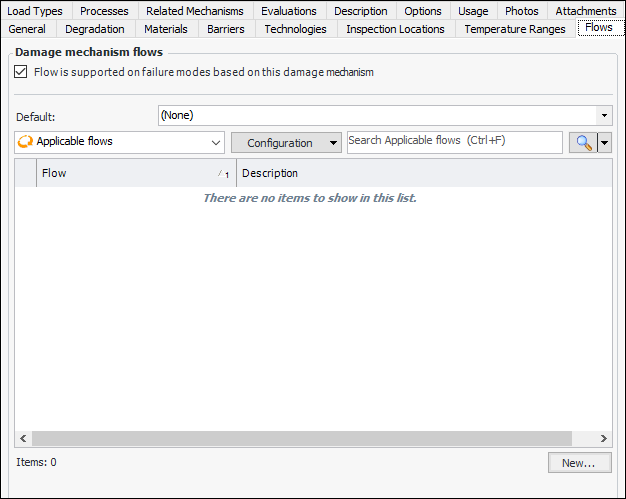
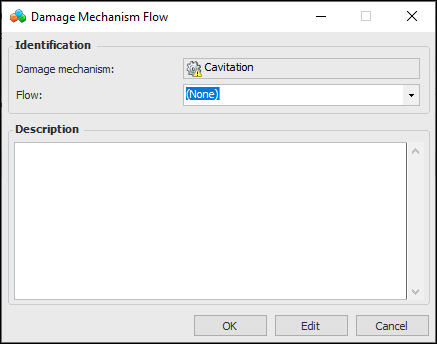
To Add Flow Conditions
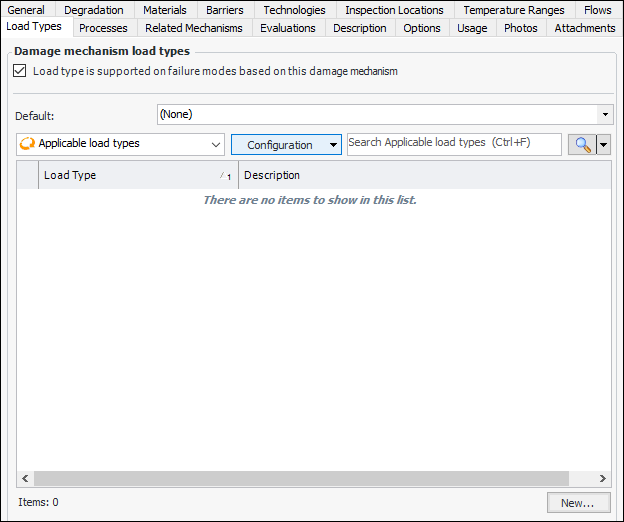
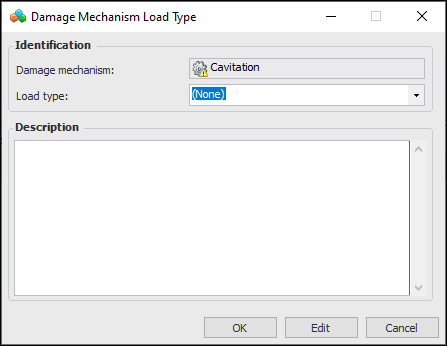
To Add Types of Loading
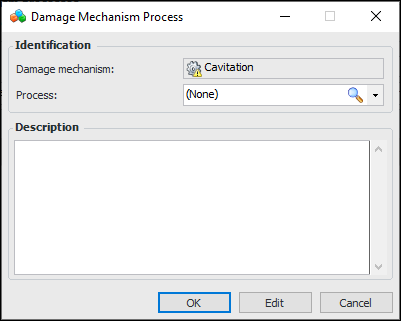
To Add Process Conditions
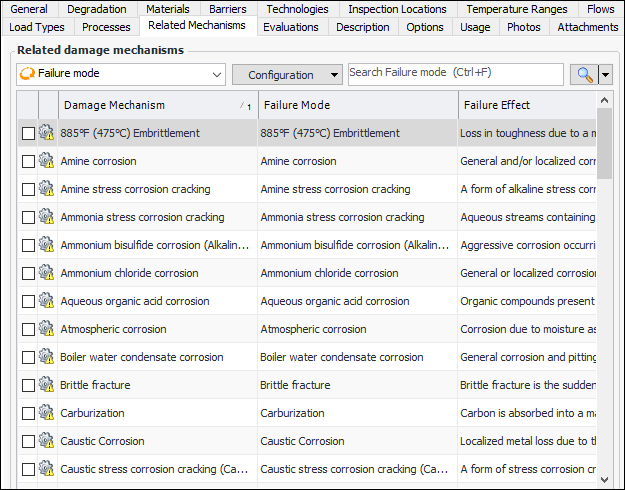
To Identify Related Damage Mechanisms
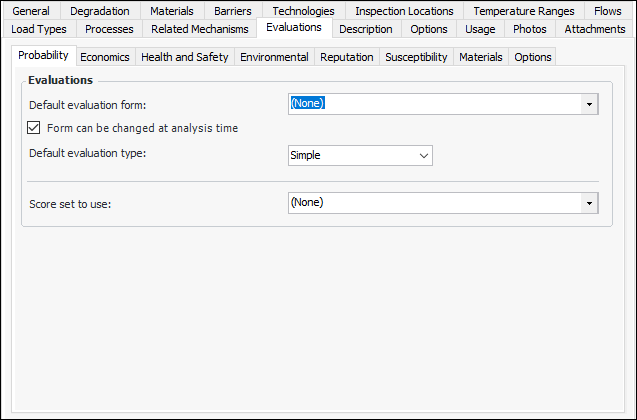
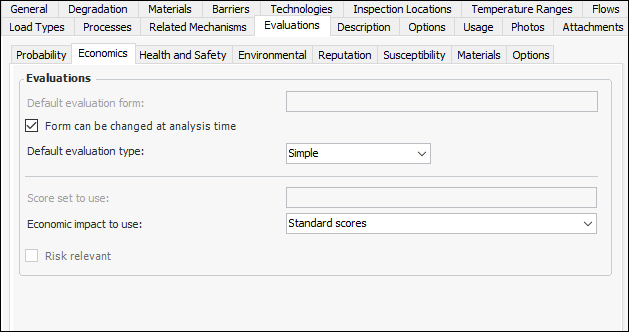
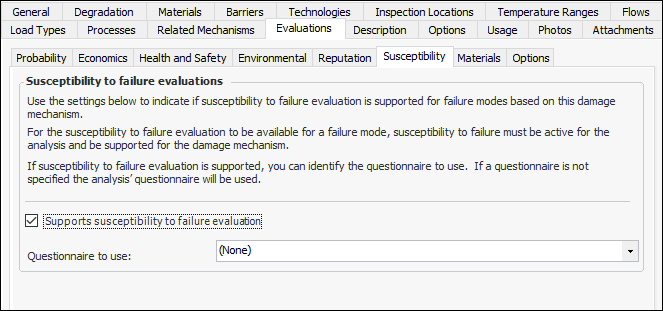
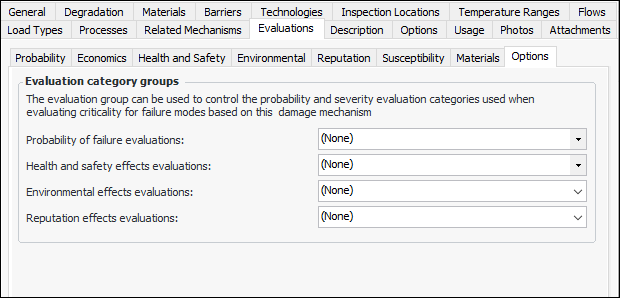
To Set Options for Evaluations
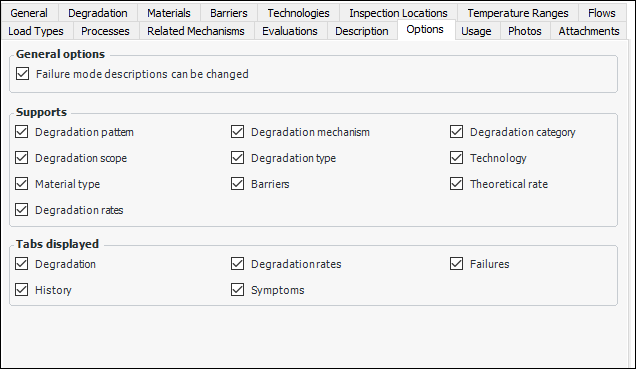
To Review Options for the Failure Mode
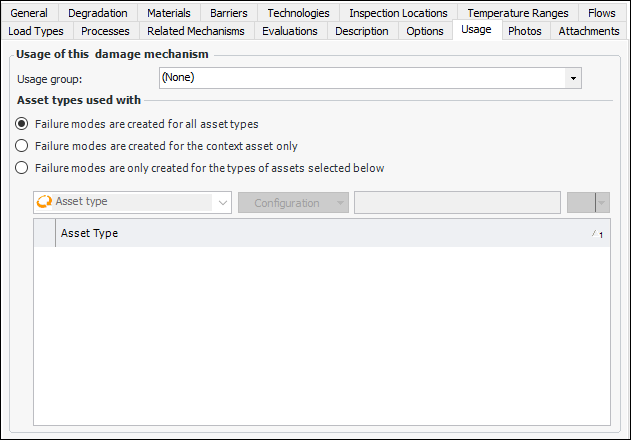
To Set Usage Options
To Add Inspection Photos and Attachments
 o
o