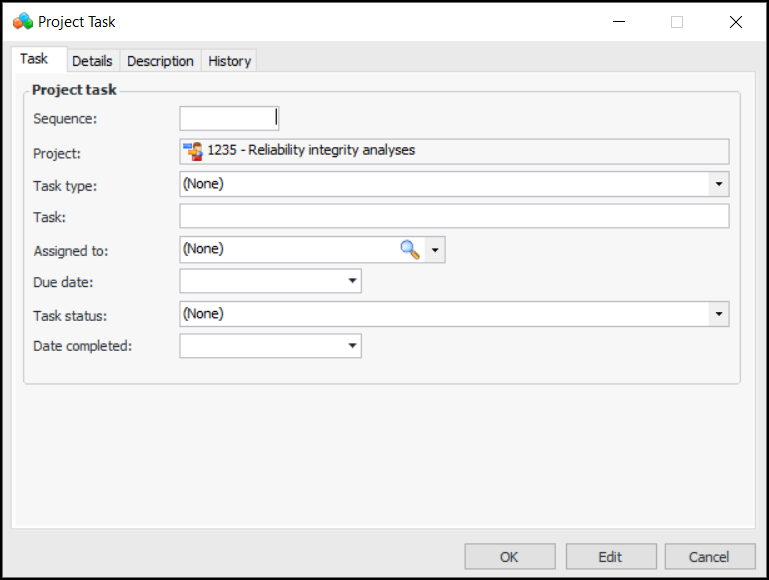
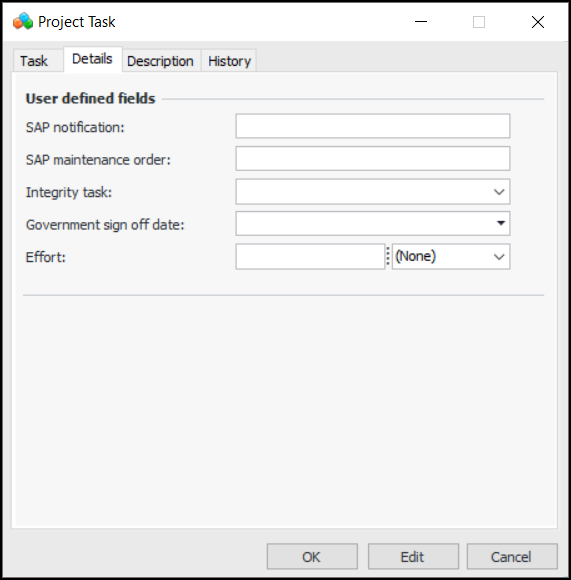
Adding Tasks to a Project

Project tasks provide a simple way to identify actions without requiring work orders and work order tasks. Project tasks have limited properties and are not meant to replace work orders when work planning is required.
Project tasks use sequence numbers to indicate the order in which they are completed. They can be assigned to employees and scheduled using due dates and dates completed. You can also use them to collect information in user-defined fields. The task’s status identifies its progress and determines whether or not its properties can be changed.
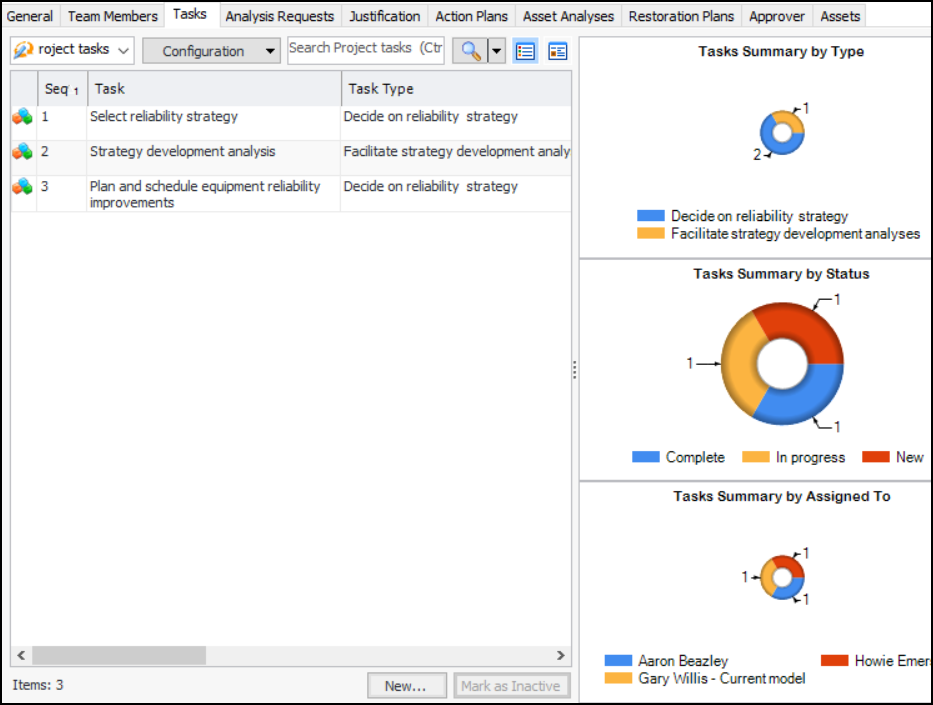
You can select a project task when linking an object (for example, an analysis) to a project. You can also add tasks to a project in the Tasks tab, as explained in this topic.
Tip: You can view all of the project tasks that have been created for the site. On a Site window, select one of the views that include projects. Select the Projects tab and the Tasks tab. The tab lists the tasks by project number.

To Add a Task to a Project

1.
In the Project window, select the Properties view, Tasks tab. This example shows information about tasks, their statuses, and assigned employees:
You can mark a task as inactive until it is ready to be used. Select the task in the table and click Mark as Inactive. The Mark as Inactive/Active dialog appears, where you can enter a comment. When you click OK, a confirmation message appears. Click OK. When you are ready, click Mark as Active to make the task available for use.
2.
3.
Click New. The Project Task dialog appears:
4.
5.
6.
In the Task box, provide a descriptive title for the task.
7.
In the Assigned to list, select the employee who will be responsible for the work.
8.
9.
Note: You can return to the task to enter its completion date.
10.
Select the Details tab. This tab displays any user-defined fields created for your organization. For example:
11.
12.
Select the Description tab to add more information.
13.
Click OK to save and close the task.