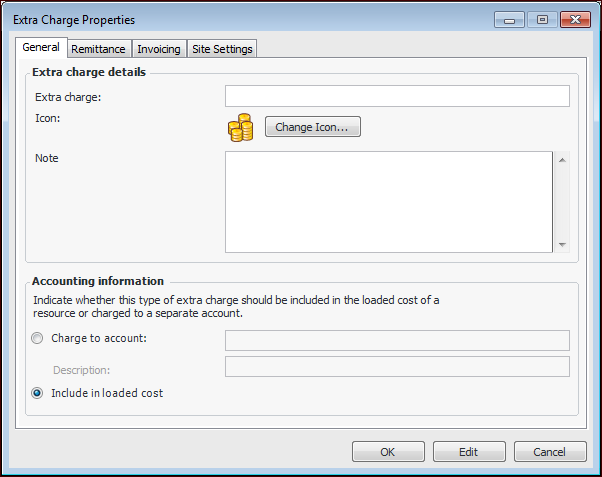
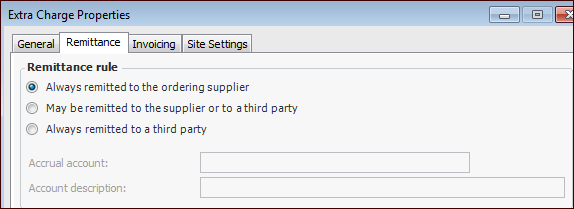
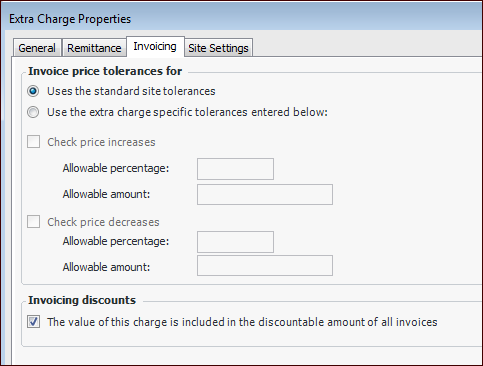
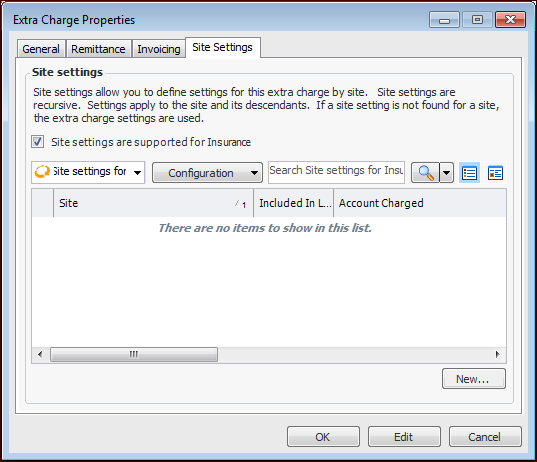
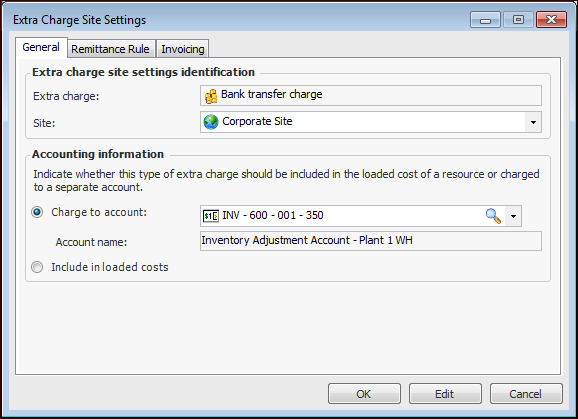
Setting up Extra Charges

You can enter information about standard extra charges that you pay on purchase orders, such as brokerage fees and shipping charges. When you have entered your extra charges, you can select the ones that apply to supplier resource prices.
Extra charges can also be added to invoice lines, extra charge invoice lines, supplier resources, supplier resource prices, contracts, service acknowledgments, and RFQ bid sheets.
You can create site-specific settings for extra charges. Settings include the site (which includes its descendants in the hierarchy), GL account or loaded costs option, remittance rule, price tolerances, and invoice discounts.
When you add an extra charge to an object and select the charge type, APM checks whether the charge supports site-specific settings. If the charge supports site settings:

To Set up Extra Charges

1.
From the Site window, select the Administration menu and then Purchasing Management Settings. The Purchasing Management Settings dialog appears.
Tip: You can also access purchase management settings from the Site window by selecting the Purchasing view, Settings tab, and the Purchase Order Management Settings node in the tree.
2.
Select the Extra Charges tab. This tab shows a list of extra charges.
3.
Click New. The Extra Charge dialog appears.
4.
On the General tab, enter the following settings:
5.
Select the Remittance tab.
6.
Always remitted to the ordering supplier: Select this option if the extra charge is always paid directly to the ordering or invoicing supplier.
May be remitted to the ordering supplier or to a third party: If you select this option, users can determine at the time of purchase where the extra charge will be remitted. You might use this option if some suppliers collect payment for the charge directly but others do not. You must also select an accrual account for this extra charge.
Always remitted to a third party: Select this option if the extra charge is always remitted to a third party, and it is never paid to the ordering supplier. You must also select an accrual account for this extra charge.
7.
Select the Invoicing tab:
8.
Select whether this extra charge uses the site’s price tolerance rules for invoicing or if specific price tolerances are required. To set up price tolerances specific to this extra charge, select Use the extra charge specific tolerances entered below and then enter the appropriate tolerances for price increases and/or decreases.
Check price increases: Select this option and provide an allowable percentage and amount. If the extra charge increases above one or both of these values, the invoice will require approval.
Check price decreases: Select this option and provide an allowable percentage and amount. If the extra charge decreases below one or both of these values, the invoice will require approval.
Example: A supplier issues an invoice for $850; the payment terms are 1% Net 10. The invoice consists of material costs of $800 and freight of $50. If the freight extra charge is not included in the discountable amount, the amount eligible for a discount is $800, and the discount is therefore $8. If the extra charge is set to be discountable, the amount eligible for a discount is $850, and the discount is therefore $8.50.
9.
To define settings specific to a site, select the Site Settings tab. Click Site settings are supported for.
Note: You might have to click Edit twice to save the extra charge policies and enable the New button.
10.
For each of the sites that require settings, click New. The Extra Chart Site Settings dialog appears, showing the settings that you set up in the Extra Charge Properties dialog. For example:
11.
12.
13.
Click OK to save the settings and close the dialog. The settings definition is added to the table.
14.
Click OK to save the extra charge.