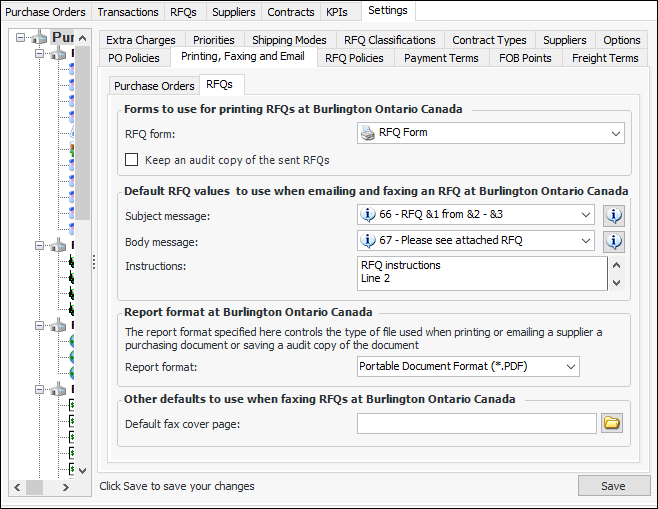
**Setting up RFQ Forms, Faxing, and Email Defaults

You can select the default RFQ and RFQ confirmation forms (reports) that will be used when an RFQ or RFQ confirmation is emailed, mailed (printed), or faxed to suppliers. APM provides default forms to use for this purpose.
If necessary, you can customize these forms for your organization. If you have created custom reports for either of these forms, you can select them as the default forms here. To modify the existing standard report, see Modifying Standard Reports. To create custom reports, see Creating a Custom Report.
Note: These forms do not apply to RFQs that are exported to an MS Excel spreadsheet.
If you will be emailing or faxing RFQ forms to suppliers using the MS Fax Server, you can also select a default subject line and cover page for the faxes that are sent. This information can also be edited when sending an RFQ form to a supplier.
Note: Cover page files must be in the *.cov file format and accessible on the server. You can create a cover page file using the MS Fax Cover Page Editor on the machine with the Fax Server.

To Set up RFQ Forms and Faxing Defaults

1.
From the Site window, select the Purchasing view and the Settings tab. Select the Purchasing Management Settings node in the tree.
2.
Click Edit to modify the site settings. The Edit button is replaced by the Save button.
3.
Select the Printing, Faxing and Email tab and then the RFQs tab.
4.
A copy of the RFQ is saved in format specified in the Report format list, accessible on the History view on the RFQ window.
Tip: You can also right-click in the message boxes and click Browse to select messages.
5.