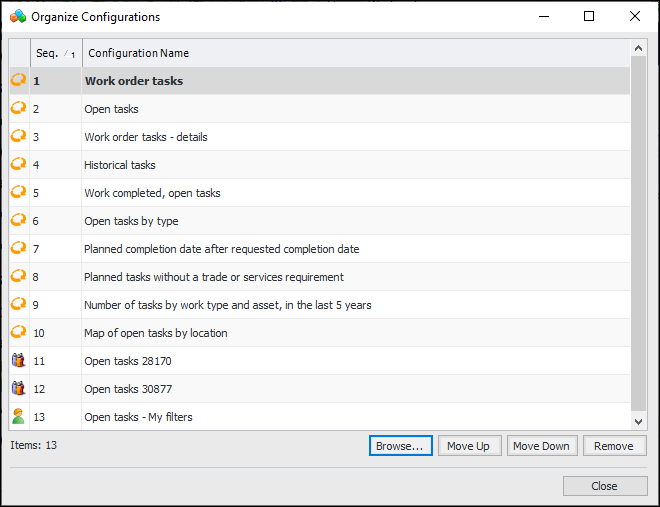
Organizing Table Configurations

You can select which configurations are available in configuration lists. This section explains how to change the order of configurations in a list, remove configurations from your list, and add configurations to the list.
Note: If you have administrator access, the changes you make affect all users.

To Change the Order of Configurations in Your Configuration List

1.
2.
In the Configuration list, click Organize. The Organize Configurations dialog appears. This dialog lists all of the configurations that appear in your configuration list. For example:
3.
4.

To Remove Configurations From a List

Removing a configuration that you did not create simply removes it from your list. Other users still have access to the configuration, and you can add it back to the configuration by clicking Browse. Removing a configuration to which you made ad hoc changes both removes it from the list and deletes your changes to the original configuration.
Warning: If you remove a configuration that you created, it will be permanently destroyed. If the configuration was shared with other users, it will also be removed from their configuration lists. If you delete a Customer configuration while running APMAPM Remote with the administrator privilege, APM users will no longer be able to access it.
1.
2.
In the Configuration list, click Organize. The Organize Configurations dialog appears. This dialog lists all of the configurations that appear in your list.
3.
4.
5.

To Add Configurations to a List

1.
2.
In the Configuration list, click Organize. The Organize Configurations dialog appears.
3.
Click Browse. The Subscribe to Configurations dialog appears. This dialog lists all available configurations for this table.
4.
Select the configuration(s) you want to add to the list and click OK. The configurations now appear in the list.
5.