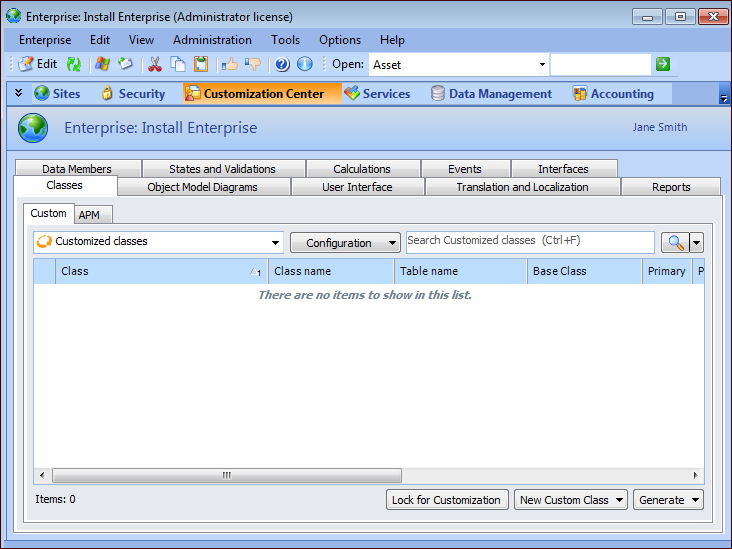
Navigating the Customization Center and ObjectQuest Windows

The APM Customization Center is the view you will use to perform most of your object model and UI customizations. ObjectQuest is the system in which the APM object model is constructed. You can use the ObjectQuest windows to view and learn about the APM object model.
Note: To perform object model and UI customizations in the Customization Center, you must be logged on as an APM administrator. Your APM user ID must specify the administrator privilege; you must use a thick-client instance to launch the product; and the instance shortcut must end with “ -admin”.

To Navigate to the Customization Center

1.
2.
Select the Customization Center view.
This is the main window which you will use for working with customizations.
Tip: You can view the total of customized attributes, relationships, methods, enum types, views, panels, tabs, audited data members, audited methods, messages, state groups, validation rules, interface classes, and reports, for each customized class, from the “Custom Class Statistics” configuration.

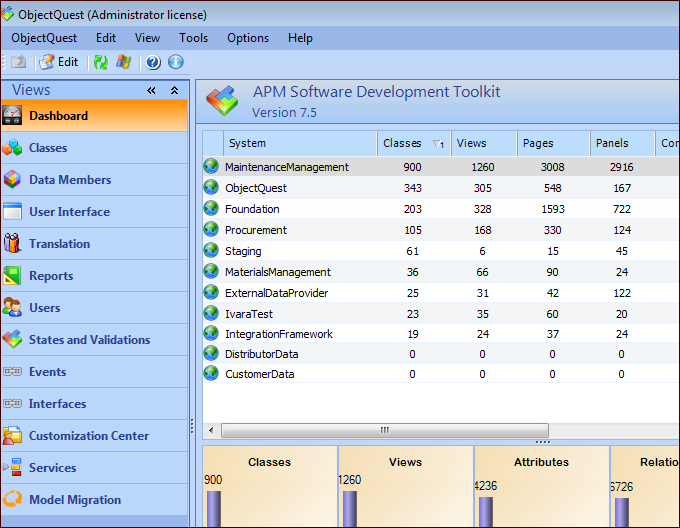
To Navigate to ObjectQuest

1.
Create a shortcut to ObjectQuest: right-click the desktop and click New and then Shortcut. The Create Shortcut wizard appears.
2.
In Type the location of the item, enter the path to the IvaraClient.exe within quotation marks and add the following suffixes, which represent local server, plus the class, object, view IDs, the thick client instance name, and the administrator switch:
-l -c:1301 -o:1 -v:31904 -i:<thick client instance name> -admin
For example:
‘‘C:\Program Files\Bentley\AssetWise Performance Management\bin\IvaraClient.exe” -l -c:1301 -o:1 -v:31904 -i:APMDatabase -admin
3.
Click Next. Enter a name for the shortcut. For example, enter ObjectQuest.
4.
Click Finish to close the shortcut wizard.
5.
This opens the main ObjectQuest window. From this window, you can look at all of the APM systems and classes.
Notice that the CustomerData system is shown, along with the core APM systems: MaintenanceManagement, ObjectQuest, Foundation, Procurement, and MaterialsManagement, as well as the Staging, ExternalDataProvider, IvaraTest, and IntegrationFramework systems. The CustomerData system is the only system you will be able to make changes in. You can view the classes in the other systems, but they will be read-only.
6.
Select the Classes view.
If you have created custom classes, you might notice that, in some cases, there are two classes that have the same name:
7.
In the Enterprise window, Customization Center view, open a custom class (if one is shown there). The Class window for the custom class appears. This window shows the customizations for this class. For example:
Tip: From the ObjectQuest window, you can double-click the custom class to open it in the Customization Center.
The Data Members view lists all of your custom attributes, relationships, methods, and enumerated list types for the class.
Tip: You can also view the base APM data members by changing the selection in the drop-down list at the bottom of each tab. For example, on the Custom Attributes tab, select the Custom and Product Attributes option. APM data members are shown in gray.
8.
Select the User Interface view, Views tab, and then the Views tab. This table shows all of the views and panels currently customized for this class.
9.