|
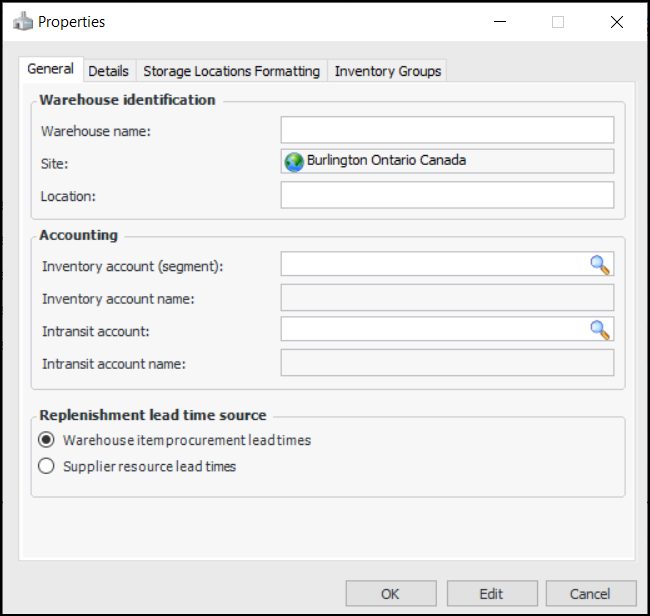
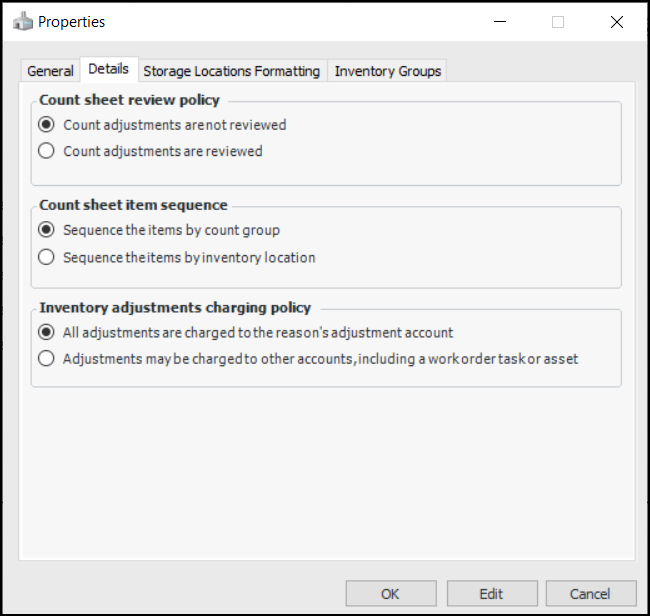
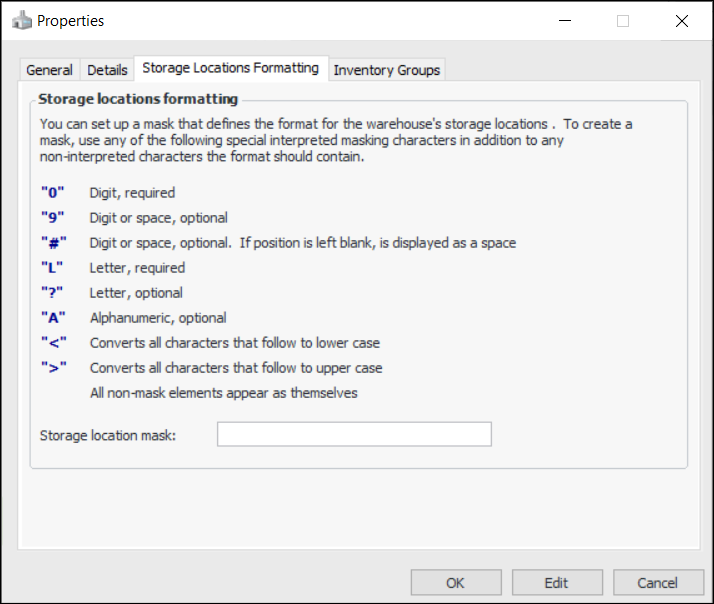
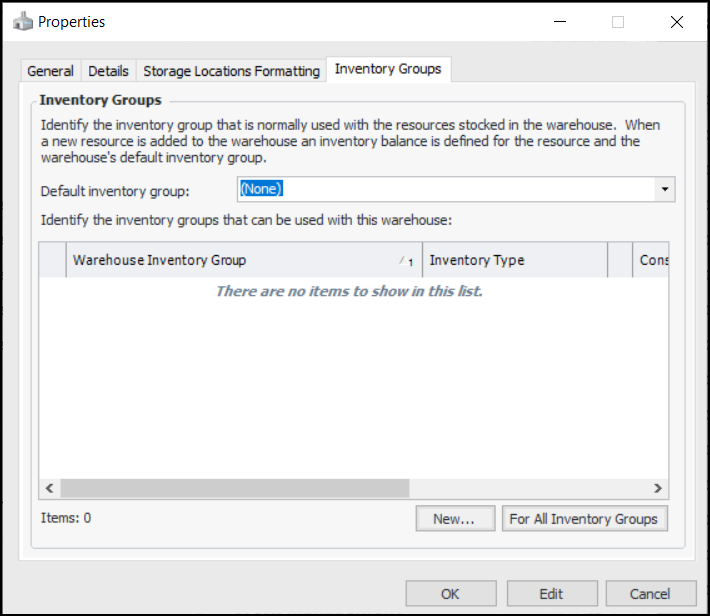
**Setting up Warehouses
Inventory Groups
Note: Before you create a warehouse you must have created at least one inventory group. See **Setting up Inventory Groups.To Set up Warehouses
1. On the site’s Resource Management view, select the Settings tab. Select the Inventory Settings node in the tree.Tip: You can also select the site’s Administration menu, Resource Management Settings, and then Resources. The Resource Management Settings dialog appears.
2. Select the Warehouses tab. This tab shows a list of warehouses for the site.
3. Click New. The Properties dialog appears:
4. Enter the settings on the General tab:
• Warehouse item procurement lead times: The system will use the procurement lead time entered on each warehouse item.
• Supplier resource lead times: The system will use the ‘order-to-receipt’ time entered on the supplier resource.
5. Select the Details tab.
• Count adjustments are not reviewed: The adjustments are created and posted when the counts are processed.
• Count adjustments are reviewed: The adjustment transactions are created in a non-posted state. The adjustments must be reviewed and posted before the inventory balances are updated.
• Sequence the items by count group and pick sequence: Count groups are processed by sequence number. Items in the group are ordered by their pick sequence numbers.
• Sequence the items by inventory location: Items are ordered according to their primary storage locations.
• All adjustments are charged to the reason's adjustment account: All adjustments are charged to the GL account specified on the adjustment reason.
• Adjustments may be charged to other accounts, including a work order task or asset: The adjustment may be charged to a work order task, asset, or GL account. For example, if you review count adjustment transactions before posting, setting this option allows users to change the charging information on these transactions.
7. Select the Storage Locations Formatting tab.
9. Select the Inventory Groups tab.
10. Select an inventory group from the Default Inventory Group list. Unless the warehouse is for consignment inventory, select the inventory group for your regular inventory.
11. To add another inventory group to the warehouse, click New. The Warehouse Inventory Group dialog appears. Select the inventory group that you want to link to the warehouse, and then click OK.
12. When you are finished, click OK to close the warehouse’s Properties dialog. APM creates a new warehouse and adds it to the list.
13.
14. Select the Default warehouse for the site. This warehouse will appear by default when you create a resource demand, and can be changed when necessary.