|
Setting up Secondary Status Codes and Groups
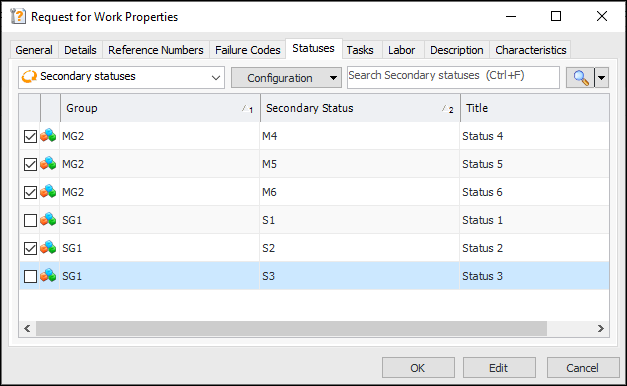
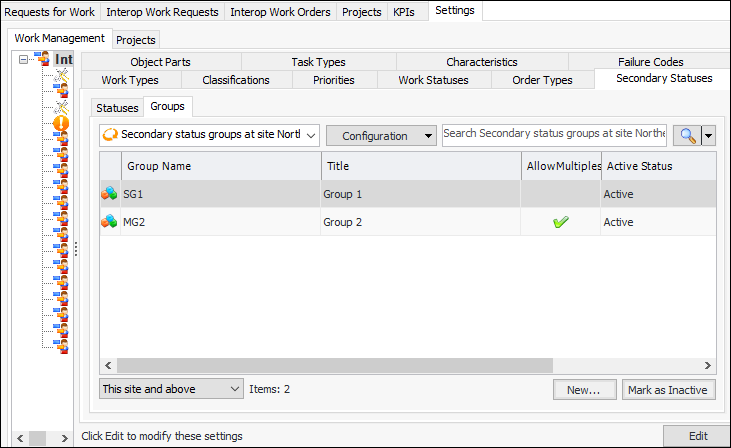
You can also create status groups to organize status codes and to specify how codes are used. For example, when setting the group’s properties, you can select Allow multiples. This means that, when creating a request for work, you can select more than one secondary status code from that group. In the following example, statuses from two groups are available: SG1 does not allow multiples but MG2 does.To Set up Secondary Status Groups
1. From the Site window, select the Work Management view and the Settings tab. Select the Work Management tab and the Interoperability work management settings node in the tree.Tip: You can also select the Administration menu and then Work Management Settings. The Work Management Settings dialog appears.
2. Select the Secondary Statuses and Groups tabs. This tab lists the secondary status groups at the site.
3. Click New. The Secondary Status Group Properties window appears.
7. Select Allow multiples if two or more codes from the group are allowed to be selected in requests for work.
8. To select a different graphic to represent the code, click Change Icon, select a graphic, and click OK.
9. Select the Description tab to enter information about the group.
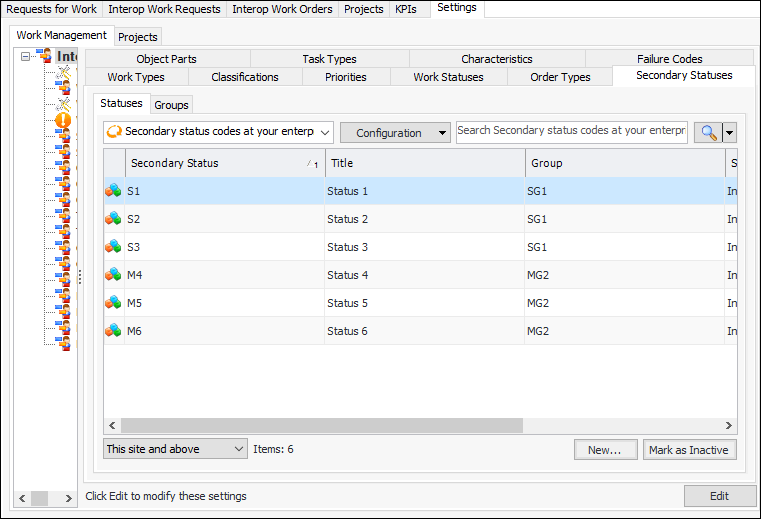
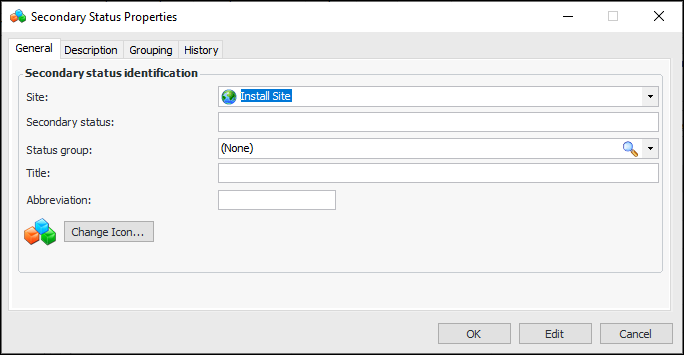
10.To Set up Secondary Statuses
1. From the Site window, select the Work Management view and the Settings tab. Select the Work Management tab and the Interoperability work management settings node in the tree.Tip: You can also select the Administration menu and then Work Management Settings. The Work Management Settings dialog appears.
2. Select the Secondary Statuses and Statuses tabs. This tab lists the secondary statuses at your enterprise.
3. Click New. The Secondary Status Properties window appears:
7. To select a different graphic to represent the code, click Change Icon, select a graphic, and click OK.
8. Select the Description tab to enter information about the code.