|
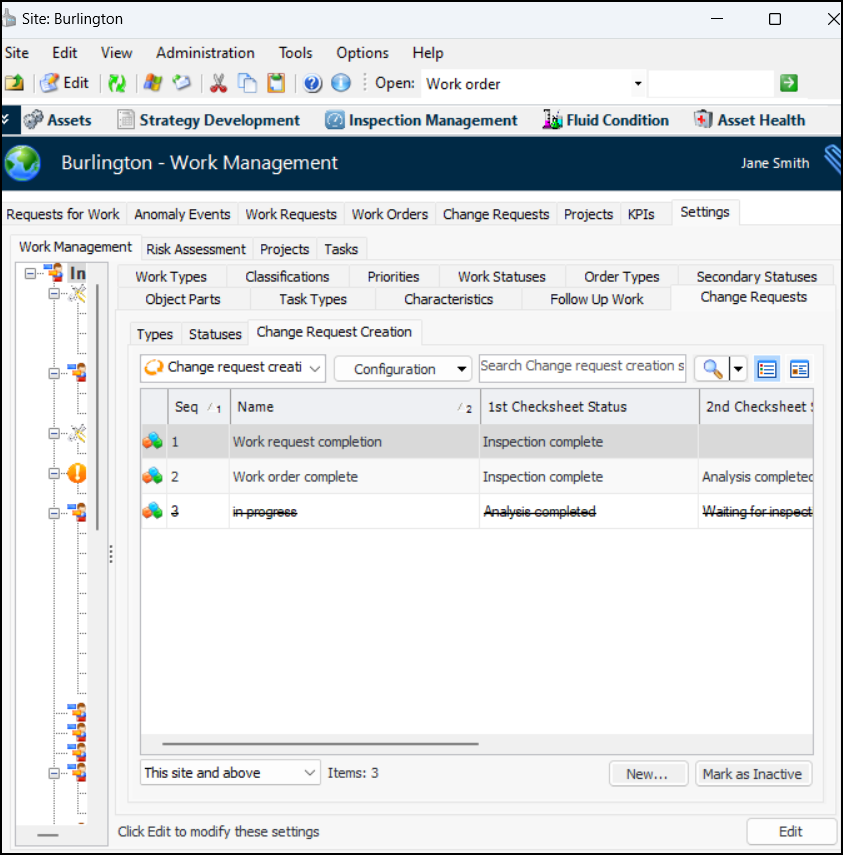
Defining Change Request Creation Settings
•
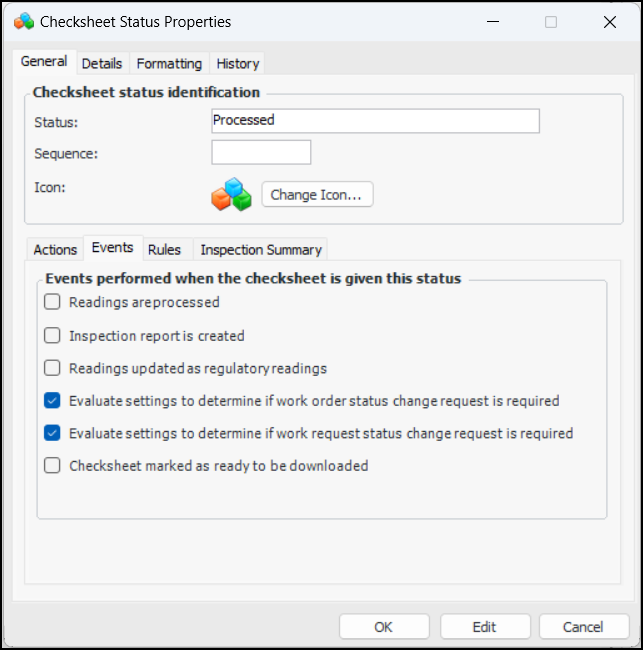
•To Updated Checksheet Statuses
1. From the Site window, select the Inspection Management view, the Settings tab, and then the Checksheets tab. Select the Checksheet Settings node in the tree.Tip: You can also click the Administration menu, Inspection Management Settings, and then Checksheet Settings. The Checksheet Settings window appears.
2. Select the Checksheet Statuses tab.
5.
7. Click OK to save your changes and close the window.
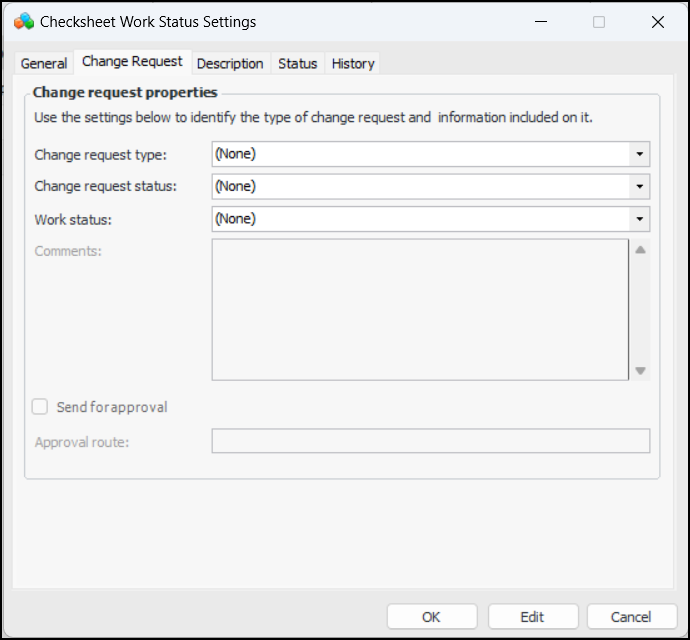
To Define Change Request Creation Settings
1. From the Site window, select the Work Management view and the Settings tab. Select the Work Management tab and the Interoperability work management settings node in the tree.Tip: You can also select the Administration menu and then Work Management Settings. The Work Management Settings dialog appears.
2. Select the Change Requests tab and then the Change Request Creation tab. This tab lists the change request creation settings for the site:Tip: While settings are being developed, you can mark them as inactive to prevent them from being selected. When you are ready to enable the settings, select it in the table and click Mark as Active.
3. Click New. The Checksheet Work Status Settings dialog appears:
• All checksheets match one of the statuses – All of the work document’s associated checksheets are complete. That is, their checksheet statuses match one of the statuses selected in the settings
• At least one checksheet matches one of the statuses selected in settings – One (or more) of the checksheets associated with the work document has a status that matches a status selected in the settings
• No checksheet matches any of the statuses – None of the checksheets associated with the work document have statuses that match any of the statuses selected in the settings
5. Select the Change Request tab.
7. Select the Description tab to add more information.The Status tab displays the active status and history.The History tab displays information about when the set of settings was created and updated.
8. Click OK to save the settings and close the dialog.