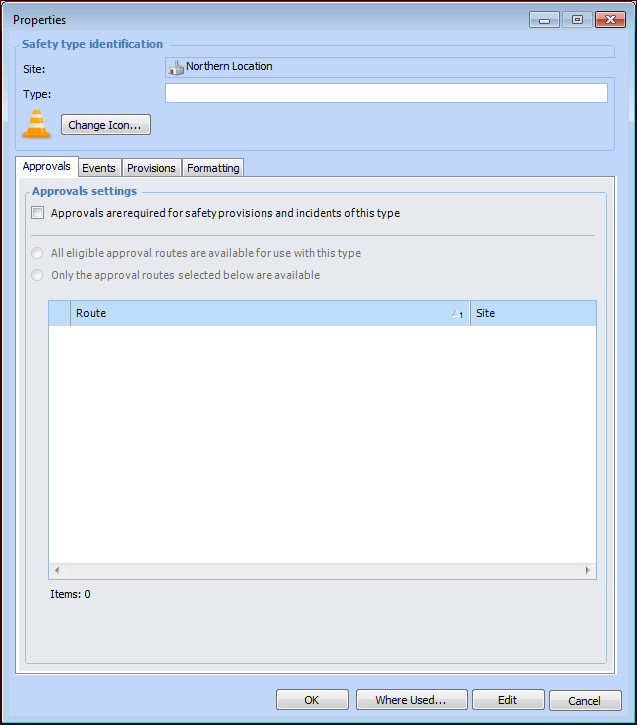
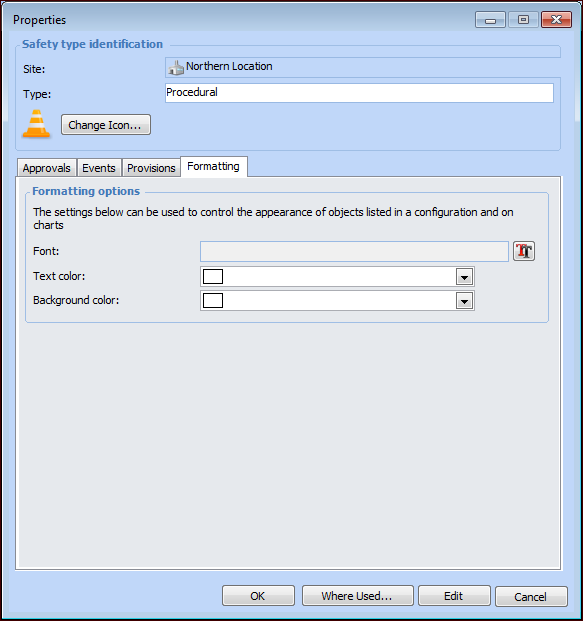
Setting up Safety Types

Safety types are user-defined settings that control the status, approval options, and appearance of the objects to which they are applied. The type’s definition specifies whether it can be used with safety override incidents, safety provisions, or both.
The type controls the status assigned to an object when a system event occurs. For example, when a safety override is created and given the type “Overfill protection”, its status could automatically be set to “Incident in progress”.
Safety types work closely with safety statuses. When you define the statuses for the site, you can select rules that apply to the objects given each status. For example, in a typical implementation, a safety provision with the status “New” can be updated.
Safety types determine if an object must be sent for approval, and they can specify the approval routes for the object. Type definitions also include formatting choices, such as the font, text color, and background color applied to objects when shown in tables or charts.
Tip: In order for an object to be sent for approval, its safety status must allow it, the site’s approval settings must require it, and an approval route must be defined and available.
This topic explains how to set up safety types. See Safety Statuses and Types for examples of events and their statuses. For information about setting up statuses, see Setting up Safety Statuses.

To Set up a Safety Type

1.
On the site’s Safety Management view, select the Settings tab, and the Safety Management Settings node in the tree.
Tip: You can also select the site’s Administration menu and then Safety Management. The Safety Management Settings dialog appears.
2.
Select the Types tab. This tab shows the safety types defined for the current site and above.
3.
Click New. The Properties window appears.
4.
5.
6.
To specify the approval routes available for objects of this type, click Only the approval routes selected below are available. The table lists routes that approve safety objects. Select one or more routes.
7.
Select the Events tab. Here is an example when approvals have been enabled:
8.
9.
10.
Allows override incidents to be updated as started by the Update Open Override Incidents command, executed manually (site’s Tools menu, Safety Management) or using a scheduled action. The selected status, for example “Incident in progress”, is applied to the incident when the update occurs. The Mark incident as started option should be enabled on the safety status.
11.
12.
Depending on the settings on the Options tab, a type of information can be mandatory, optional, or unavailable. Mandatory information must be included in the provision before it can be approved or marked as accepted. If a type of information is unavailable, its tab does not appear in the Safety Provision Version window. Select the appropriate options:
13.
Select the Health and Safety tab.
The options on this tab and the Environmental, Economic, and Reputation tabs control the appearance of the Usage view in the Safety Provision Version window. This view lists the failure modes that use the provision version. It also shows the highest scores for each category and for each consequence severity (for example, Safety) in the failure modes’ criticality analyses. By default, the summary looks something like this:
Select the Environmental, Economic, and Reputation tabs to adjust their settings as needed.
14.
Select the Formatting tab if you wish to distinguish the type from others when it appears in tables and charts.
15.
16.
When you are finished defining the type, click OK. The type is added to the Safety Types table.