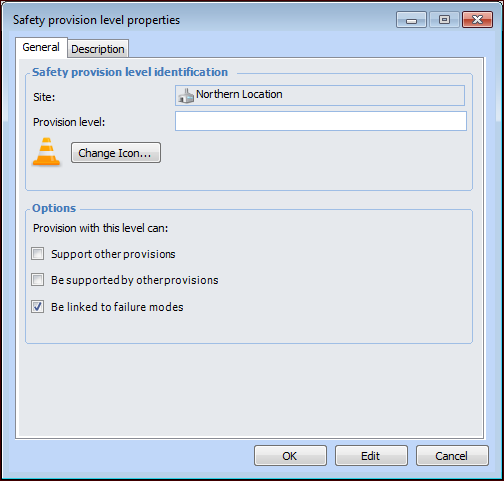
Setting up Safety Provision Levels

A safety provision describes the systems and processes that are put in place to prevent or mitigate a hazard scenario. Its level indicates the provision’s role: it can be the primary means of mitigating risk or it can support a primary level. The setting on the provision level determines whether or not provisions with the level can be linked to failure modes on SIF and HAZOP analyses.
Tip: A demand-reducing provision is put in place to reduce the demand placed on the asset, for example, by reducing flow or pressure.

To Set up a Safety Provision Level

1.
On the site’s Safety Management view, select the Settings tab, and the Safety Management Settings node in the tree.
Tip: You can also select the site’s Administration menu and then Safety Management. The Safety Management Settings dialog appears.
2.
Select the Provision Levels tab. This tab shows the provision levels defined for the site and below.
Tip: Select This site and above from the list at the bottom of the table to see provision levels defined on the Install site.
3.
Click New. The Safety Provision Level Properties dialog appears.
4.
5.
To change the provision level’s identifying graphic, click Change Icon, select another graphic, and click OK.
6.
Support other provisions – Provisions with this level can be selected to support other provisions
Be supported by other provisions – Provisions with this level can have supporting provisions
Be linked to failure modes – Provisions with this level can be selected on SIF or HAZOP failure modes to reduce their calculated risk levels
7.
On the Description tab, provide additional information about the provision level.
8.
Click OK. The provision level is added to the table.