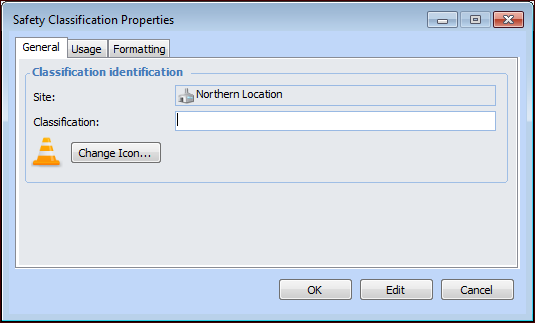
Setting up Safety Classifications

You can define safety classifications and use them to display safety provisions and override incidents in groups that are relevant for your site. You can filter and sort lists of provisions by classification in table configurations. You can also view similar override incidents in a table; that is, incidents linked to provisions with the same classification.
When you select a safety classification for a provision, the list is filtered to include only those classifications that are valid for the provision’s category.
This topic explains how to set up safety classifications. For information about setting up categories, see Setting up Safety Categories.

To Set up a Safety Classification

1.
On the site’s Safety Management view, select the Settings tab, and the Safety Management Settings node in the tree.
Tip: You can also select the site’s Administration menu and then Safety Management. The Safety Management Settings dialog appears.
2.
Select the Classifications tab. This tab shows the safety classifications defined for the site.
3.
Click New. The Properties window appears.
4.
5.
To replace the image, click Change Icon, select an image, and click OK.
6.
Select the Usage tab. By default, both provisions and incidents are selected. Adjust the settings as needed.
7.
Click the Formatting tab to change the classification’s appearance in tables and charts. You can select font for text, text color, and background color.
8.
Click OK. The classification is added to the table on the Classifications tab.