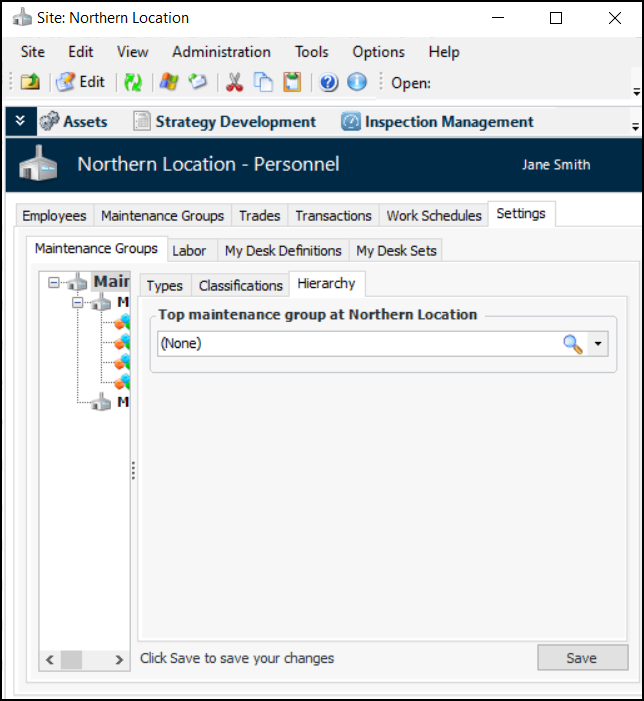
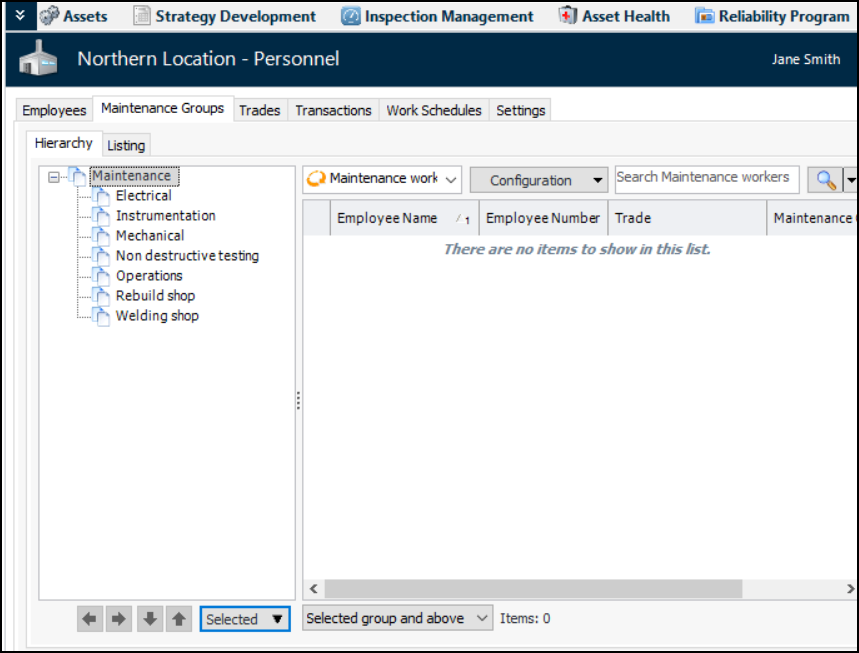
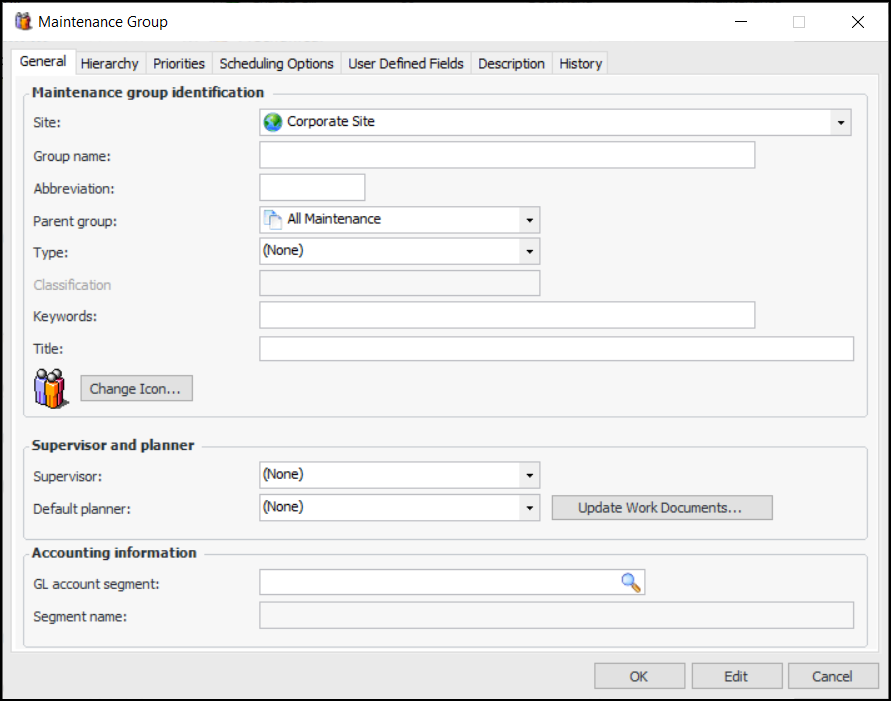
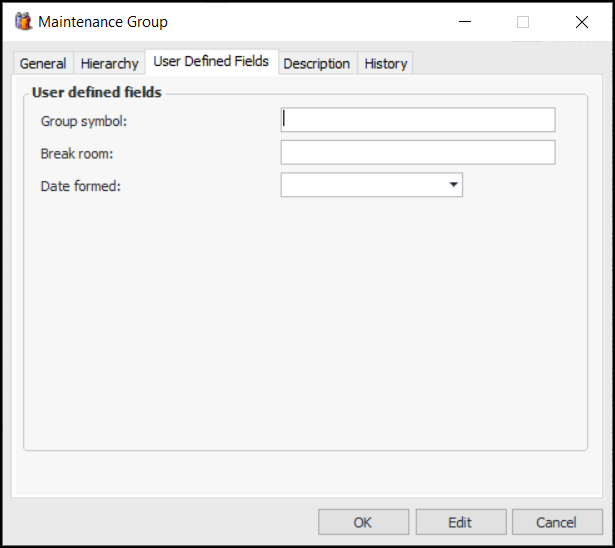
Setting up Maintenance Groups

Employees who are maintenance workers are usually organized into maintenance groups. You can select the maintenance group for an employee on the employee’s APM employee record. Work planners will be able to specify which maintenance group will perform the work on each work order task.
When you create work schedules, you can create different schedules for individual maintenance groups. If you are tracking employee availability on schedules, APM uses the maintenance group to determine which employees to include on the schedule.
You can organize your maintenance groups into a hierarchy. The maintenance group hierarchy can reflect the reporting system of your site’s maintenance groups. If a maintenance group uses simple scheduling, it must be included on the maintenance group hierarchy before its simple schedule is created or selected.
APM comes with some maintenance groups already entered. You can edit these default groups, delete any groups that you will not be using, or add your own groups. This topic explains how to select the top maintenance group in the site’s hierarchy and add new maintenance groups.

To Set up Maintenance Groups

1.
From the Site window, select the Personnel view and the Settings tab. Select the Maintenance Group tab, and the Maintenance Group Settings node in the tree.
Tip: You can also click the Administration menu and then Personnel Management Settings. The Personnel Management Settings dialog appears.
2.
Click Edit to modify the site settings. The Edit button is replaced by the Save button.
3.
Select the Hierarchy tab.
4.
Tip: If you need to create a new group, right-click the Top maintenance group box and click New. Enter the maintenance group properties (as described next), and click OK.
5.
Click Save.
6.
Select the site’s Personnel view, Maintenance Groups tab, and Hierarchy tab. For example:
The top group that you selected is shown at the top of the hierarchy.
7.
Tip: You can also select the Listing tab and click New.
The Maintenance Group dialog appears:
8.
On the General tab, enter the following information:
9.
Select the Hierarchy tab to view the maintenance group’s location in the hierarchy. You can modify the position as needed.
10.
Select the Priorities tab to restrict the work priorities that are available for selection on new requests for work associated with the maintenance group. Select Restrict the priorities and select the priorities that will be available for this group. For example:
Note: Support for restricting work priorities is generally available. To use this functionality, you must first enable feature 64. In the Enterprise window, select the Features view and the Enabled Features tab. Click Browse, select “Ability to restrict the priorities used on a work request based on the maintenance group” and click OK. If APM is running as a smart client, click Refresh Enabled Features on the server. Then restart the client to use the functionality.
11.
Select the Scheduling Options tab. On this tab you can select whether the maintenance group uses simple or availability scheduling:
If a simple schedule has not yet been created, click Create Schedule to add a simple schedule for this group.
12.
If it’s available, select the User Defined Fields tab. As many as five string fields and five date fields can be defined at the enterprise level for use in maintenance groups. The number of fields and their labels are specific to your organization. Provide information as required. For example:
13.
Select the Description tab to provide more information.
14.
When you are finished, click OK to save and close the dialog.