|
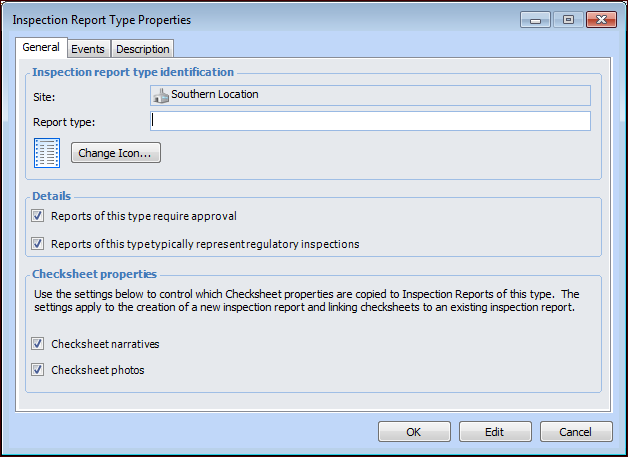
Setting up Inspection Report Types
To Set up Inspection Report Types
1. From the Site window, select the Inspection Management view, the Settings tab, and then the Inspection Reports tab. Select the Inspection Report Settings node in the tree.Tip: You can also click the Administration menu, Inspection Management Settings, and then Inspection Report Settings. The Inspection Report Settings window appears.
2. Select the Report Types tab. This tab lists report types for the site.Tip: You can mark a report type as “inactive” to prevent it from being assigned to inspection reports. To deactivate or reactivate a value, select the type in the list and click Mark as Inactive or Mark as Active. The Mark as Inactive/Active dialog appears, where you can enter a comment and click OK. Click OK in the confirmation message that appears.
3. For each report type that you wish to create, click New. The Inspection Report Type Properties dialog appears.
5.
6. In the Details areas, select the appropriate options:
When this option is selected, reports of this type have a corresponding option selected by default. Readings related to the report meet regulatory inspection requirements is a planning option that allows the inspector to update indicator readings as regulatory.
7. In the Checksheet properties areas, select the appropriate options:
8. Select the Events tab.
10. Select the Description tab to provide more information.
11. Click OK. The dialog closes and the report type is added to the table.
12.
13. At the bottom of the Report Types tab, select the default report type from the list. This type will be the default selection for new reports.
14. Click Save.