|
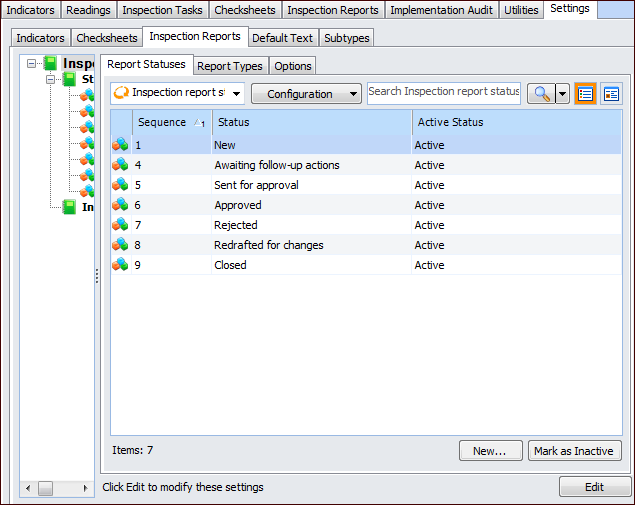
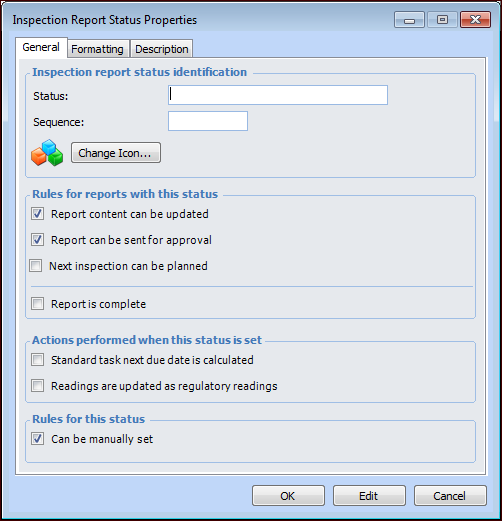
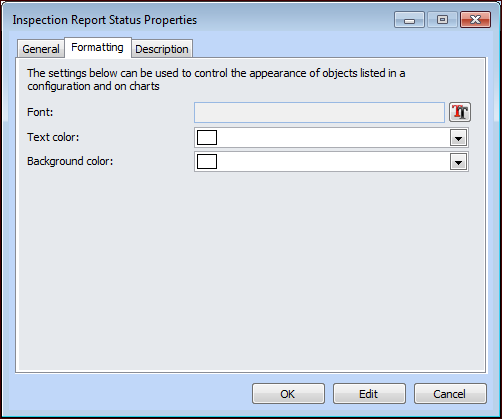
Setting up Inspection Report Statuses
When the appropriate status setting is enabled, you can apply the status manually to a report. Statuses can also be set automatically based on system events. The inspection report’s type sets the rules for assigning statuses. For more information, see Setting up Inspection Report Types.To Set up Inspection Report Statuses
1. From the Site window, select the Inspection Management view, the Settings tab, and then the Inspection Reports tab. Select the Inspection Report Settings node in the tree.Tip: You can also click the Administration menu, Inspection Management Settings, and then Inspection Report Settings. The Inspection Report Settings window appears.
2. Select the Report Statuses tab. This tab lists inspection report statuses for the enterprise.Tip: You can mark a report status as “inactive” to prevent it from being assigned to inspection reports. To deactivate or reactivate a value, select the status in the list and click Mark as Inactive or Mark as Active. The Mark as Inactive/Active dialog appears, where you can enter a comment and click OK. Click OK in the confirmation message that appears.
3. For each status you wish to create, click New. The Inspection Report Status Properties dialog appears.
4.
6.
7. In the Rules areas, select the appropriate options:
Typically, a status with this option selected is applied to reports for informational purposes. For example, you can filter and sort lists of reports according to status. If Report content can be updated is cleared, the report content read-only.
9. Select the Formatting tab.
11. Select the Description tab to provide more information about the status.
12. Click OK to close the dialog. The status is added to the list.