|
|


**Setting up Indicator Types
Measurement Points
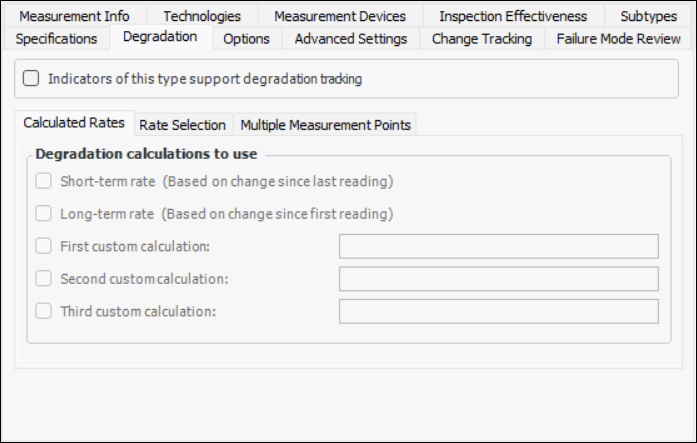
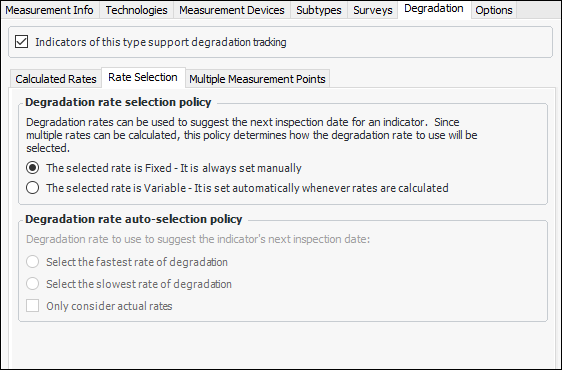
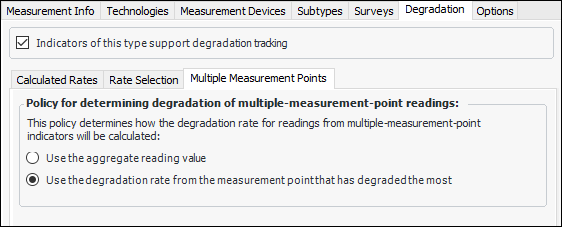
Degradation Tracking
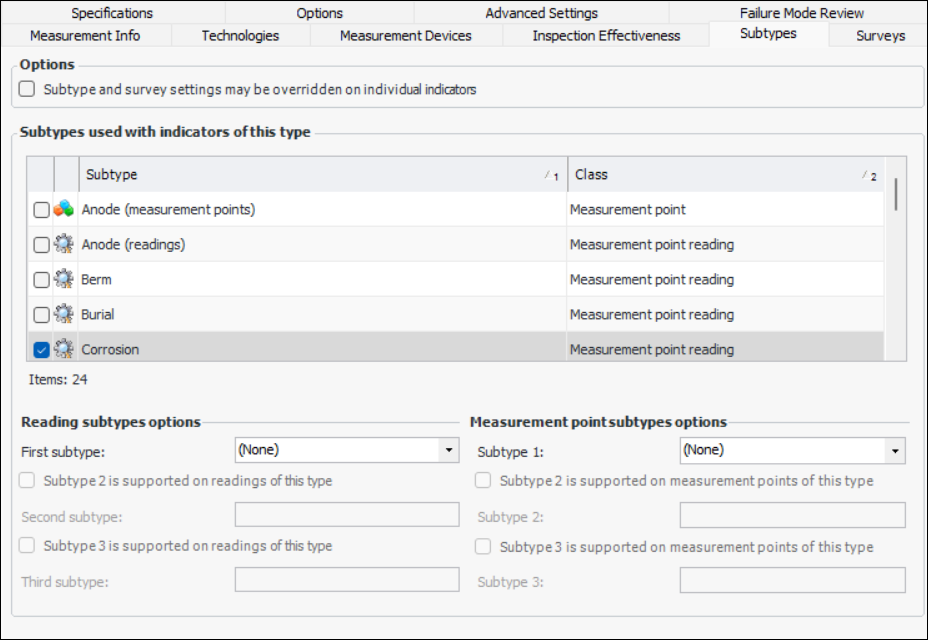
Subtypes
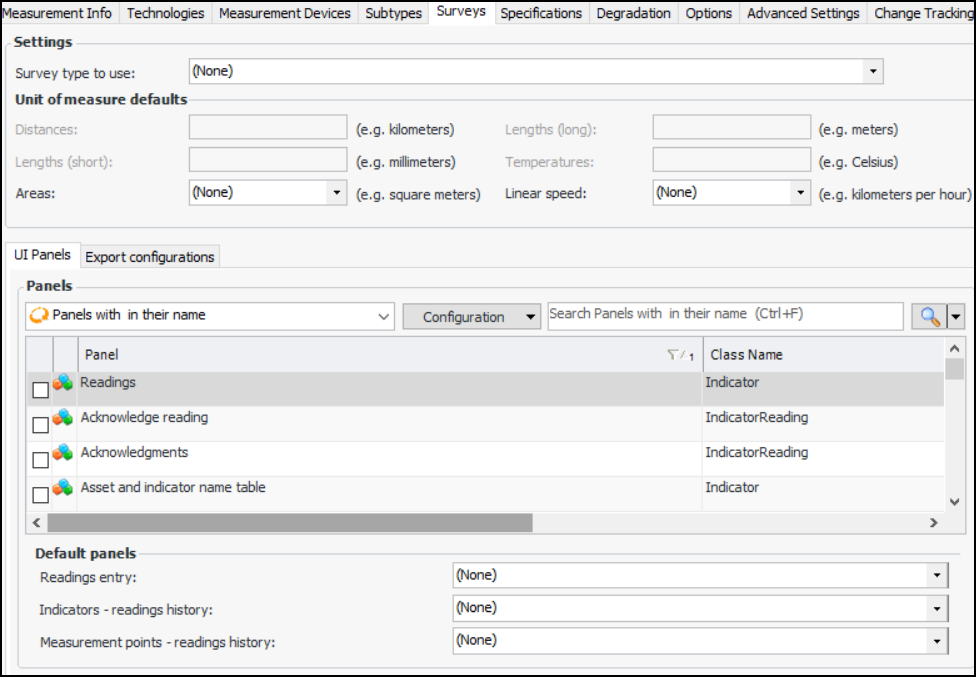
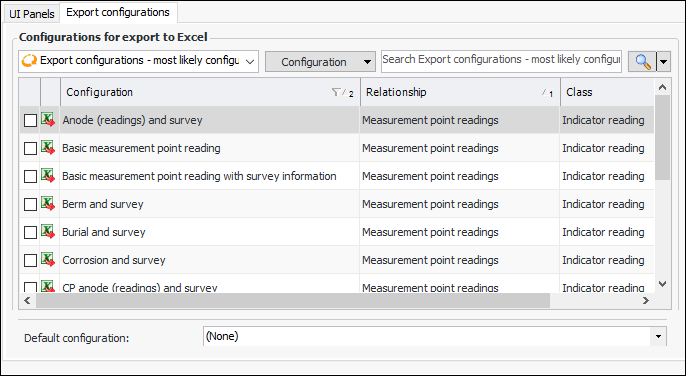
Surveys
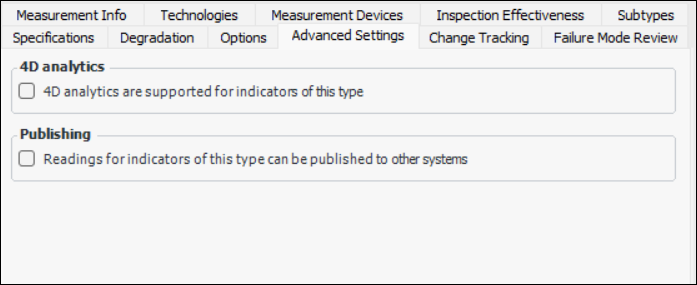
Publishing Indicator Readings to an External System
Note: The Publish Indicator Readings functionality is generally available. You must first enable feature 92 to use the functionality in APM. In the Enterprise window, select the Features view and the Enabled Features tab. Click Browse, select “Publish indicator readings to an external system” and click OK. If APM is running as a smart client, click Refresh Enabled Features on the server. Then restart the client to use the functionality.Change Tracking
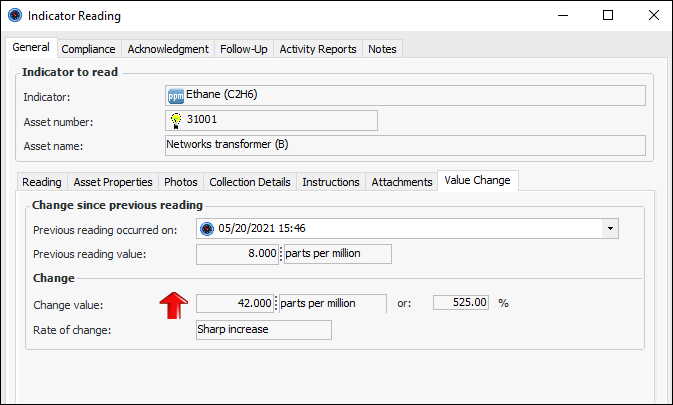
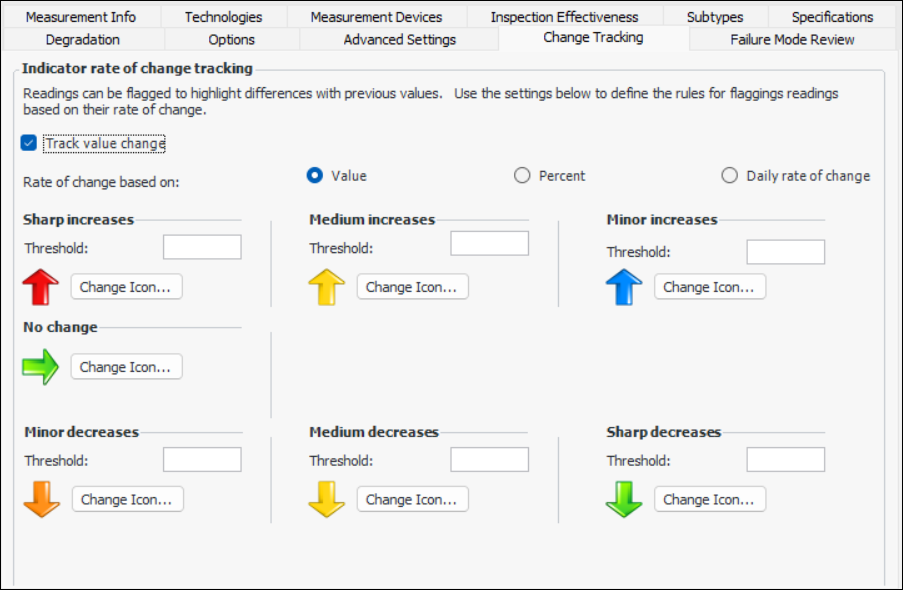
In an indicator reading, the Value Change tab displays the change since last reading. For example:Tip: After implementing the functionality on an indicator type, you can calculate change values for indicators with existing readings. In the Site window, select the Inspection Management view and Readings tabs. Select one or more readings, right-click, and click Calculate Change Value.To Set up Indicator Types
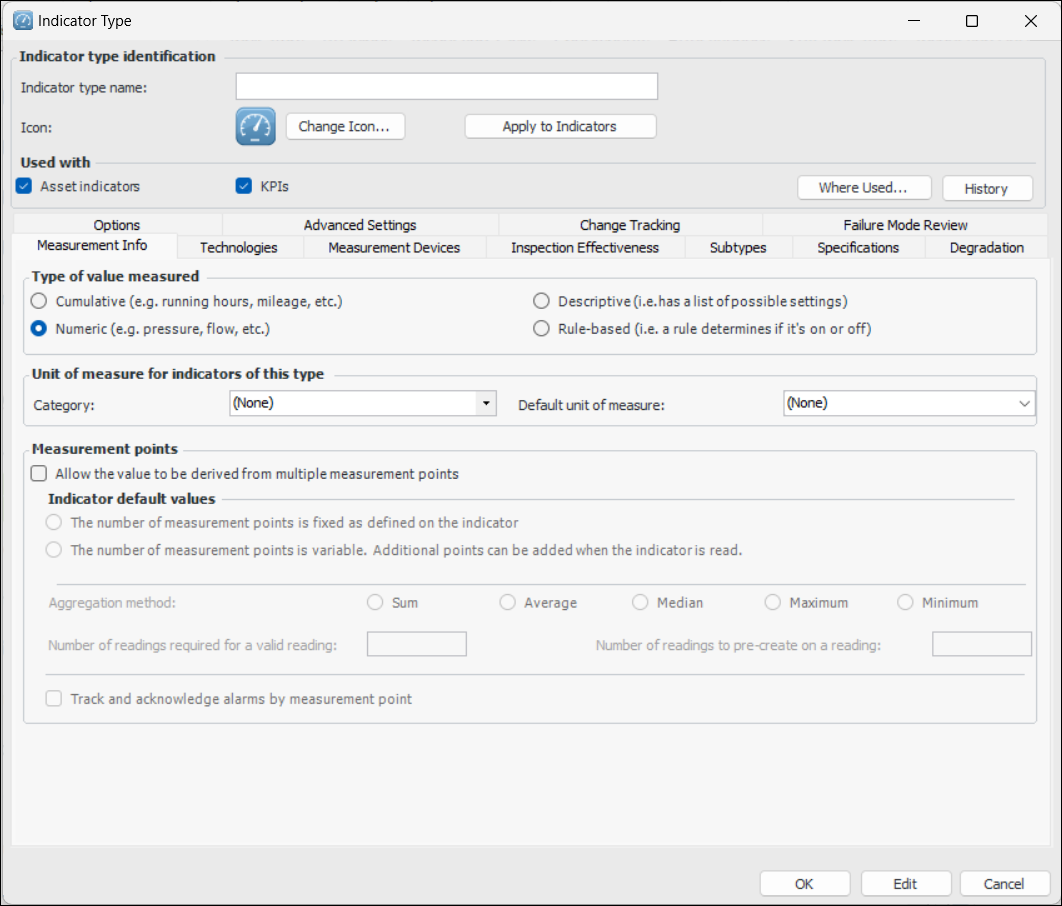
To Define Measurement Information
To Set Available Technologies
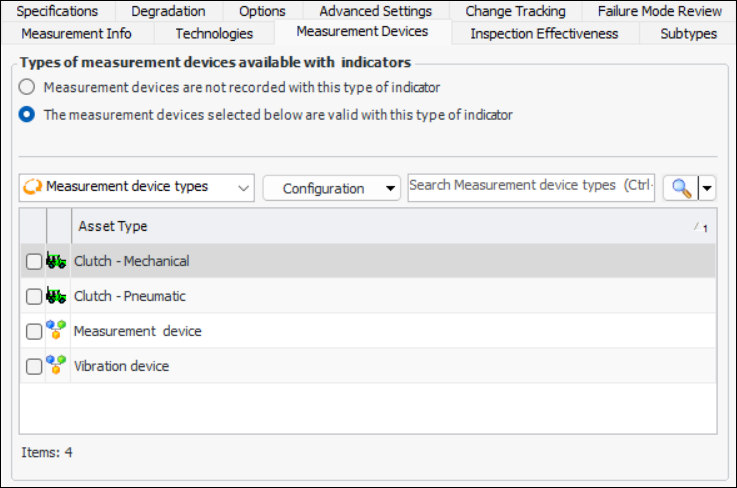
To Set Measurement Devices
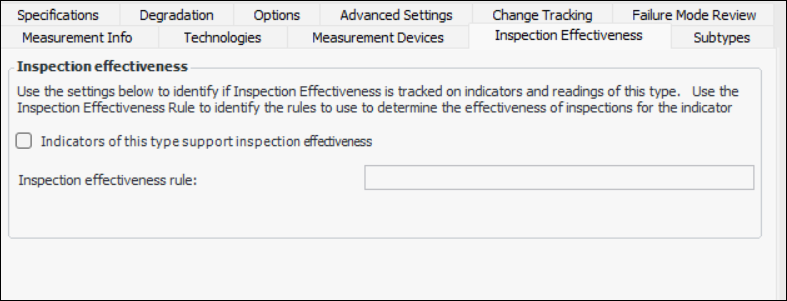
To Set Inspection Effectiveness Options
To Set Subtype Options
To Set Survey Options
To Set Degradation Information
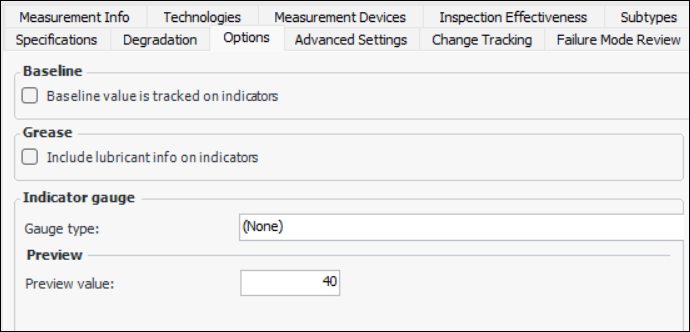
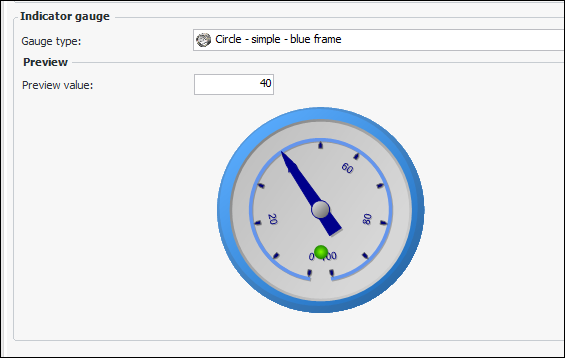
To Set Indicator Type Options
To Enable Publishing Indicator Readings
To Set up Change Tracking
To Set Failure Mode Review Settings