|
Setting Indicator Lubrication Options
MSDS Settings
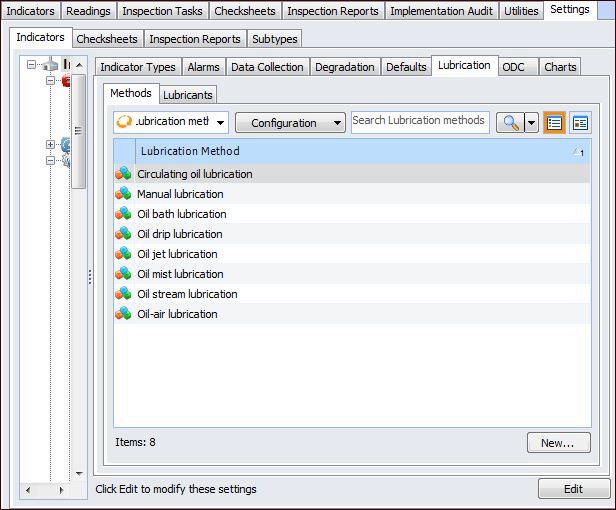
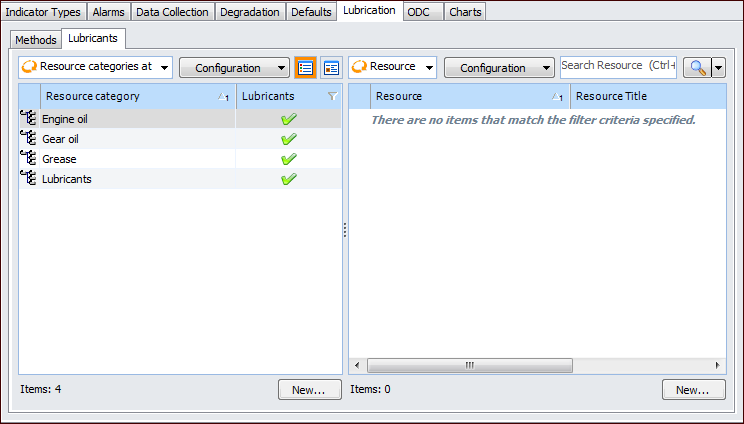
You can require that resources in a specific category have an MSDS attached. However, if you make MSDSs mandatory for a category you will not be able to save new resources without attaching an MSDS. This may make it inconvenient to enter a lot of new resources when you are first implementing your APM inventory function. Instead, you may want to select Optionally entered, a warning is issued. You can then choose to restrict the purchasing and issuing of resources without MSDSs in the category.Note: There are also settings on procedure types that control whether or not resources with expired MSDSs may be ordered or issued. See Setting up Document Types.To Set up a Lubrication Method
1. From the Site window, select the Inspection Management view, the Settings tab, and then the Indicators tab. Select the Indicator Settings node in the tree.Tip: You can also click the Administration menu, Inspection Management Settings, and then Indicator Management. The Indicator Settings window appears.
2. Select the Lubrication tab and then the Methods tab. This tab displays all lubrication methods for the site.
3. Click New. The Lubrication Method dialog appears.
4. In the Lubrication method box, enter a descriptive name for the method.
5. To change the graphic that identifies the method, click Change Icon, select a graphic, and click OK.
6. You can enter a description of the lubrication method in the Description box.
7. When you are finished, click OK. The method is added to the list.To Set up an Indicator Lubricant
1. From the Site window, select the Inspection Management view, the Settings tab, and then the Indicators tab. Select the Indicator Settings node in the tree.Tip: You can also click the Administration menu, Inspection Management Settings, and then Indicator Management. The Indicator Settings window appears.
2. Select the Lubrication tab and then the Lubricants tab. This tab lists all of the enterprise’s lubricant resource categories in a table on the left.
4. Create a resource category by clicking New below the Resource categories table. The Resource Category dialog appears.
5. On the General tab, enter the following settings:
6. If this category is valid for materials or tools, select the Details tab. Select the appropriate MSDS policies for this category:
• Required: If you select this option, you will need to enter an MSDS sheet before you can save a new resource in this category.
• Optionally entered, a warning is issued: New resources can be created and saved in this category without an MSDS, but a warning is issued.
• Optionally entered, a warning is not issued: New resources can be created and saved in this category without an MSDS. No warning is issued.
7. Select the Accounting tab, and enter the appropriate accounting defaults for the category:
8. Select the Suppliers tab. On this tab you can select the suppliers who supply resources that are included in this category. To add a supplier to the list, click Browse. Select the supplier that you want to add and click OK.
9. Select the Hierarchy tab. This tab shows a list of the current resource category hierarchy. You can reorder the hierarchy using the arrow keys.
10. Click OK to save the information and close the dialog.
11. Create a resource by clicking New below the Resource table. For instructions, see Adding a New Material.