|
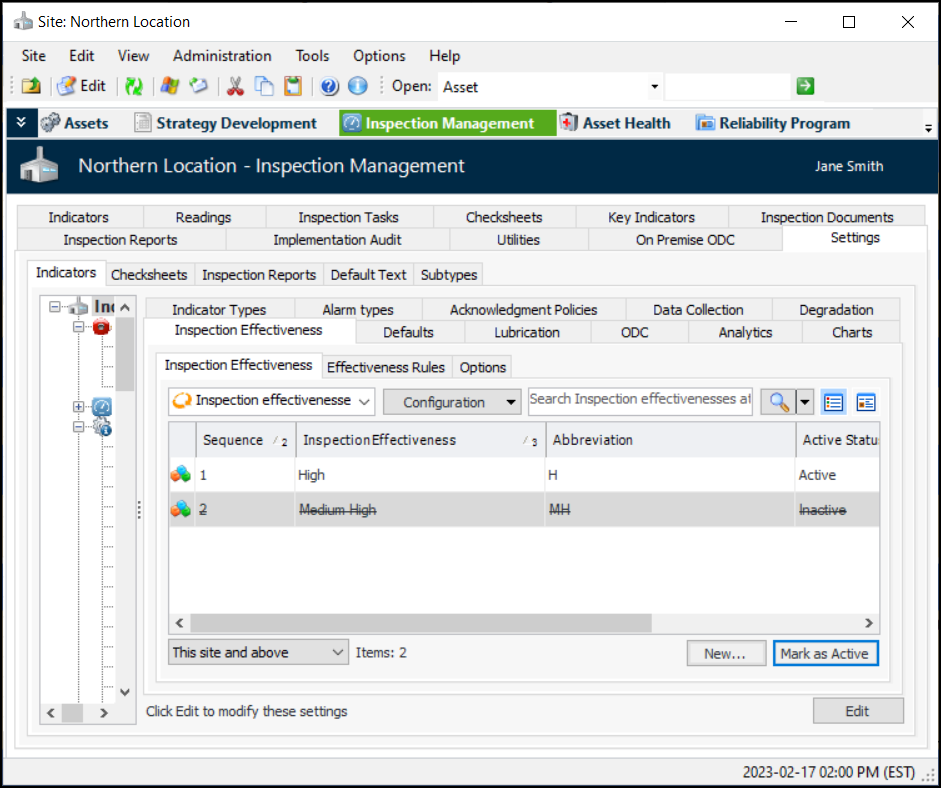
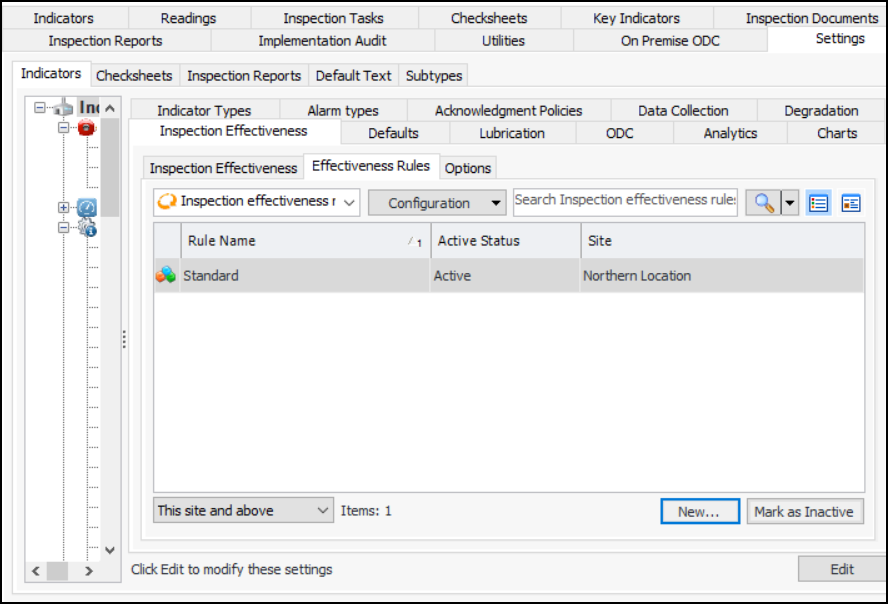
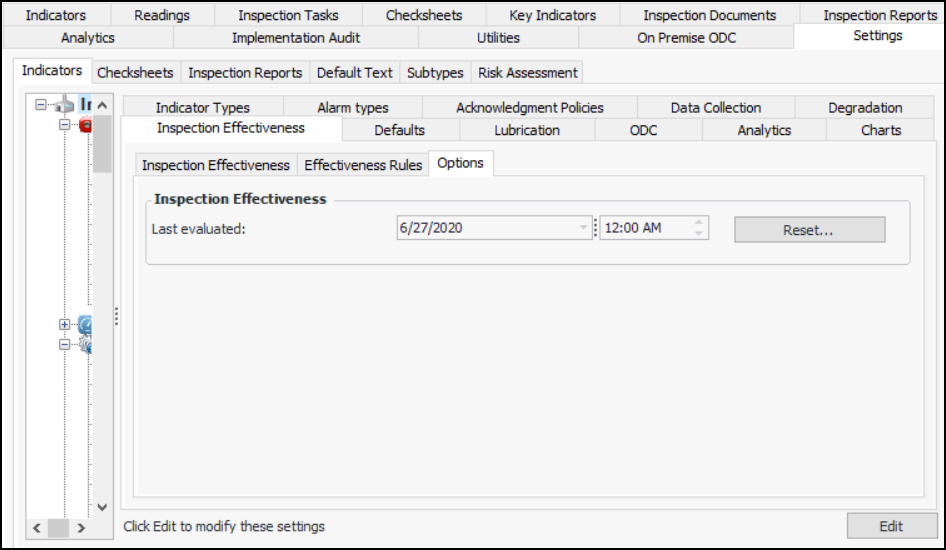
Setting up Inspection Effectiveness Tracking
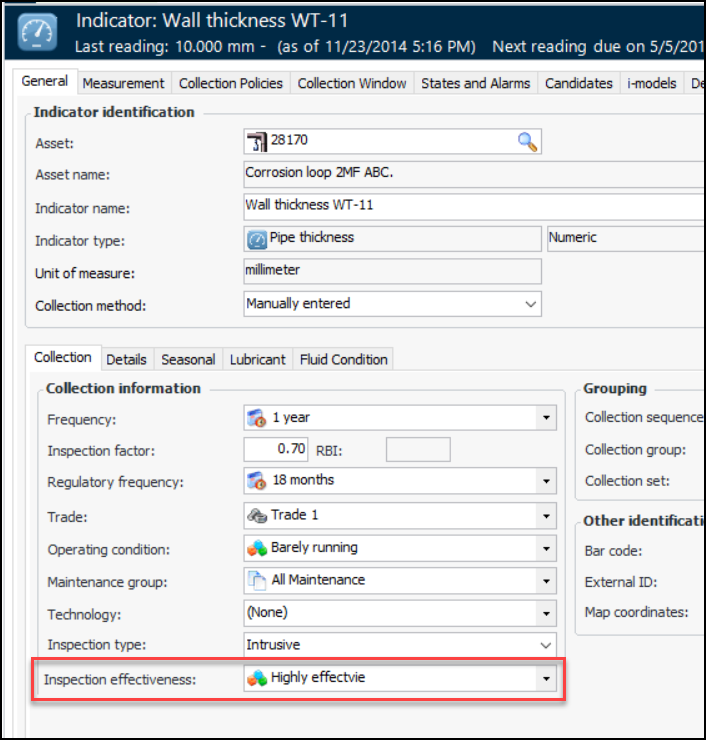
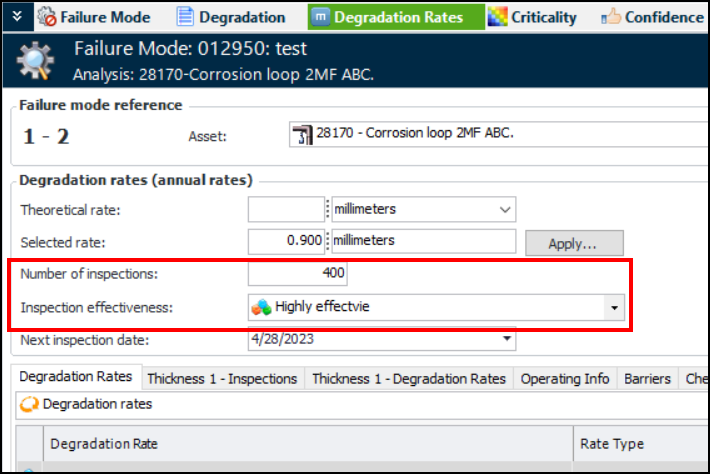
Tip: You can also update indicators’ effectiveness values manually. In the Site window, click the Tools menu, Inspection Management, and then Evaluate Inspection Effectiveness. Depending on the number of indicators evaluated, this process can take a number of minutes to complete.They are also shown on maintenance action plans with degradation rates that reference the indicators. Look for these values in the Degradation Rates, Confidence, and Implementation views. For example:This topic explains how to set up inspection effectiveness for indicators. For related information, see Tracking the Inspection Effectiveness of Indicators. Also, see Adding Degradation Rates to RBI Failure Modes.
•
• Tip: You can use Mass Update to copy an indicator type’s inspection effectiveness value to existing indicators of that type. However, you cannot update existing indicator readings. See Applying Mass Updates.
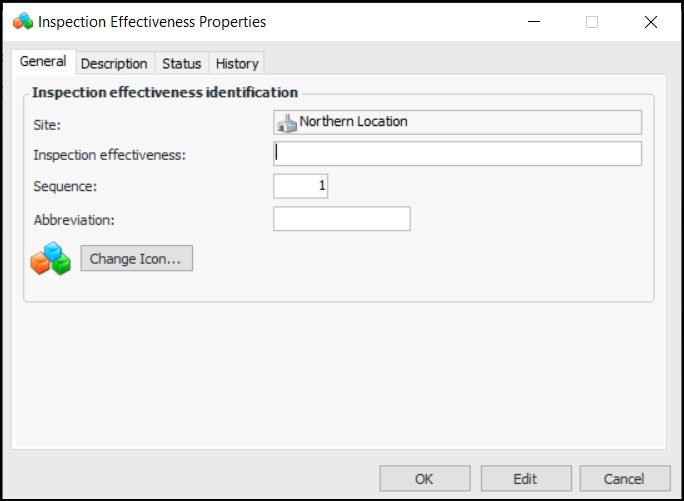
•To Define Inspection Effectiveness Values
1. From the Site window, select the Inspection Management view, the Settings tab, and then the Indicators tab. Select the Indicator Settings node in the tree.Tip: You can also click the Administration menu, Inspection Management Settings, and then Indicator Management. The Indicator Settings window appears.
2. Select the Inspection Effectiveness tab. For example:Tip: You can mark a value as inactive to prevent it from being used. Select it in the table and click Mark as Inactive. When you wish to make the status available, select it in the table and click Mark as Active.
3. Click New to open the Inspection Effectiveness Properties dialog:
7. To change the graphic that represents the value, click Change Icon, select another image, and click OK.
8. Select the Description tab to provide more information about the effectiveness value.The Status tab displays the history of the value’s active status. The History tab shows information about the object’s creation and last update.
9. Click OK. The value is saved and the dialog closes. The new value is listed in the Inspection Effectiveness tab.
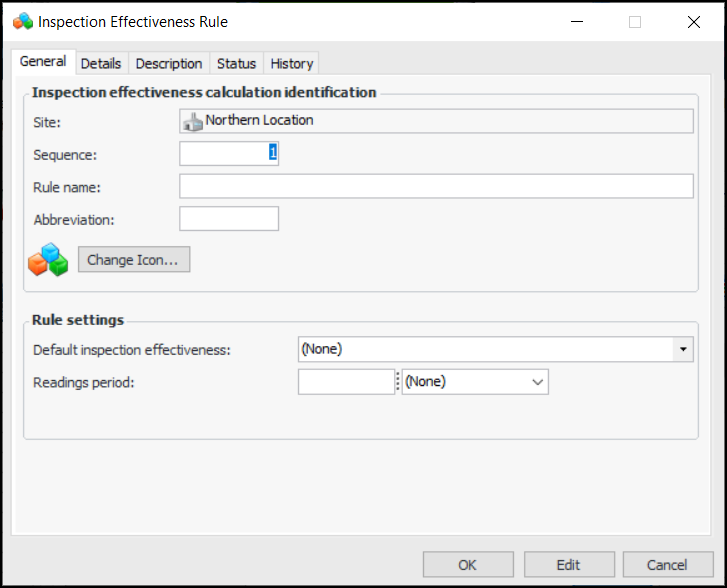
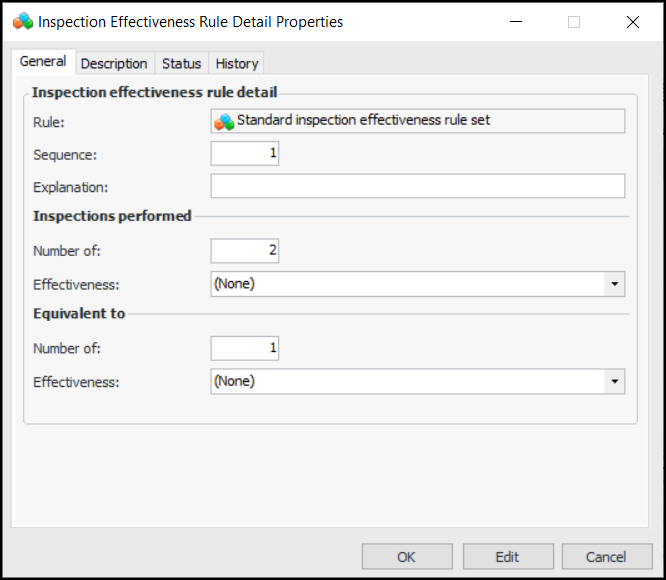
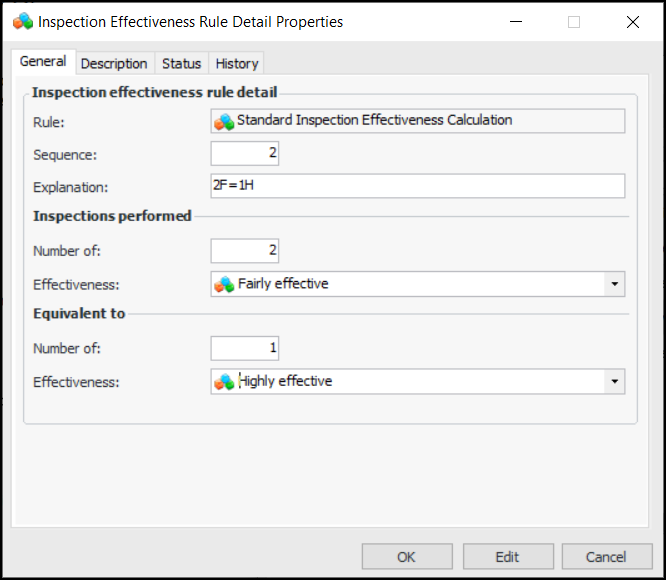
To Define Effectiveness Rules
1. In the Site window, Inspection Management view, Settings tab, Inspection Effectiveness tab, select the Effectiveness Rules tab. For example:
2. Click New to open the Inspection Effectiveness Rule dialog:
6. To change the graphic that represents the rule, click Change Icon, select another image, and click OK.
9. Select the Details tab and click New. The Inspection Effectiveness Rule Detail Properties dialog appears:
12. In the Inspections performed area, you can select the number of readings of a specific effectiveness value, for example, 2 of “Fairly effective”.
13. In the Equivalent to area, select the number and effectiveness. For example, 1 of “Highly effective”.
14.
16. Select the Description tab to provide more information about the effectiveness rule.The Status tab displays the history of the rule’s active status. The History tab shows information about the object’s creation and last update.
17. Click OK. The rule is saved and the dialog closes. The new rule is listed in the Effectiveness Rules tab.
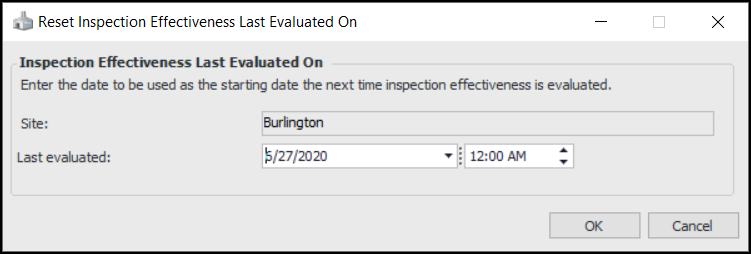
To Set the Start Date
1. In the Site window, Inspection Management view, Settings tab, Inspection Effectiveness tab, select the Options tab. For example:
2. Click Reset. The Reset Inspection Effectiveness Last Evaluated On dialog appears. For example:
4. Click OK.