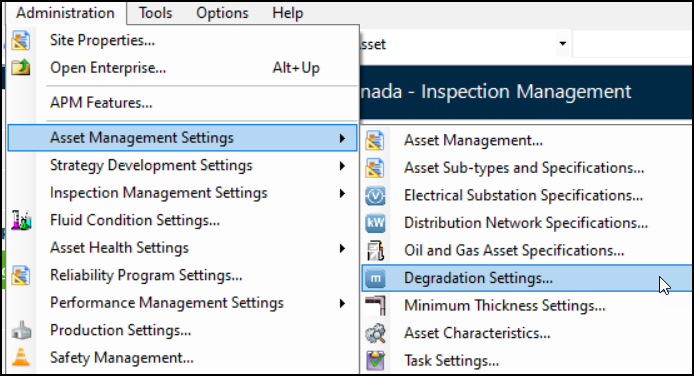
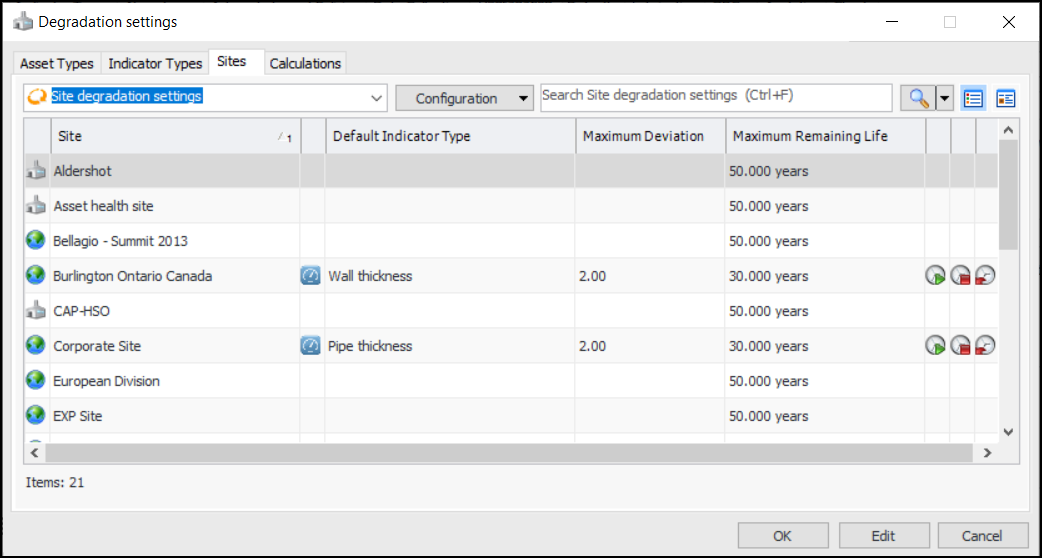
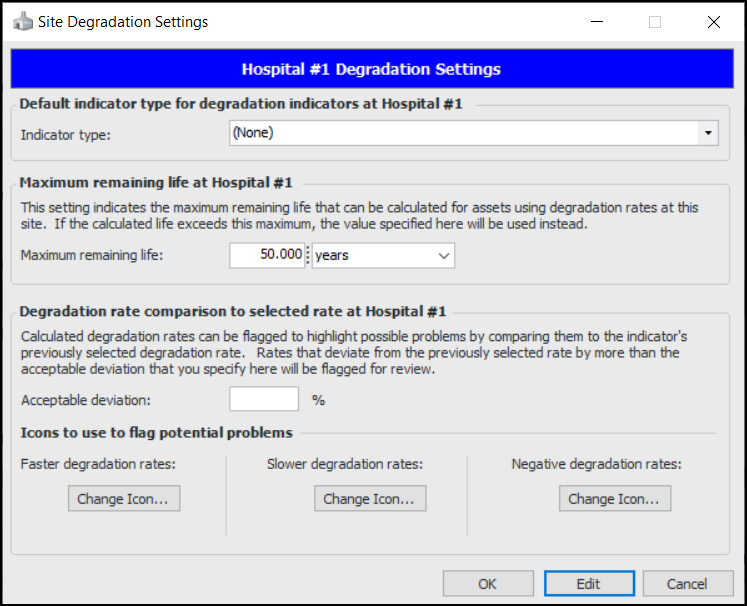
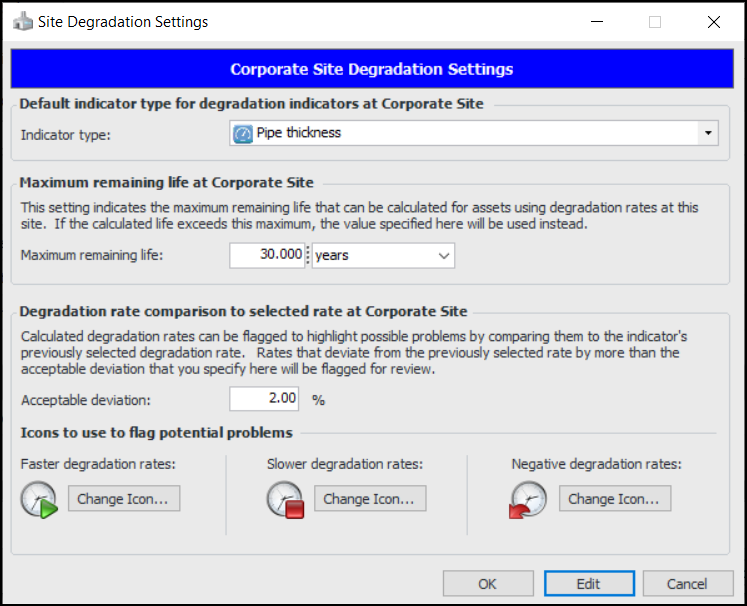
Setting Indicator Degradation Options for Sites

When setting up indicators for degradation tracking, you can specify each site’s default indicator type, maximum remaining life, acceptable deviation for degradation rates, and icons to flag potential problems.

To Set up Indicator Degradation Options for Sites

1.
From a Site window, click the Administration menu, Asset Management Settings, and then Degradation Settings.
2.
The Asset Types tab displays all asset types that support degradation tracking. You can also select the “Asset types that do not support degradation tracking” configuration to add degradation settings. For more information, see **Setting up Asset Types.
The Indicator Types tab displays all indicator types that support degradation tracking. You can also select the “Indicator types that do not support degradation tracking” configuration to add degradation settings. For more information, see **Setting up Indicator Types.
Tip: You can also find degradation settings for the current site in the Inspection Management view, Settings tab, Indicators tab. Select the Indicator Settings node in the tree. Select the Degradation tab.
3.
Select the Sites tab. This tab displays all sites in the enterprise and their degradation settings. For example:
4.
5.
6.
7.
8.
Click the appropriate Change Icon buttons to select the graphics used to flag rates that are faster or slower than the acceptable deviation and that show negative values.
When completed, the Site Degradation Settings window will look something like this:
9.
In the Degradation Settings window, the Calculations tab displays the custom degradation calculations supported by the enterprise. For information about creating them, see Creating a Degradation Minimum Value Calculation.