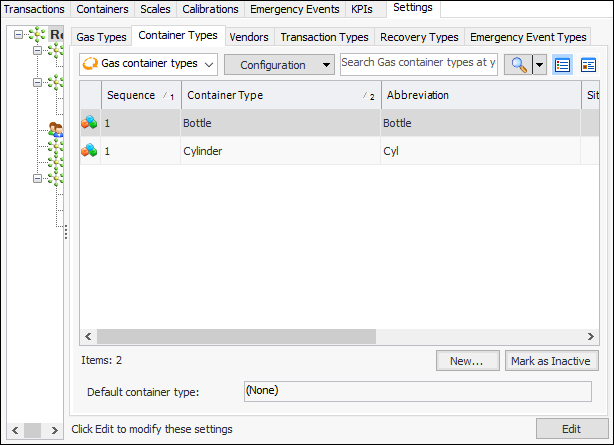
Setting up Gas Container Types

Container types are used to identify containers that store gas, for example, bottles and cylinders.
You can create container types for your organization and select a default type for the site. When you create gas containers, the default type is automatically selected.
You can designate a site(s) to be assigned to containers when containers are created or updated. Set up one or more value list controls at the Enterprise level and assign them to sites.
This topic explains how:

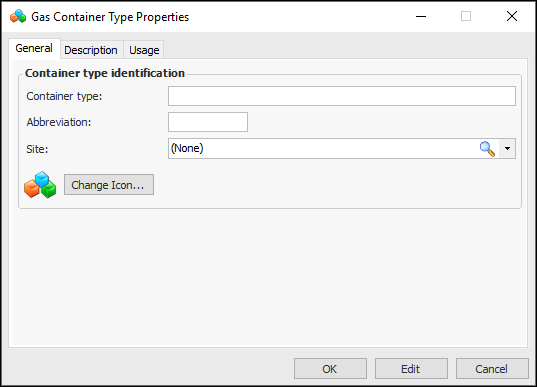
To Set up a Gas Container Type

1.
In the Site window, select the Regulated Gas Management view and the Settings tab. Select the Regulated Gas Management Settings node in the tree.
Tip: You can also select the Administration menu and then Regulated Gas Management Settings. The Regulated Gas Management Settings dialog appears.
2.
Select the Container Types tab. This tab shows the container types defined for the enterprise.
3.
Click New. The Gas Container Type Properties dialog appears:
4.
5.
6.
7.
To represent the type with a different icon in tables, click Change Icon, select another image, and click OK.
8.
Select the Description tab to add information about the type.
9.
Click OK. The type is added to the Container Types tab.
Tip: You can return to the Gas Container Type Properties dialog in the future to view a list of containers of this type. Select the Usage tab.

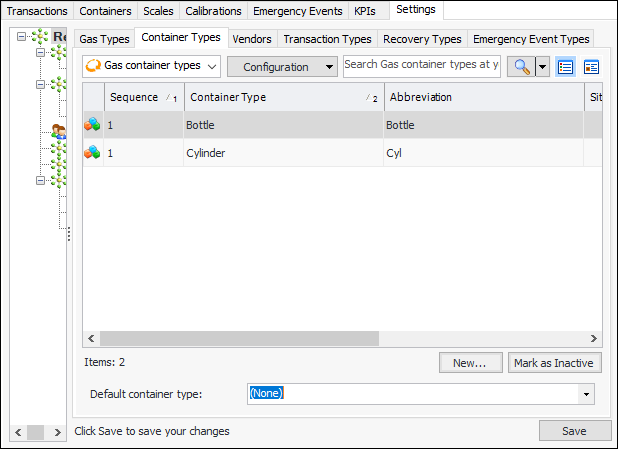
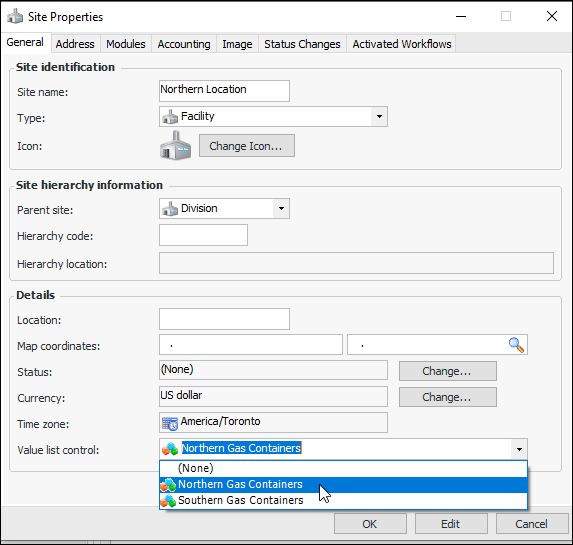
To Set the Default Container Type for the Site

1.
In the Site window, select the Regulated Gas Management view and the Settings tab. Select the Regulated Gas Management Settings node in the tree.
Tip: You can also select the Administration menu and then Regulated Gas Management Settings. The Regulated Gas Management Settings dialog appears.
1.
2.
Select the Container Types tab. This tab shows the container types defined for the enterprise.
3.
Click Edit to modify the site settings. The Edit button is replaced by the Save button.
4.
Select a value from the Default container type list.
5.
Click Save.

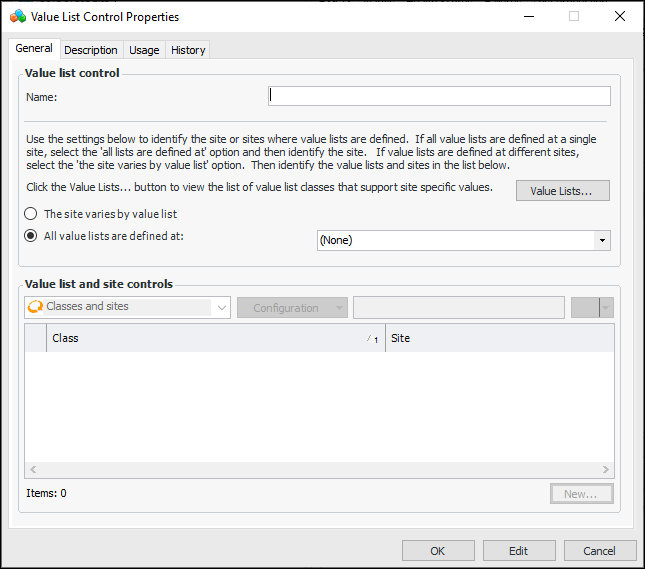
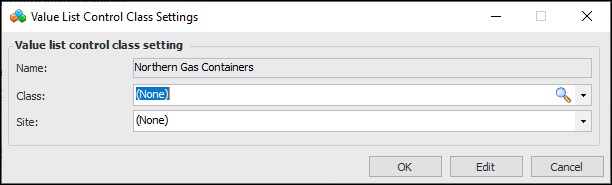
To Create Value List Controls for Containers

1.
In the Enterprise window, click the Administration menu and then Value List Controls. The Value List Controls dialog appears:
2.
Click New to open the Value List Control Properties dialog:
3.
4.
Select The site varies by value list. Click New to open the Value List Control Class Settings dialog:
5.
6.
In the Site list, select the site that will own containers.
7.
Click OK.
8.
9.
In the Site menu, click Properties. The Site Properties dialog appears.
10.
In the Value list control list, select the control that you just created. For example:
11.
Click OK to save the option and close the dialog.
From now on, whenever you are using a site in that hierarchy and create a gas container, the default site will be the one selected in the value list control.
For more information, see Setting up Site Value Lists.