|
|


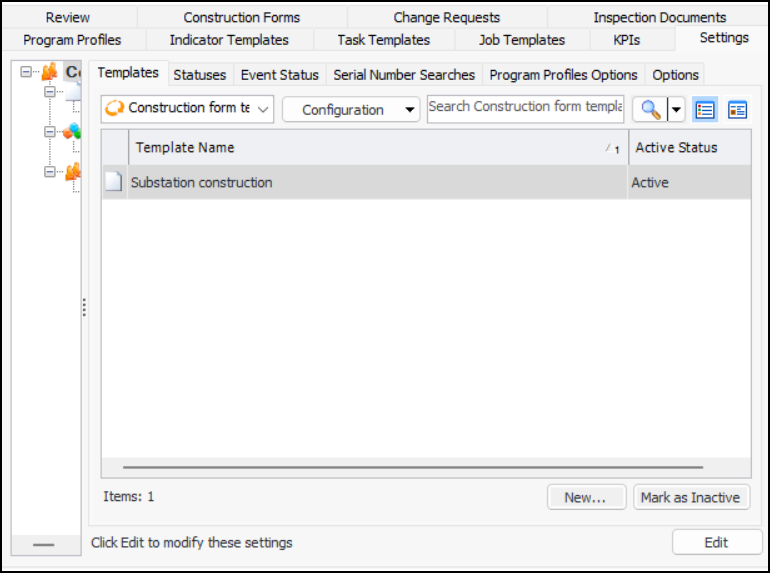
Setting up Construction Form Templates
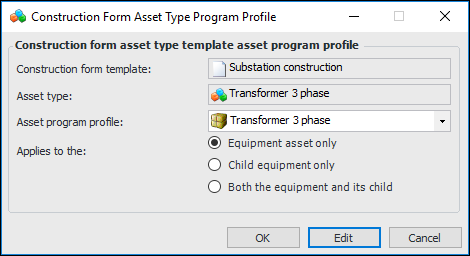
Template Asset Types
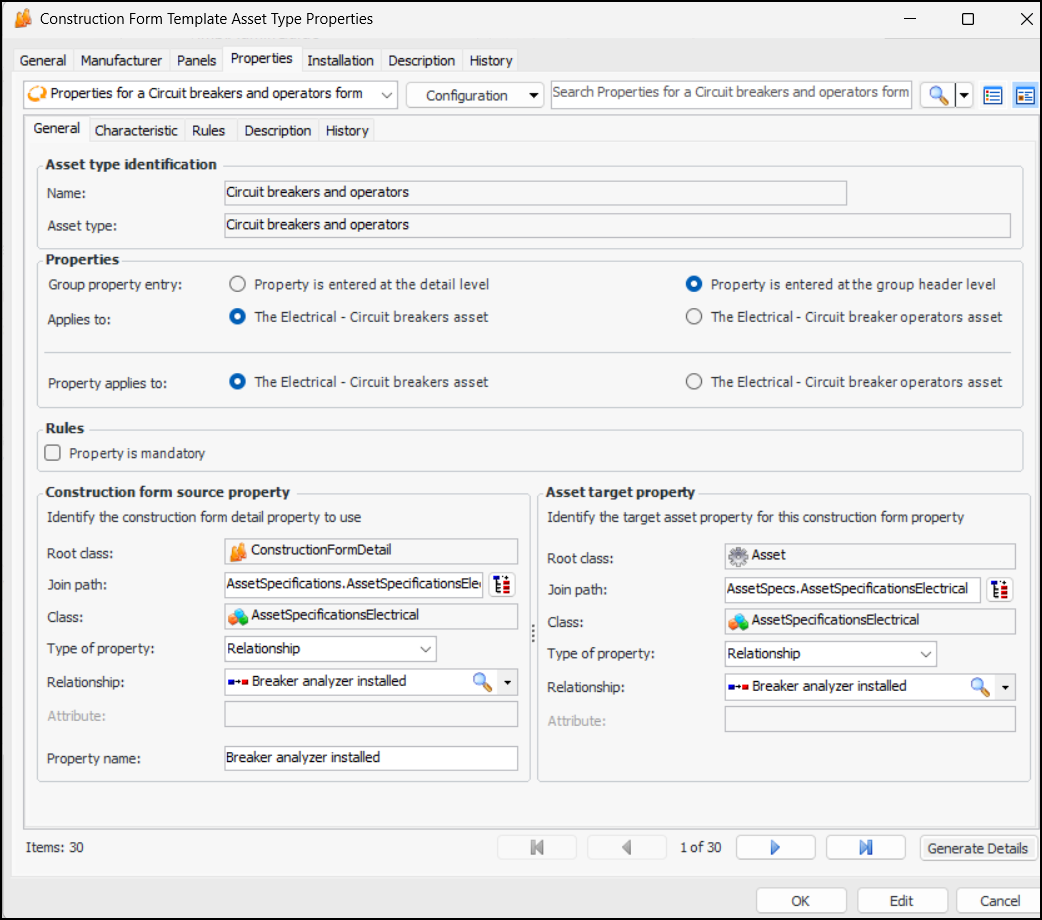
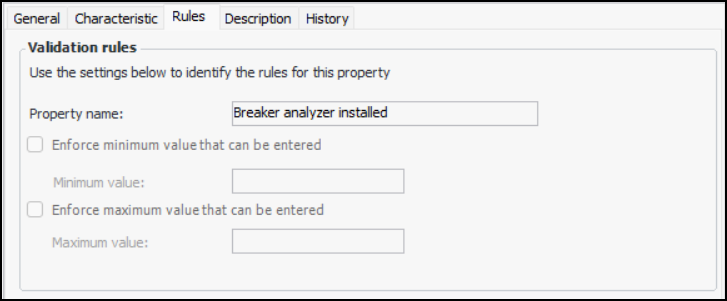
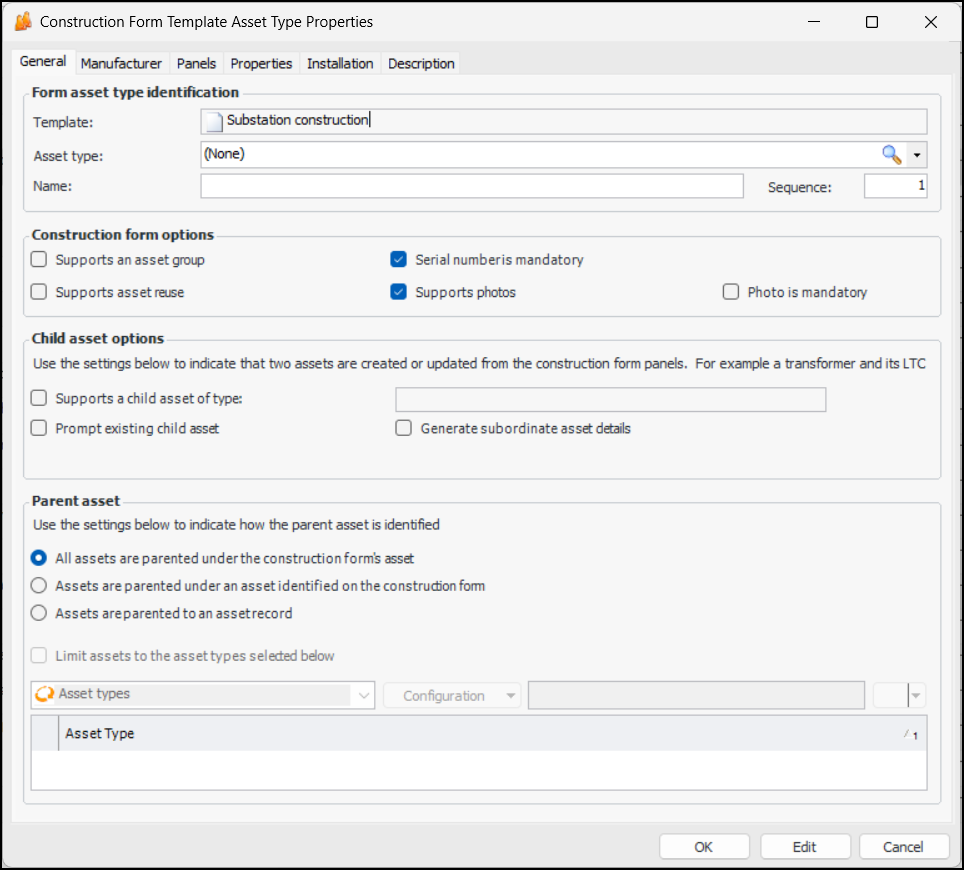
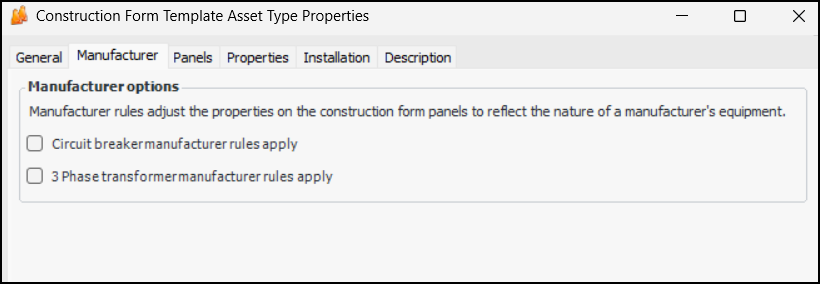
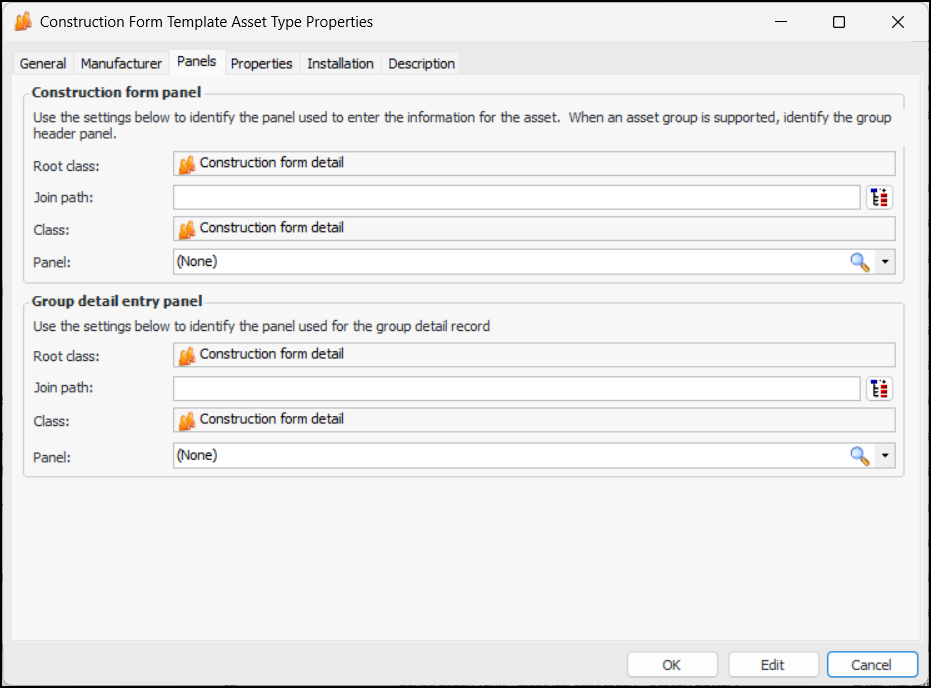
Properties of Template Asset Types
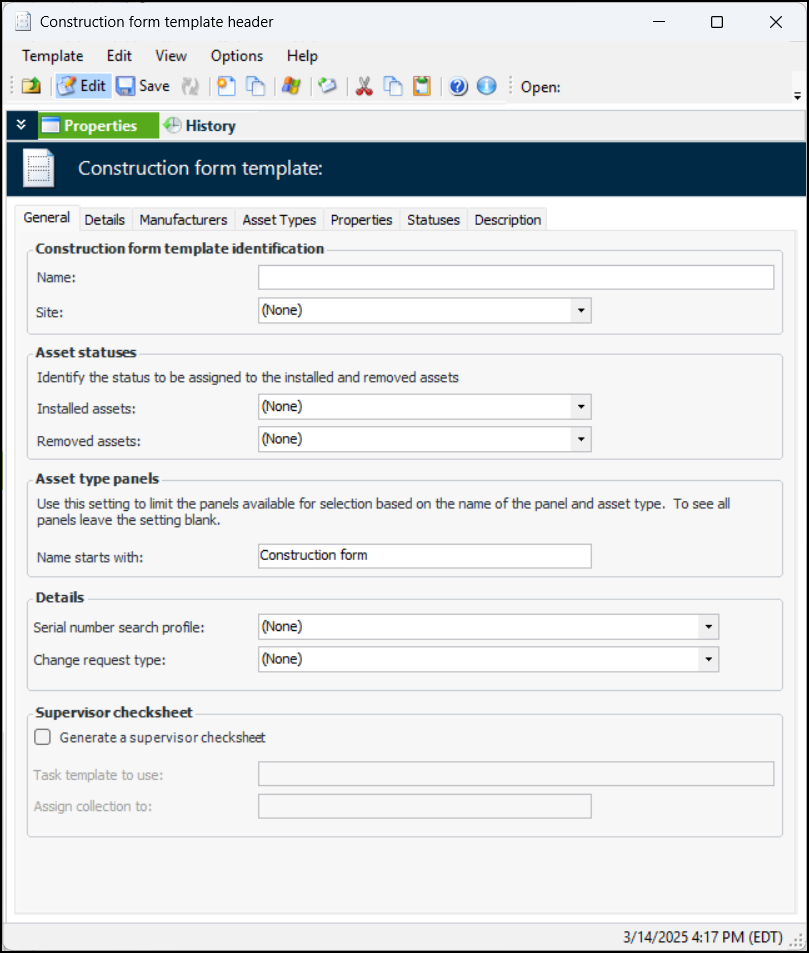
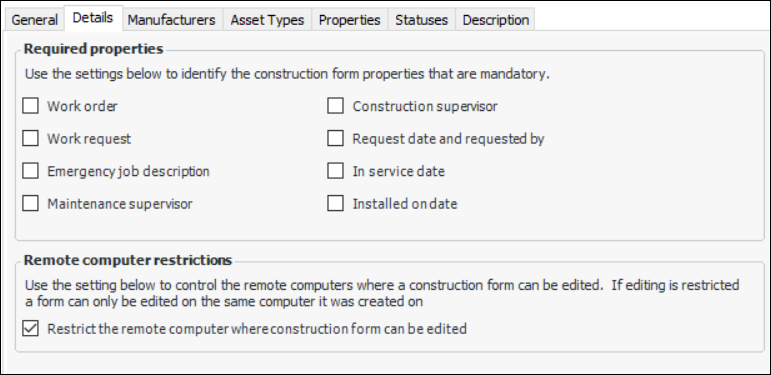
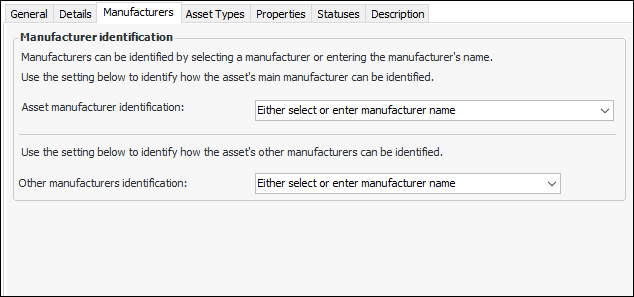
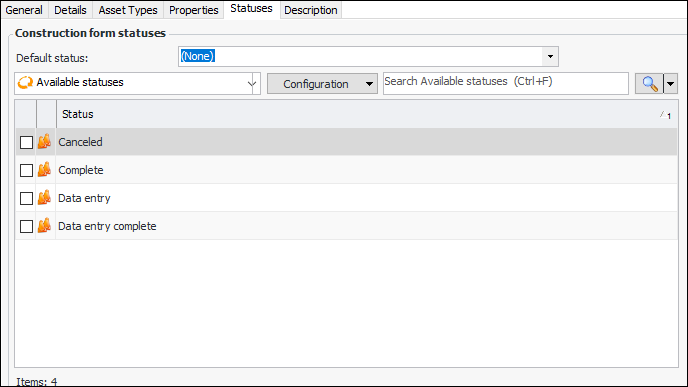
To Define General Properties for a Construction Form Template
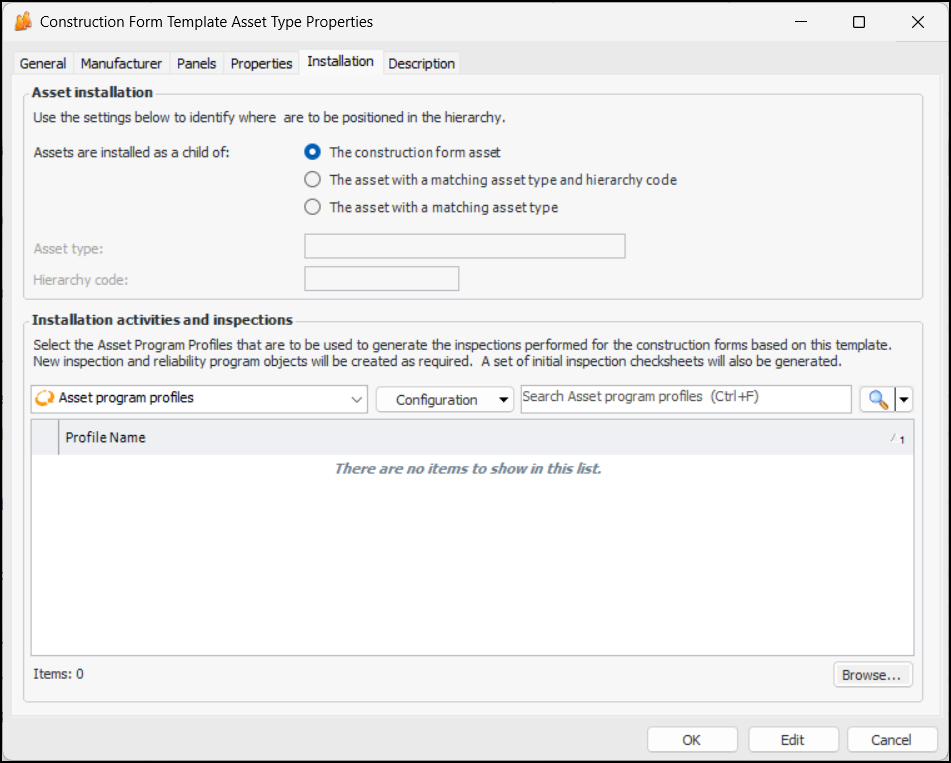
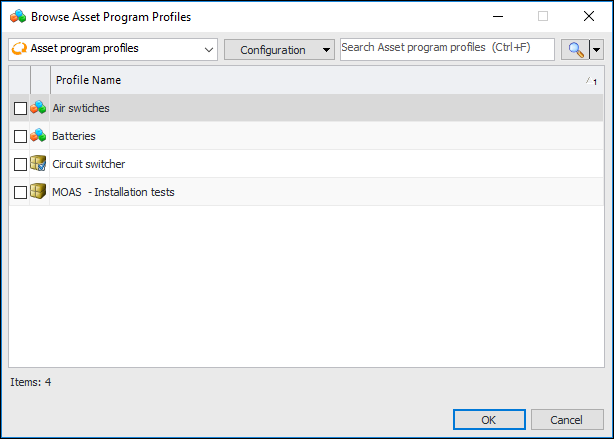
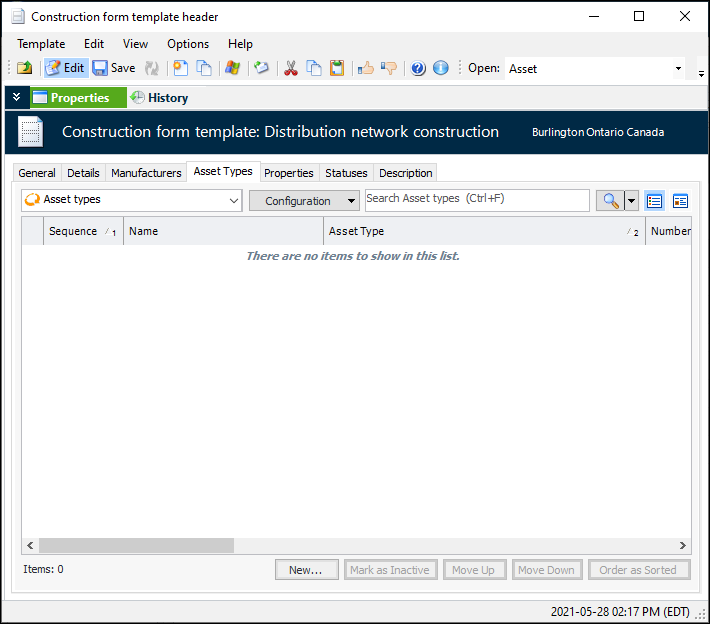
To Set up Template Asset Types

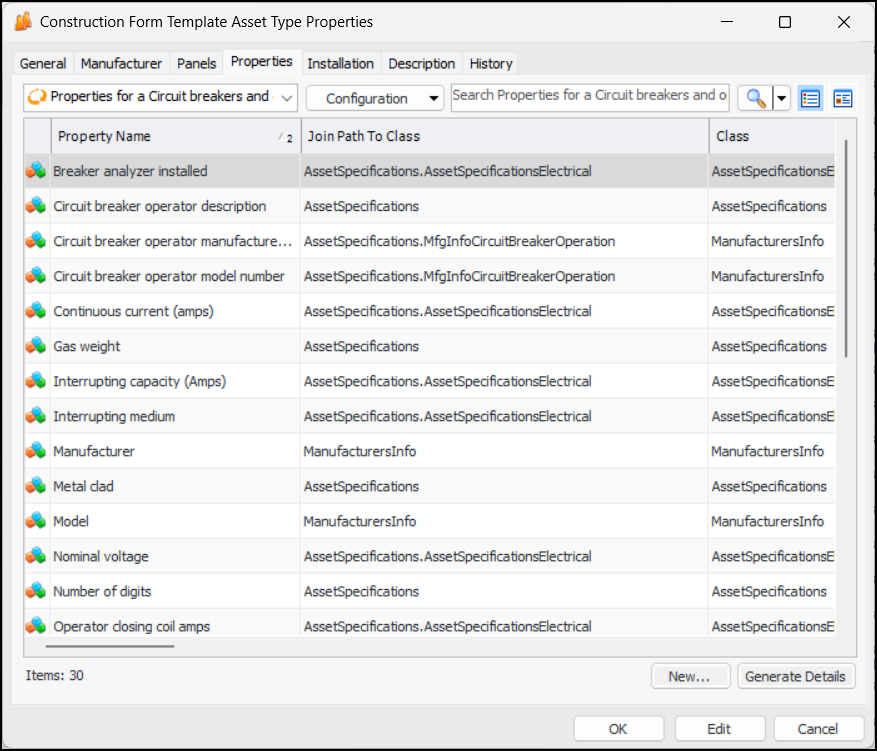
 ) to view one property at a time. For example: