|
Setting up Inspection Document Types and Classes
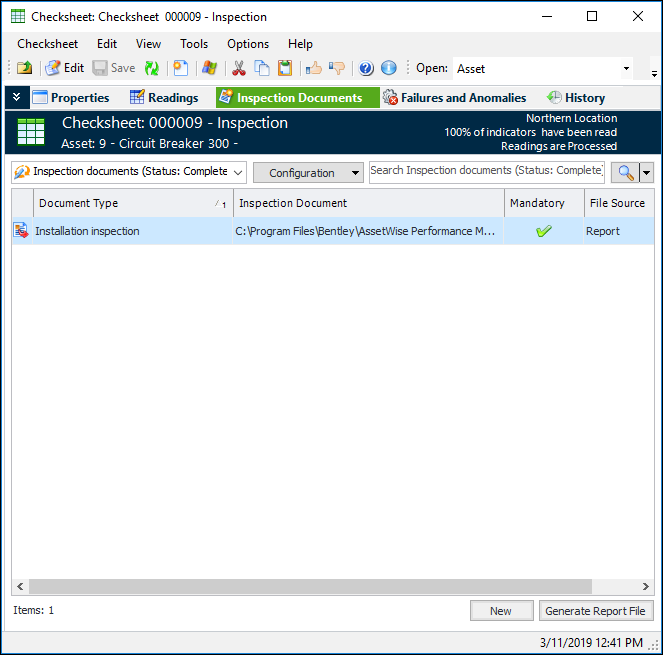
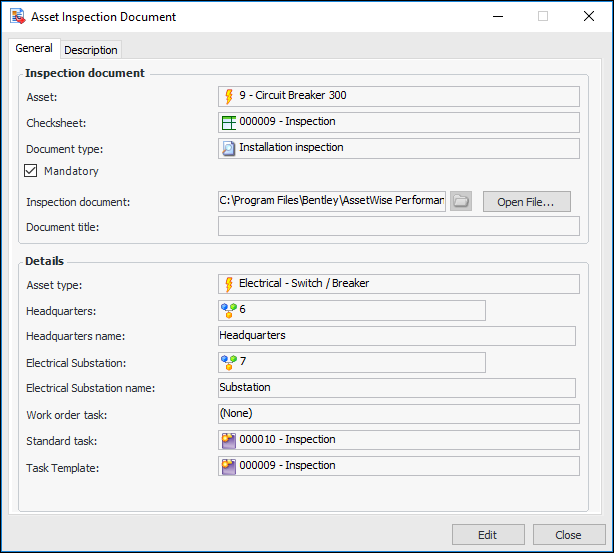
Support for inspection documents is a feature of the checksheet type. Checksheets for which inspection documents are supported or mandatory display the Inspection Documents view, where you can add, view, and open documents and generate reports. For example:In this example, the inspection document was copied when the checksheet was created from a standard task. When the inspector finished entering indicator readings, she clicked the Inspection Documents view, selected the document and clicked Generate Report File. The generation process stored the report file in the location specified in the inspection document (typically copied from the document type).
•
•
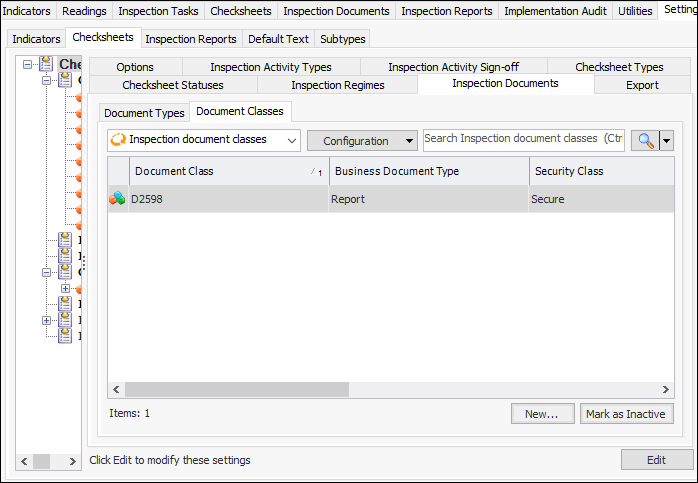
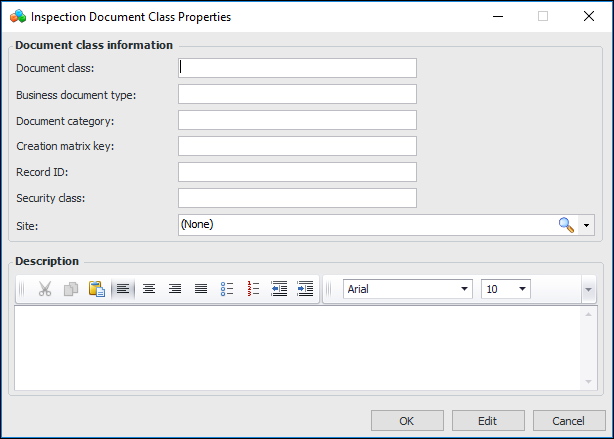
•To Set up Document Classes
1. From the Site window, select the Inspection Management view, the Settings tab, and then the Checksheets tab. Select the Checksheet Settings node in the tree.Tip: You can also click the Administration menu, Inspection Management Settings, and then Checksheet Settings. The Checksheet Settings window appears.
2.
3. Click New. The Inspection Document Class Properties dialog appears:
5. Click OK. The document class is added to the list.To Set up Document Types
1. From the Site window, select the Inspection Management view, the Settings tab, and then the Checksheets tab. Select the Checksheet Settings node in the tree.Tip: You can also click the Administration menu, Inspection Management Settings, and then Checksheet Settings. The Checksheet Settings window appears.
2.
3. Click New. The Inspection Document Type dialog appears:
• Manual – When adding an inspection document to a checksheet, the inspector can add a path to an external file.
• Report – When adding an inspection document to a checksheet, the inspector can generate an APM report, such as a checksheet report.
6. Select the Description tab to add more information.
7. Click OK. The document type is added to the list.