|
|


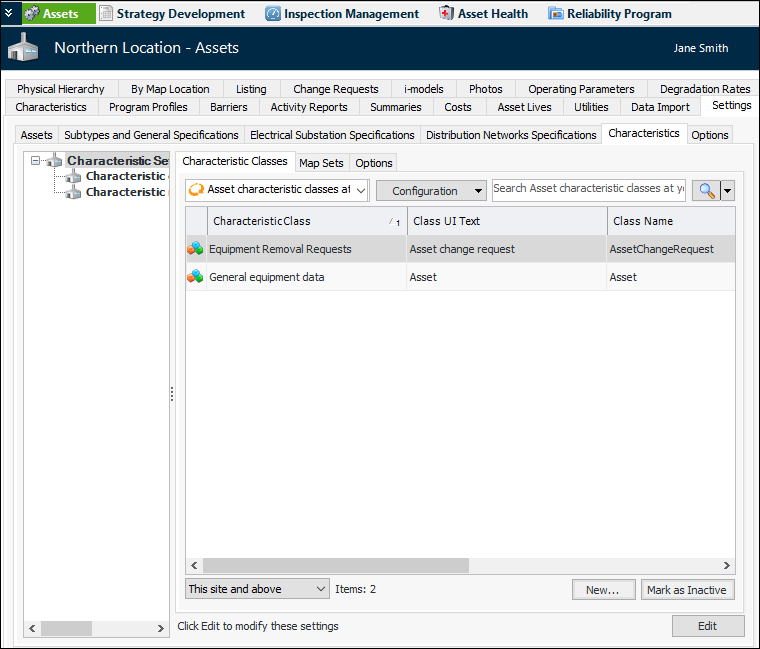
Setting up Characteristic Mapping for Assets
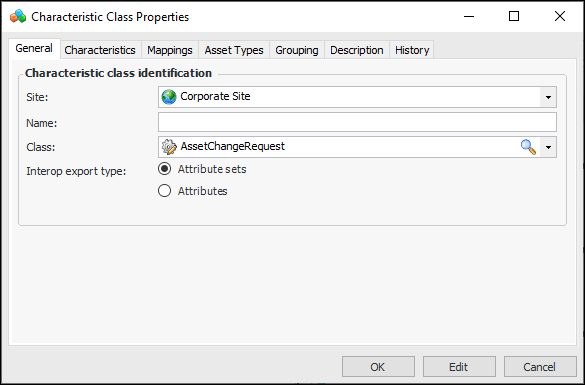
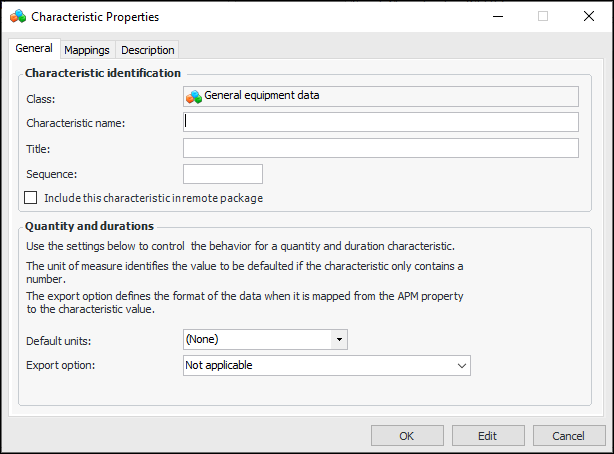
You can view characteristics in the Site window. Select the Assets view, Characteristic tab to access several configurations listing characteristics for the site, this site and above, or this site and below. In the Asset window, select the Properties view, Characteristics tab to view the asset’s characteristic values.This topic explains how to set up asset characteristic mapping. When your APM implementation is being set up for interoperability, characteristic classes and characteristics are imported into APM using data loaders or other methods. (AWEIS also adds characteristics when assets are sent from the CMMS.) However, you can also manually create characteristic classes and add their characteristics, as explained in this topic. See To Create a Characteristic Class and Add Characteristics.Once characteristic classes have been added to APM, you can create map sets, generate mapping values, and review mappings. For example, ensure that date formats and quantity precision values are correct in mappings. See To Create a Map Set.The next step is to link asset types to their corresponding characteristic classes and map sets. For example, you might link the Air Switch asset type to map sets for air switches and general asset information. See To Link an Asset Type to a Characteristic Class.Be sure to set up the “Map Characteristic Values to Asset Properties” scheduled action to execute regularly (at least once a day) to keep the values current. For more information, see Scheduling Actions.Tip: You can also map characteristics manually for the site. In the Site window, click the Tools menu, Assets, and then Map Asset Characteristics. All mapped characteristics on assets are populated with available values.Tip: In the Asset window, you can complete the mapping manually, typically for testing purposes. In the Tools menu, click Characteristics, and then Map Values. Note that you can lock and unlock characteristic mapping using options in this menu.At the enterprise level, you can set characteristic mapping defaults to allow AWEIS to create characteristic instances and to set the date format. The values are defaulted on Characteristic Mapping dialogs, where they can be changed. For more information, see Setting Defaults for Characteristic Mapping.Note: To use this functionality in APM, you must first enable feature 23. In the Enterprise window, select the Customization Center view and the Enabled Features tab. Click Browse, select “Asset characteristics”, and click OK. If APM is running as a smart client, click Refresh Enabled Features on the server. Then restart the client to use the functionality.You can also create characteristic mapping for requests for work, interop work requests, interop work orders, and solution packages. See Setting up Characteristic Mapping for Interop Work Documents.To Create a Characteristic Class and Add Characteristics
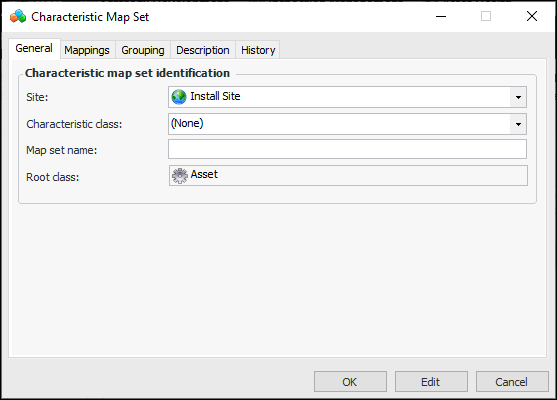
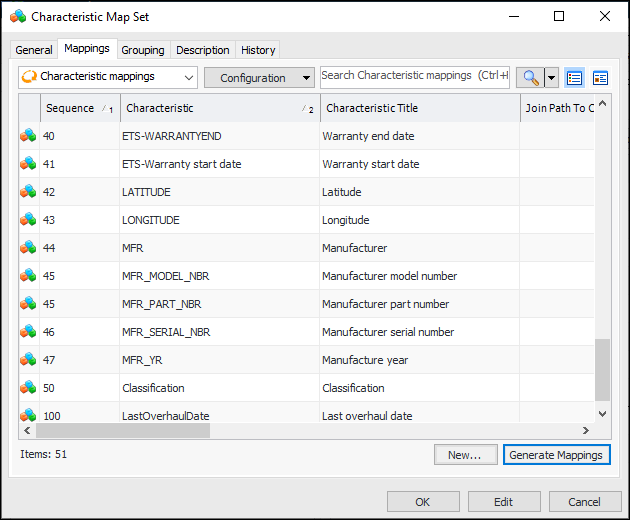
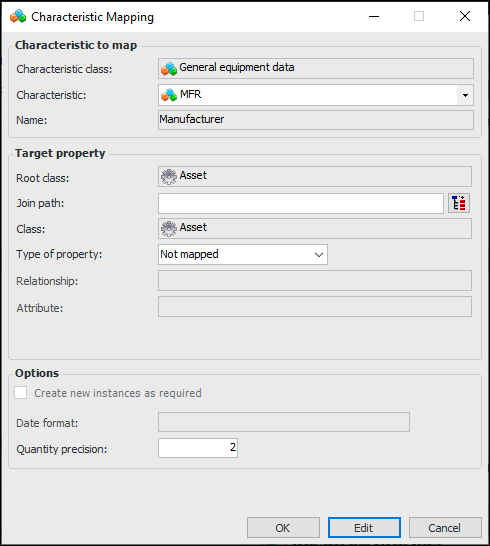
To Create a Map Set
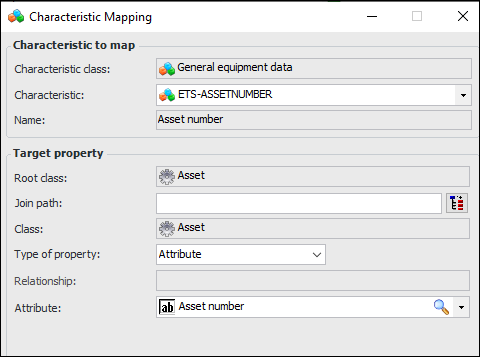
Asset Number
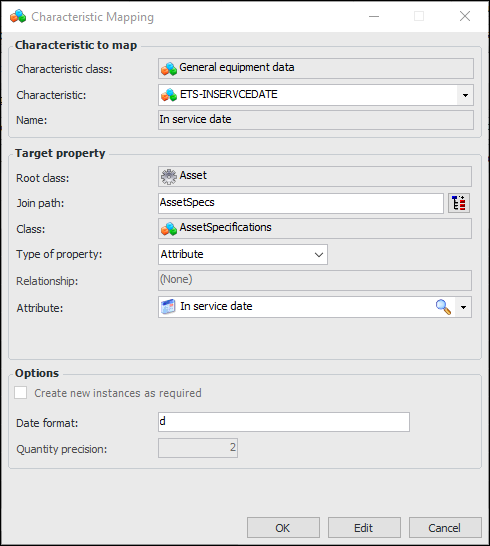
In Service Date
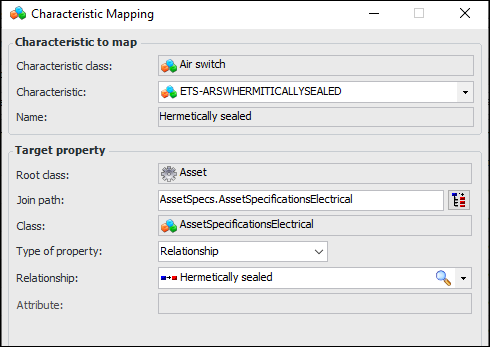
Hermetically Sealed
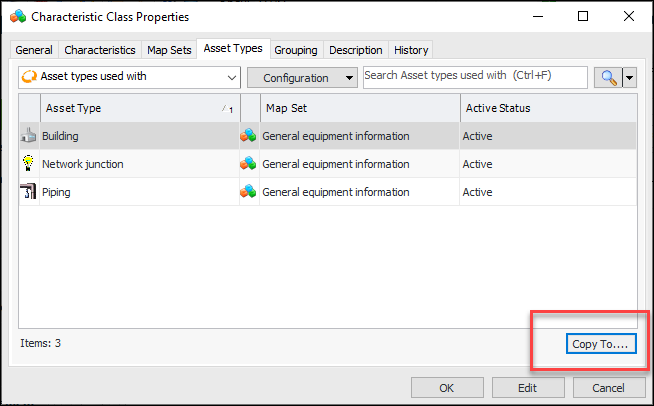
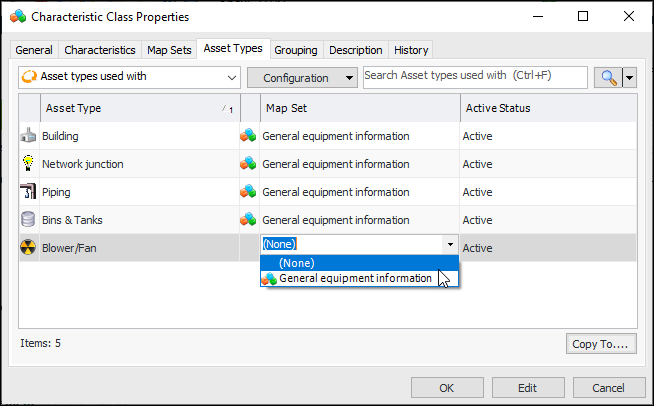
To Link an Asset Type to a Characteristic Class
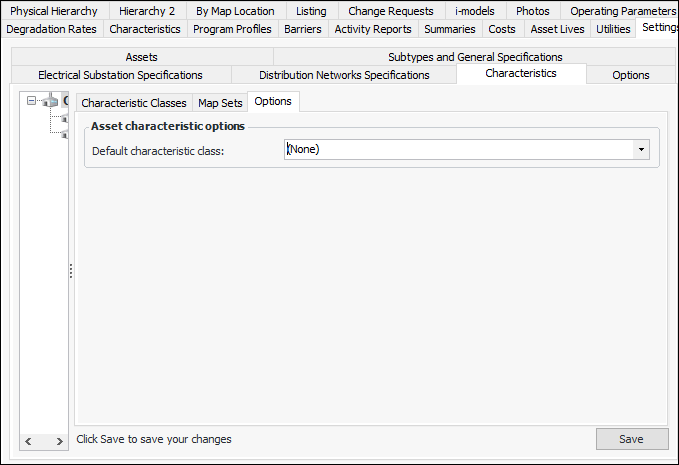
To Set the Default Asset Characteristic Class for the Site