|
|


**Setting up Asset Types
Tip: APM 7.14 introduced asset properties and specifications related to electricity transmission and distribution. For more information, see Asset Types for Electricity Transmission and Distribution Networks.For information about having your APM administrator add asset subtypes and asset specifications panels, see Subtypes in the Customization Guide. To add to the value lists for asset subtypes, see Adding Values for Asset Subtypes and Specifications. For information about setting up user asset specifications, see Working with User Asset Specifications.Note: User asset specification settings are generally available in APM. To use the functionality, you must first enable feature 75. In the Enterprise window, select the Features view and the Enabled Features tab. Click Browse, select “Support for user asset specifications”, and click OK. If APM is running as a smart client, click Refresh Enabled Features on the server. Then restart the client to use the functionality.Tip: For information about how asst types are being used in APM, open an asset type and click Usage. The Usage dialog displays three tabs:
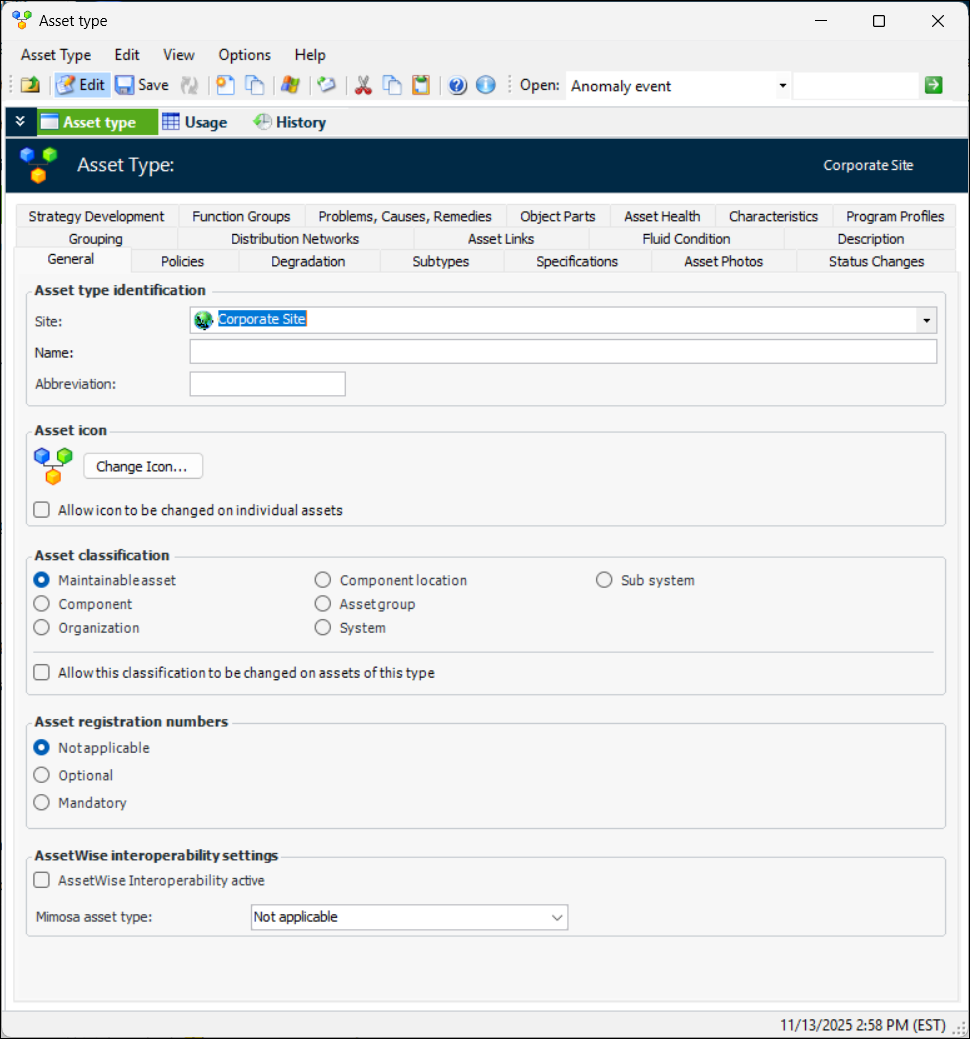
To Create the Asset Type Record
To Set General Options
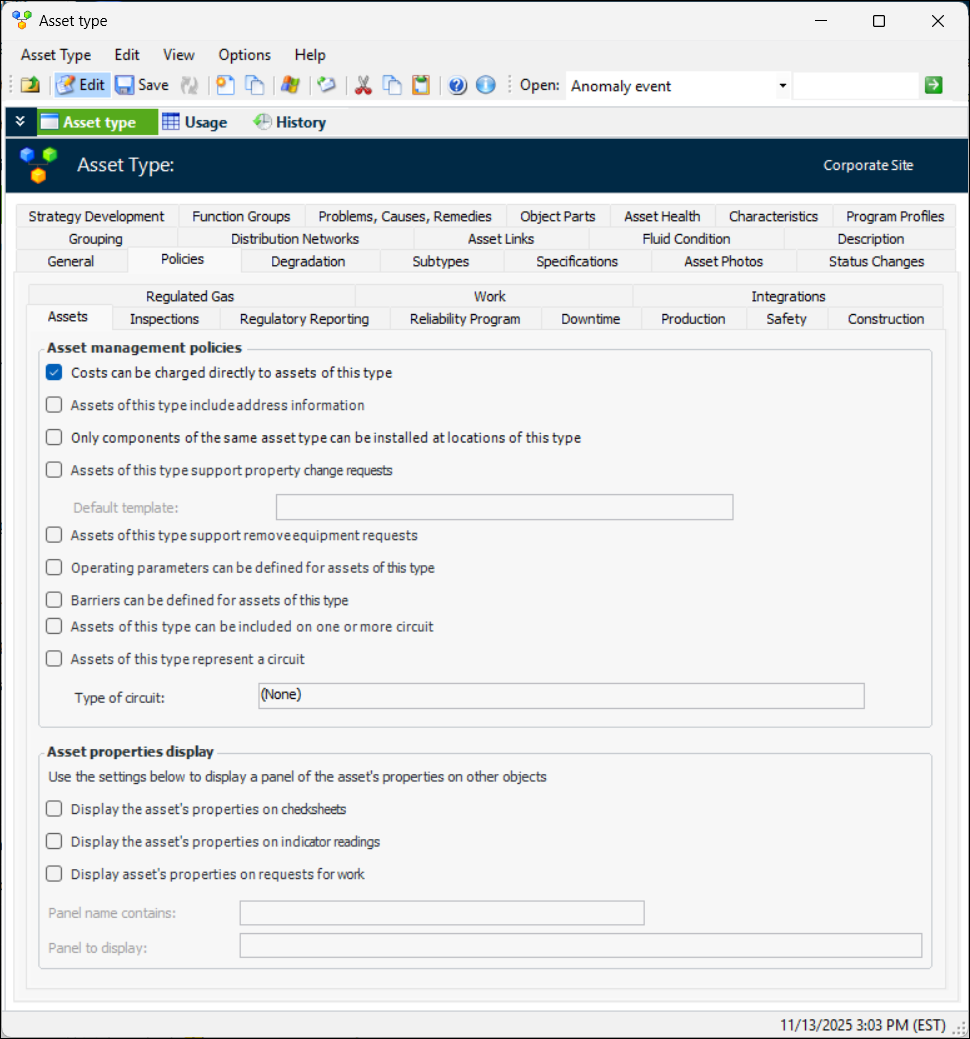
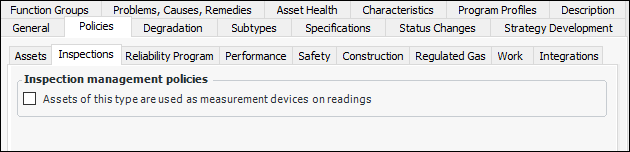
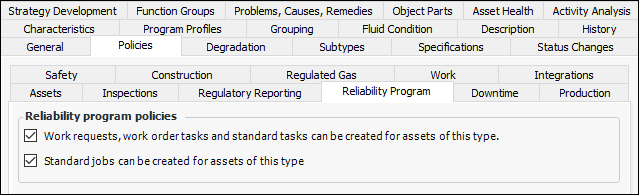
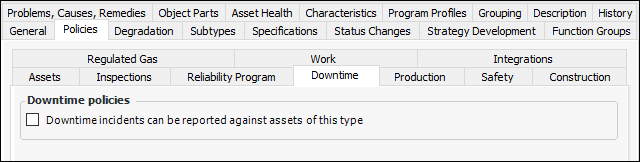
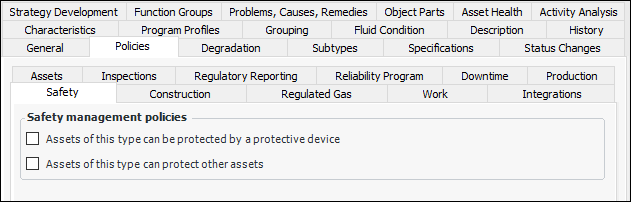
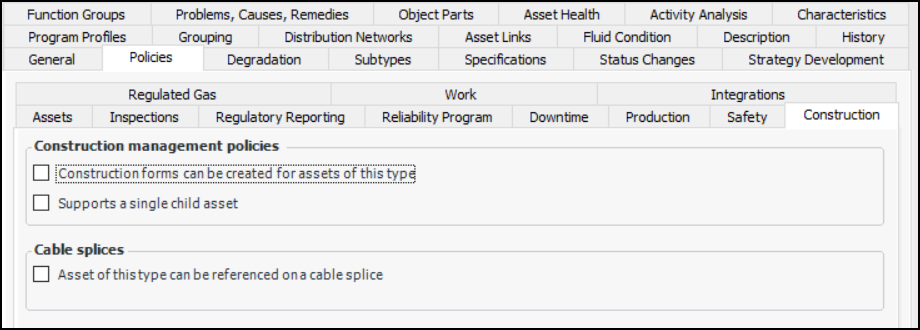
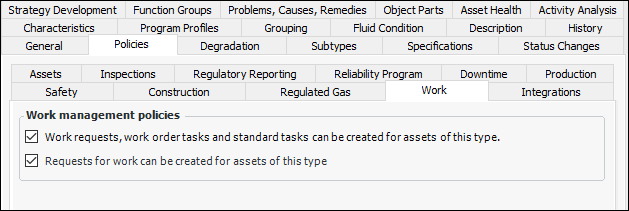
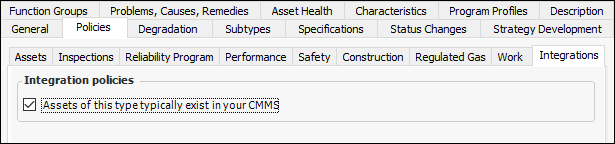
To Set Policies
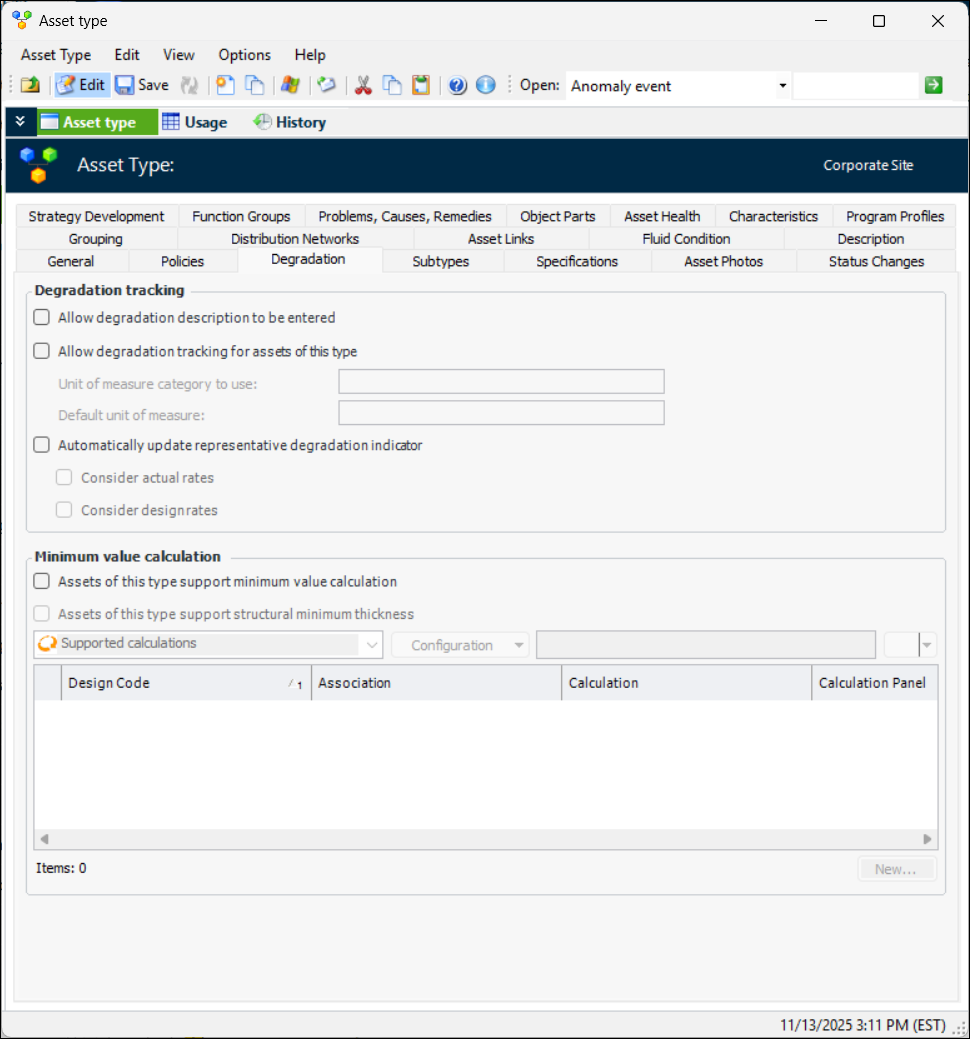
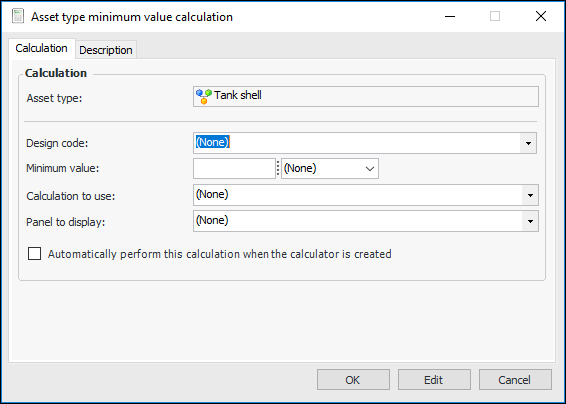
To Set Options for Degradation Tracking
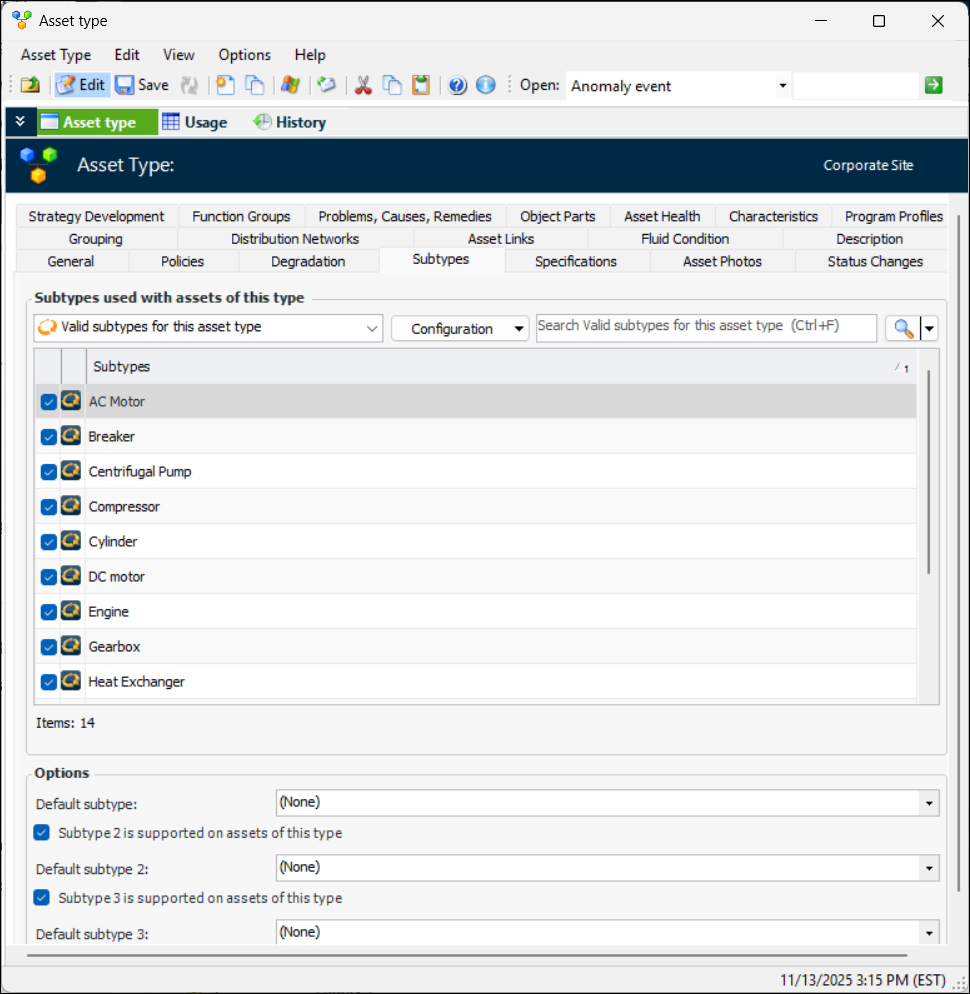
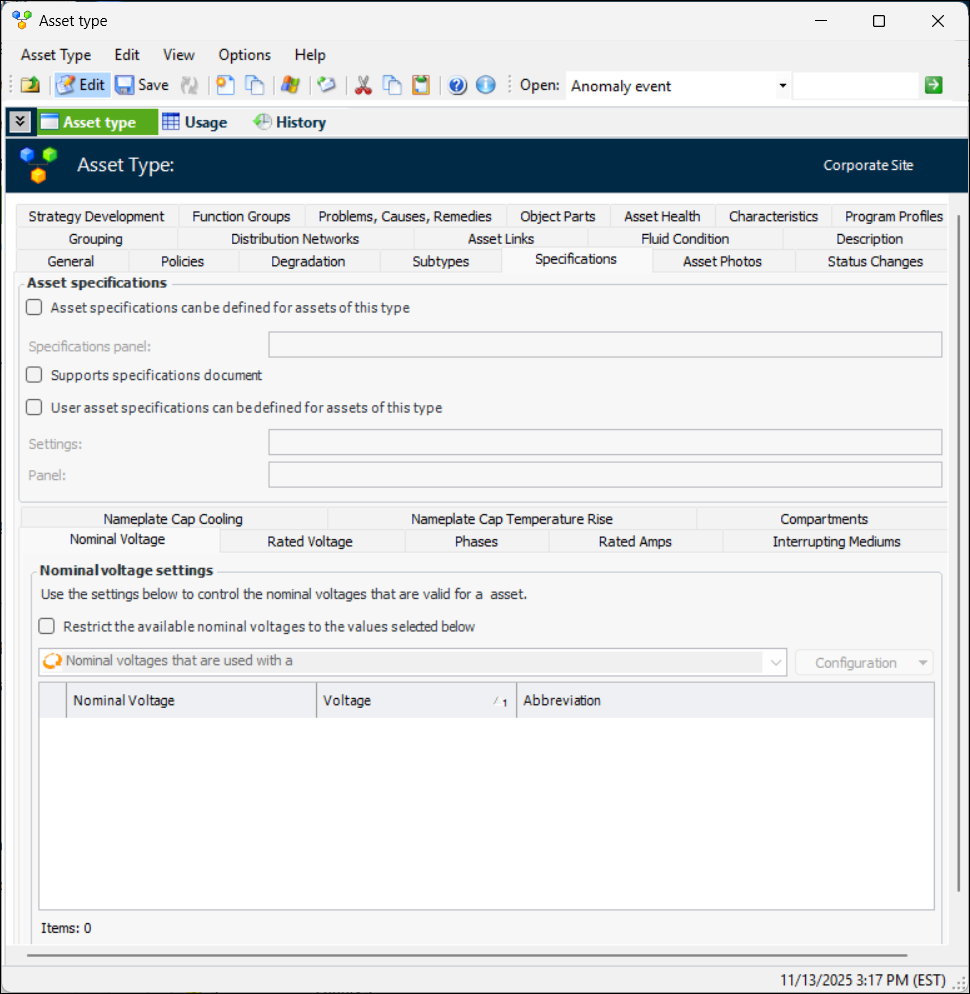
To Select Subtypes and Specifications
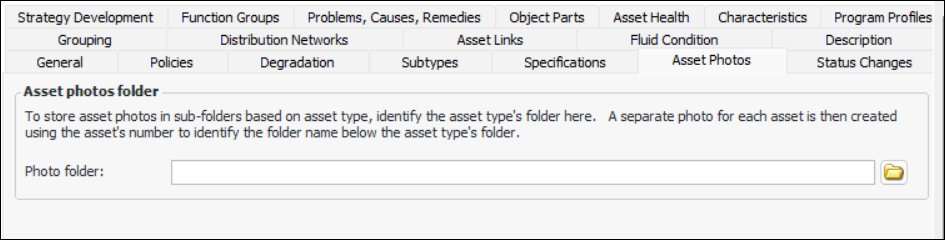
To Select the Asset Photos Folder
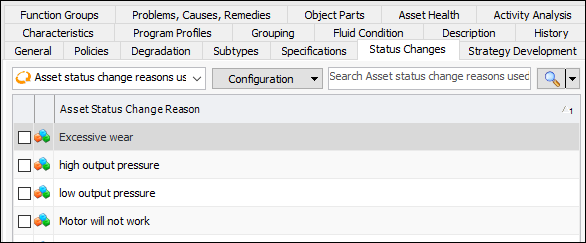
To Select Status Change Reasons
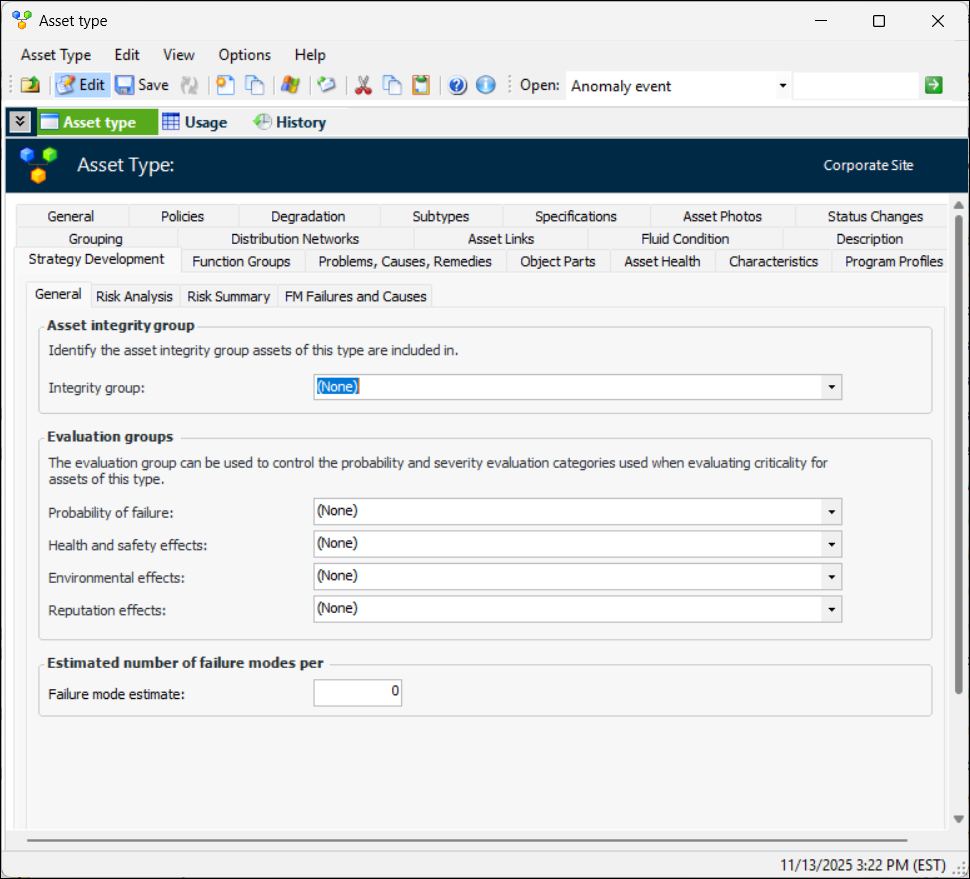
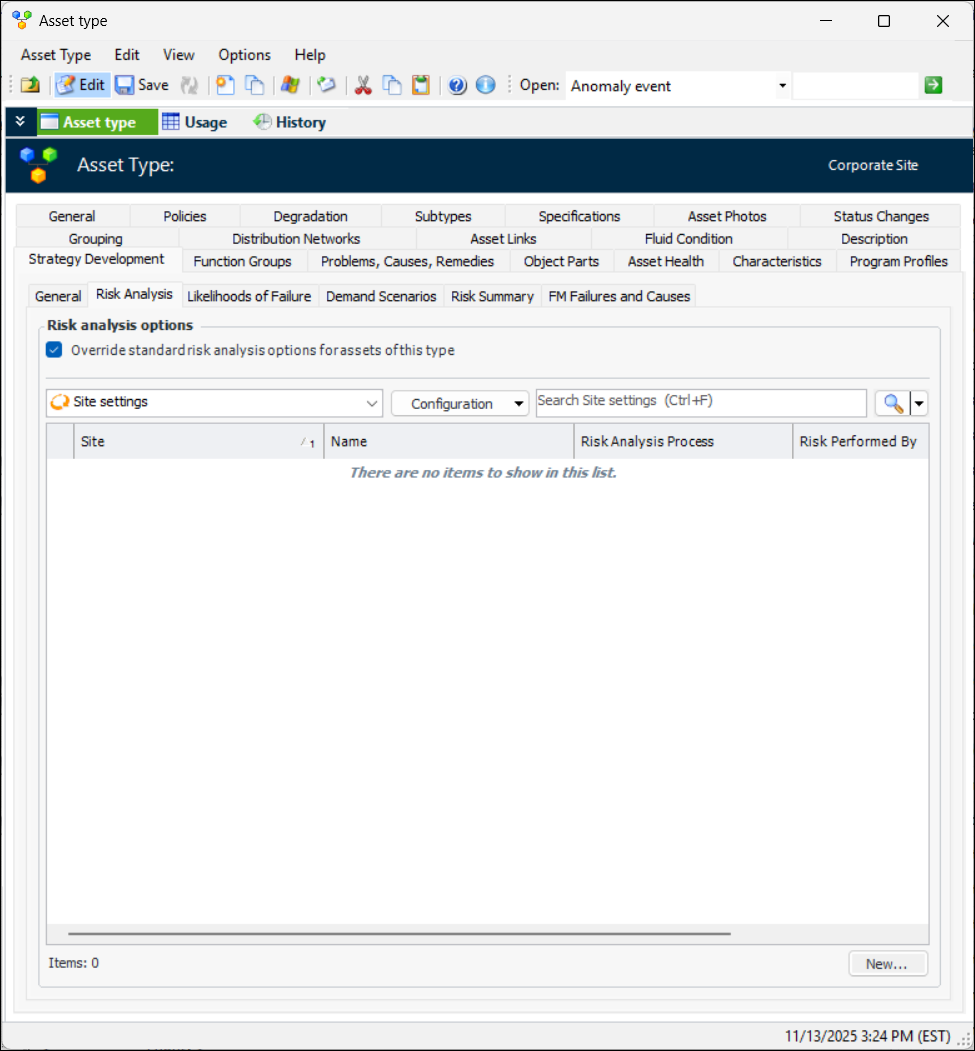
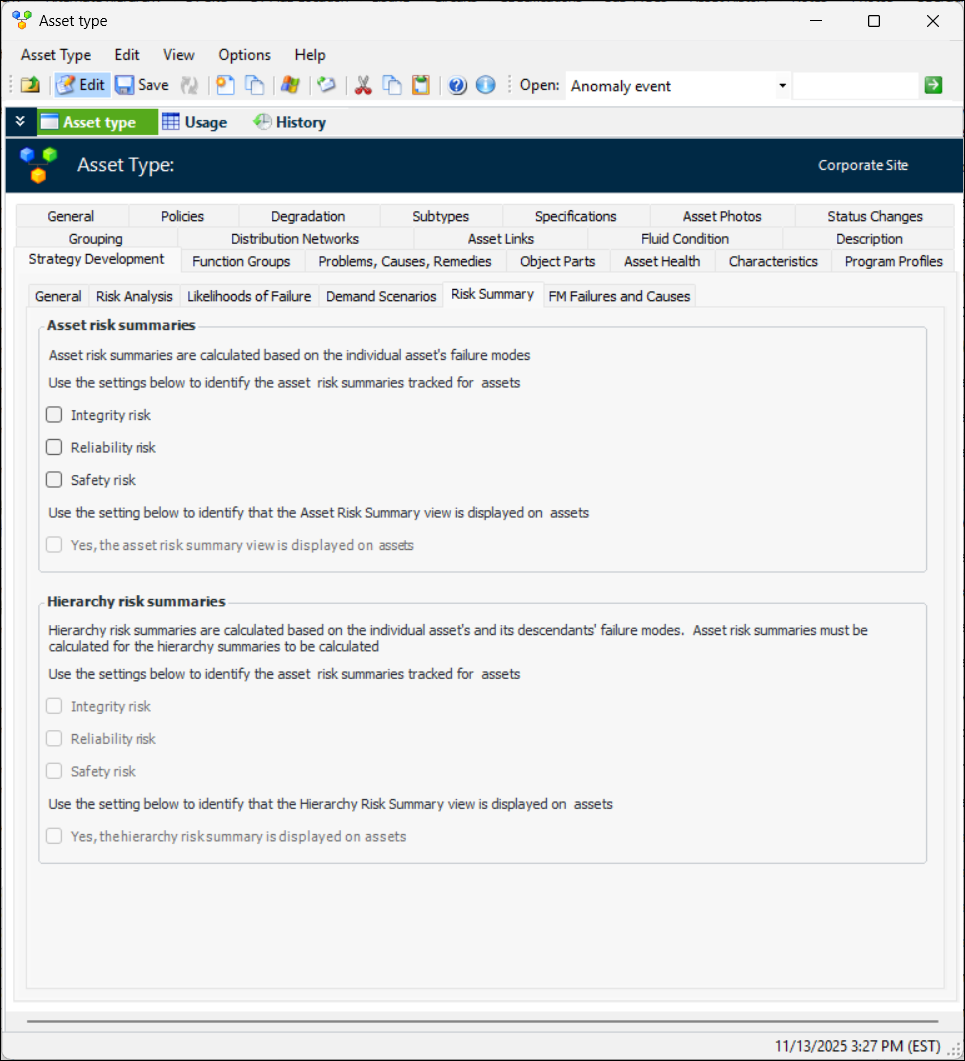
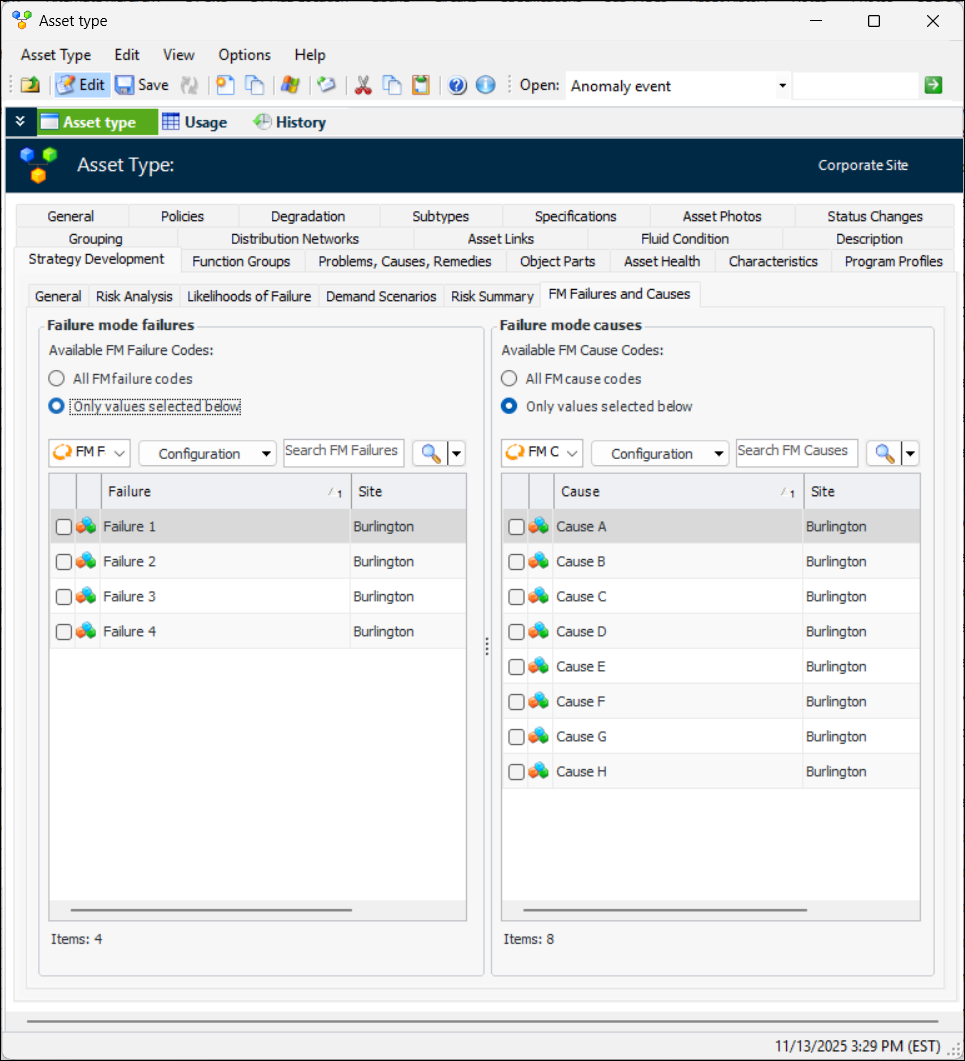
To Set Strategy Development Options
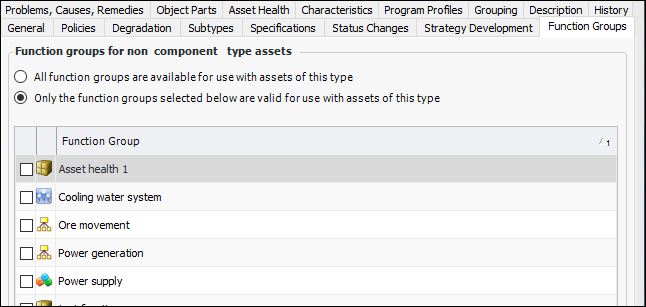
To Select Function Groups
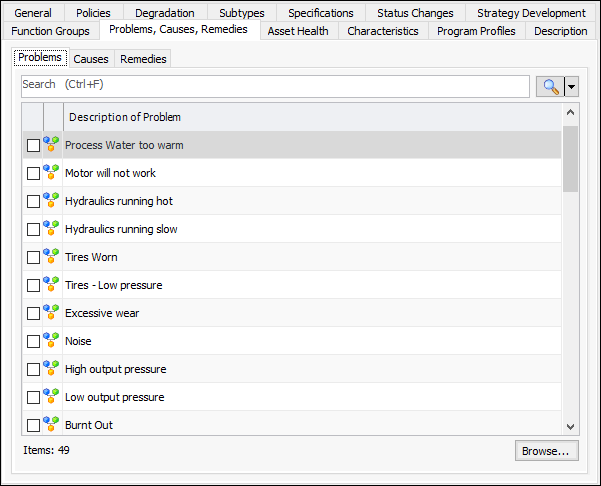
To Select Problems, Causes, and Remedies
To Set Asset Health Options
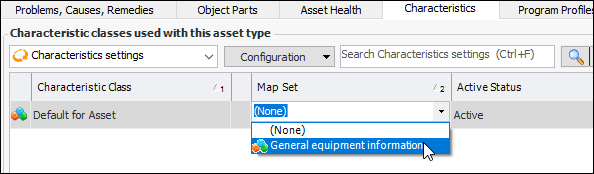
To Add Asset Characteristic Settings
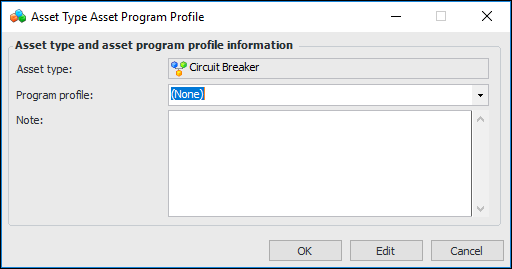
To Add Asset Program Profiles to the Asset Type
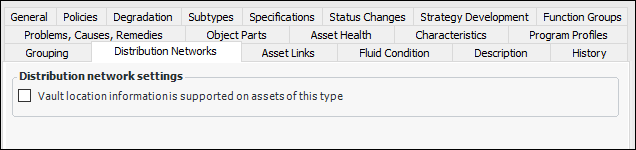
To Set Distribution Networks Options
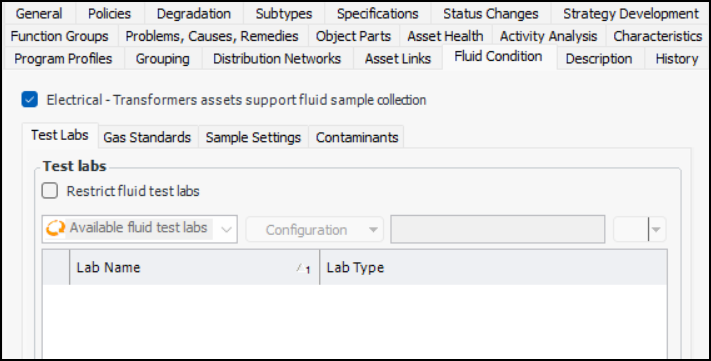
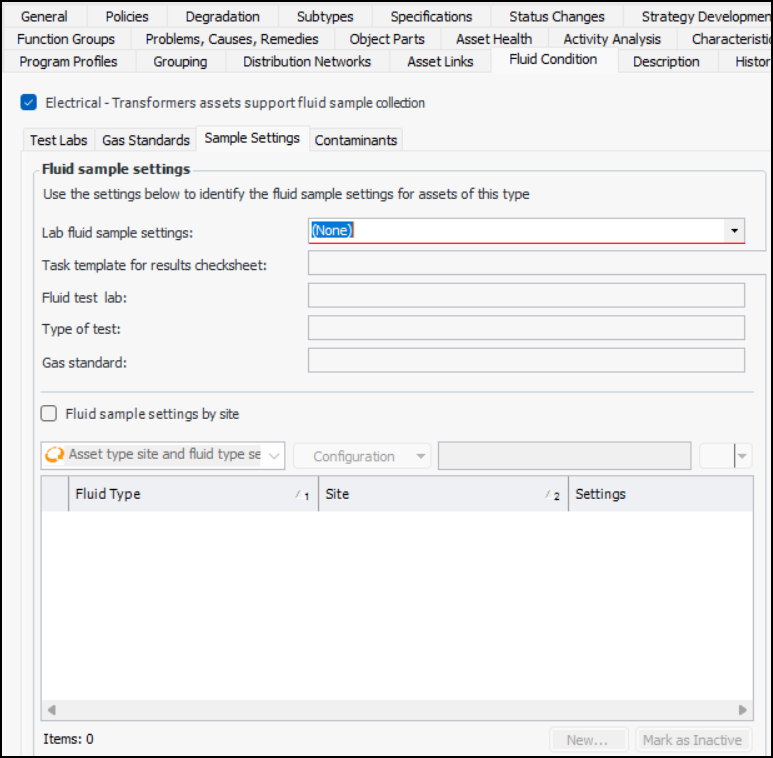
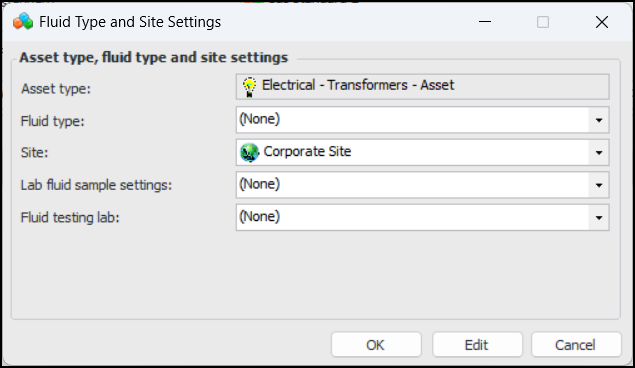
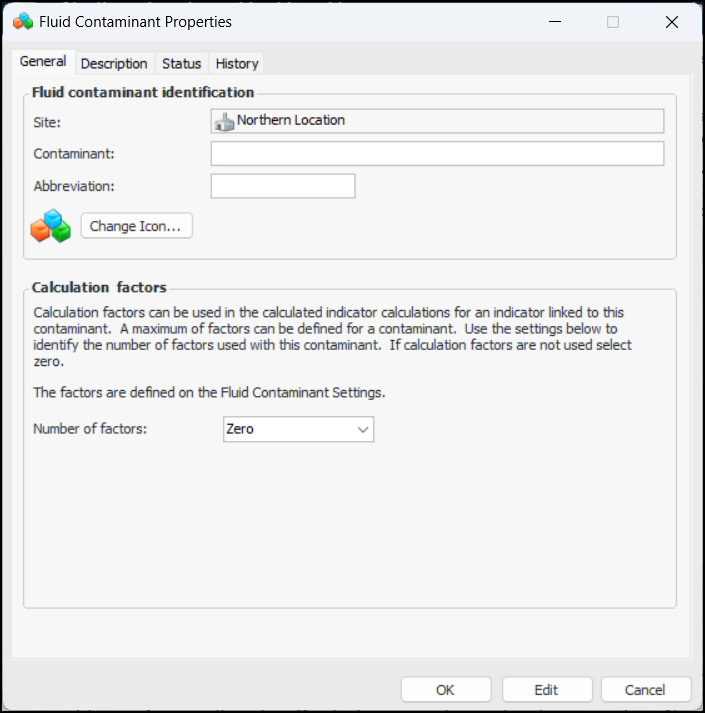
To Set Fluid Condition Options