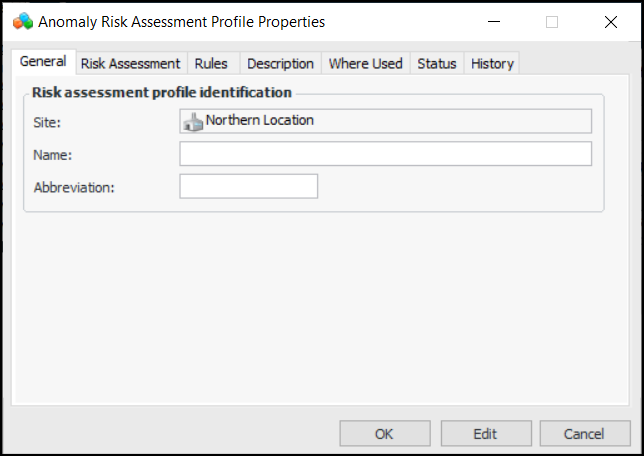
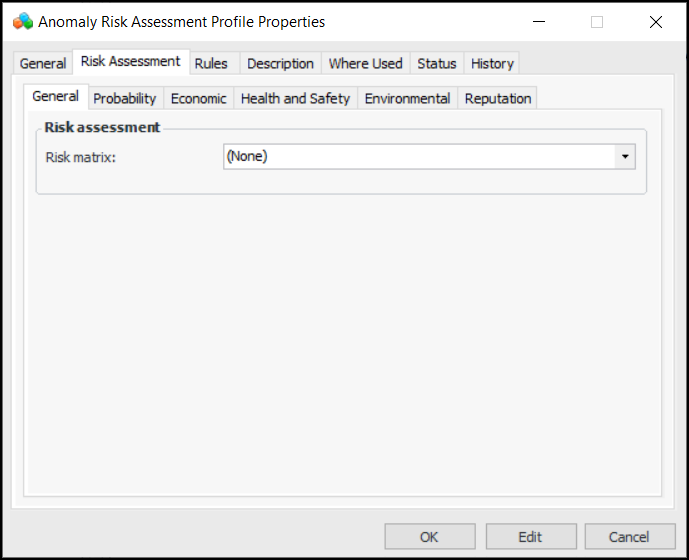
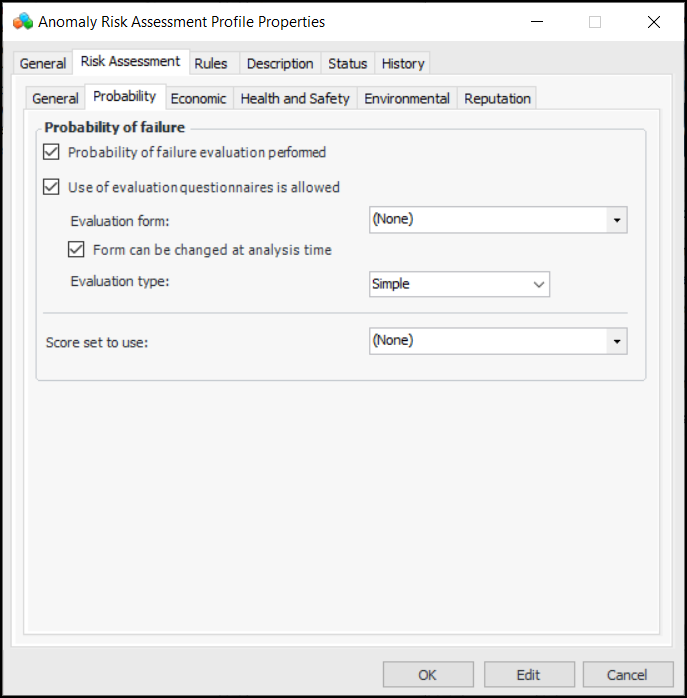
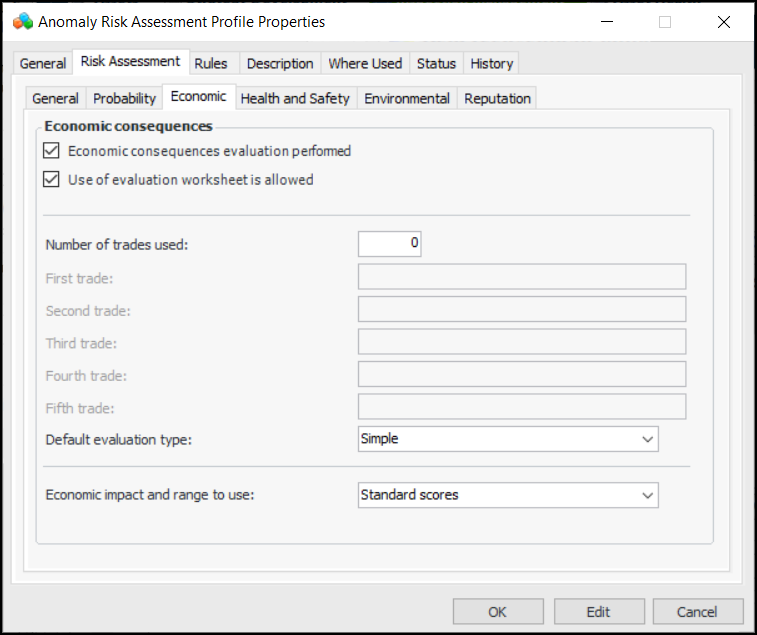
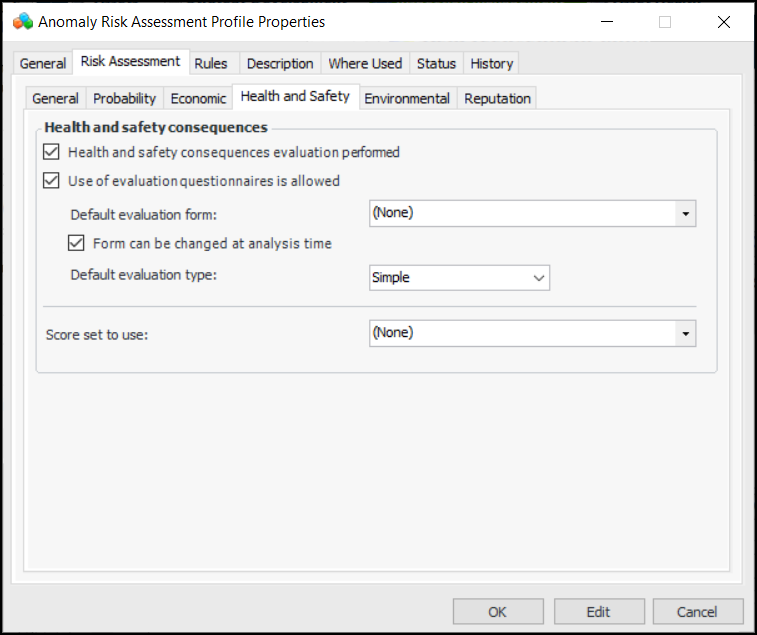
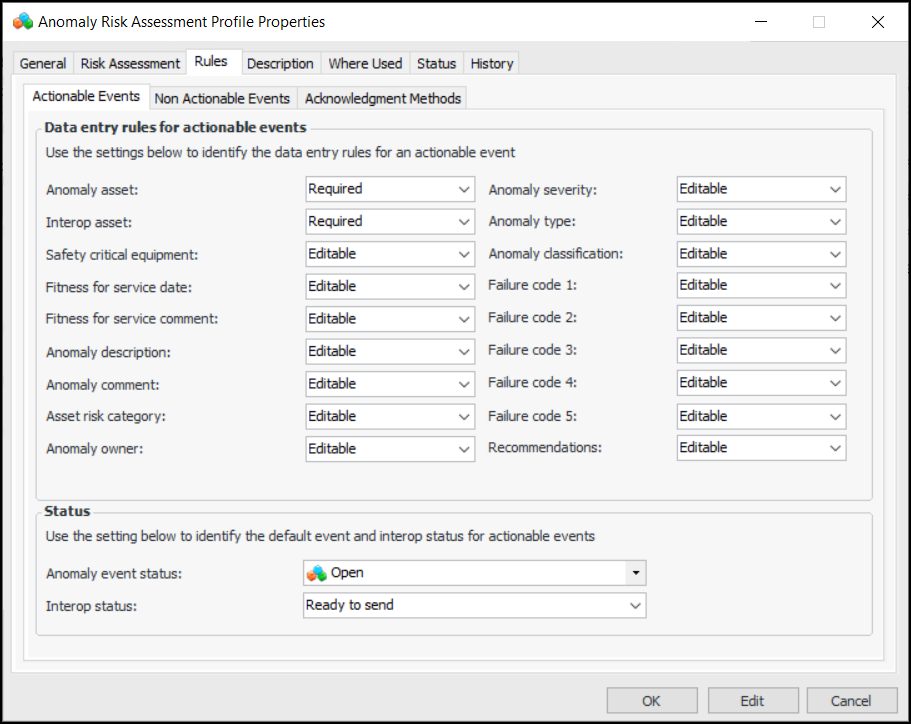
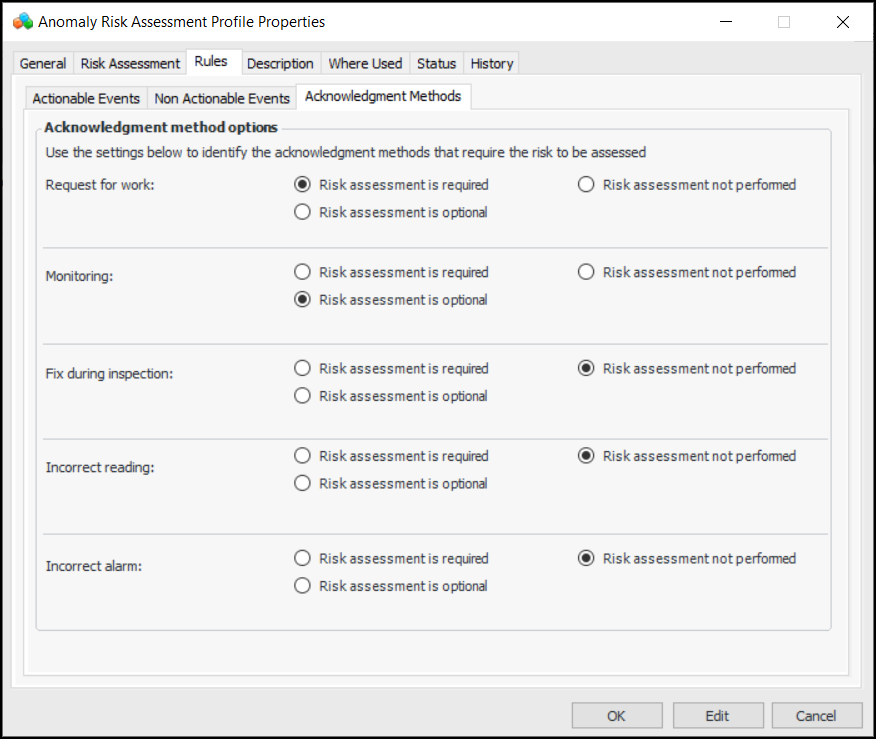
Setting up Anomaly Risk Assessment Profiles

When setting up anomaly risk assessment, you can create one or more profiles to assign to work types used for the alarm acknowledgments and requests for work to be assessed. You can also set the profile that will be used at the site.
When creating a profile, select the risk matrix to use and the settings to use for probability, economic, health and safety, environmental, and reputation assessments. You can also identify the data entry rules for actionable and non-actionable anomaly events.
This topic explains how:

To Set up an Anomaly Risk Assessment Profile

1.
From the Site window, select the Inspection Management view and the Settings tab. Select the Risk Assessment tab and the Risk Assessment Management Settings node in the tree.
Tip: You can also select the Performance Management or Work Management view and then the Settings tab.
2.
Select the Risk Profiles tab. For example:
Tip: You can mark a profile as inactive to prevent it being selected. Select it in the table and click Mark as Inactive. When you wish to make the profile available, select it in the table and click Mark as Active.
3.
Click New. The Anomaly Risk Assessment Profile Properties dialog appears:
4.
5.
Select the Risk Assessment tab, General tab.
6.
In the General tab, select a risk matrix to use with assessments. The list contains only matrices that have been set to use anomaly risk assessment. For more information, see Setting up Risk Matrices.
7.
Select the Probability tab:
8.
Simple – The evaluator can select one statement for each category on the form.
Detailed – The evaluator can select two statements for each category on the form.
9.
Select the Economic tab:
10.
11.
12.
Simple – The evaluator can select one statement for each category on the form.
Detailed – The evaluator can select two statements for each category on the form.
13.
In the Economic impact and range to use list, select the type of values used in the evaluation, for example, standard scores or alternates.
14.
Select the Health and Safety tab:
15.
Simple – The evaluator can select one statement for each category on the form.
Detailed – The evaluator can select two statements for each category on the form.
16.
Select the Environmental and Reputation tabs in turn and set the options for using evaluation questionnaires.
17.
Select the Rules tab and the Actionable Events tab:
18.
19.
20.
Select the Non Actionable Events tab and specify one of Editable, Required, or Read-only for each of the fields.
21.
22.
Select the Acknowledgment Methods tab:
23.
24.
Select the Description tab to provide more information about the profile.
The Where Used tab displays the sites where the profile is used.
The Status tab displays whether the profile is active or inactive, as well as the active status history.
The History tab shows when the profile was created and last changed.
25.
Click OK to save the profile and close the window.

To Set the Profile Used at the Site

1.
In the Settings tab, Risk Assessment tab, Risk Profiles tab, click Edit in the bottom right corner of the window. The Edit button changes to Save.
2.
3.
Click Save.