|
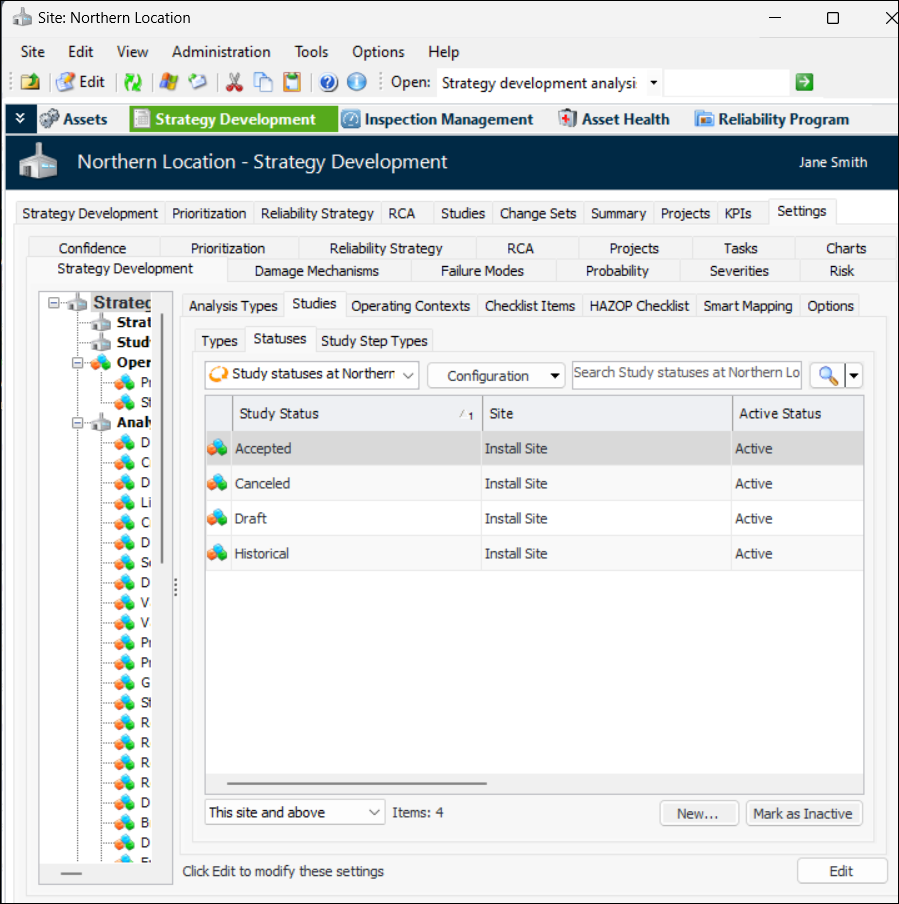
Setting up Study Statuses
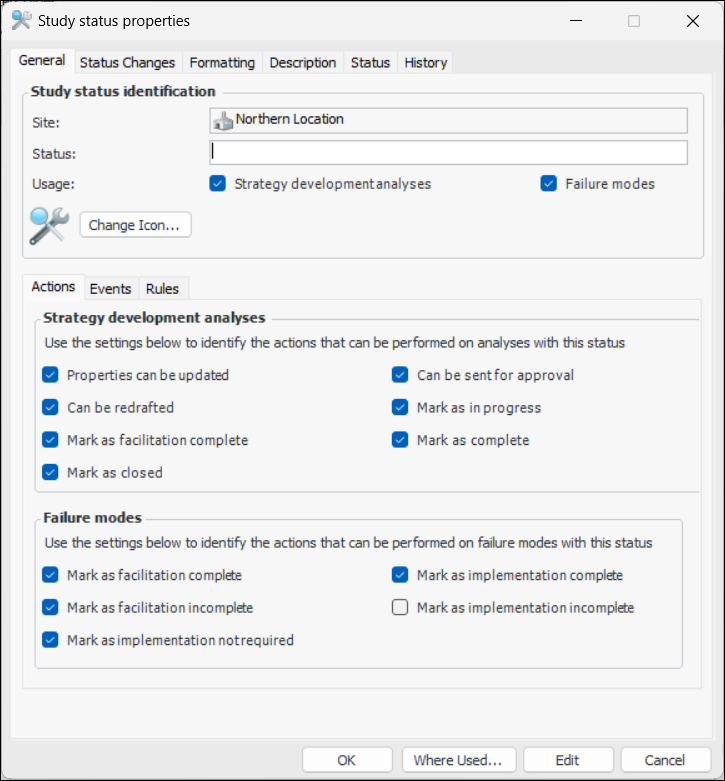
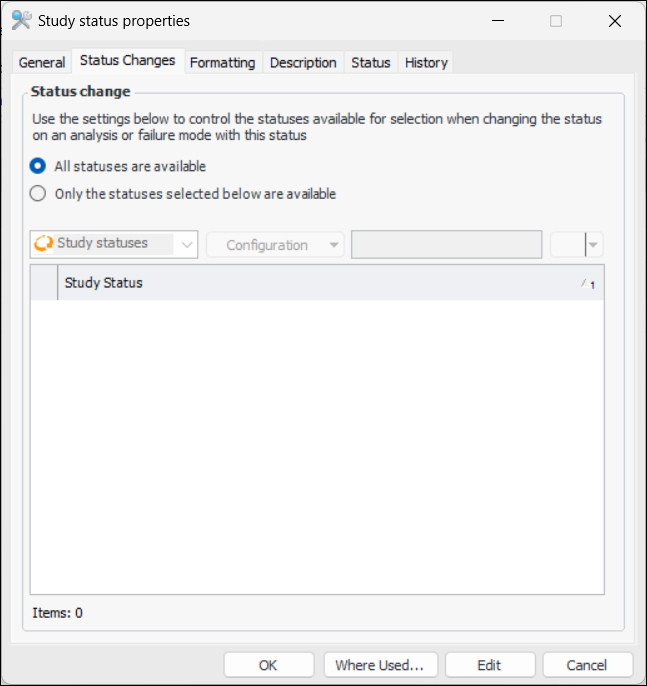
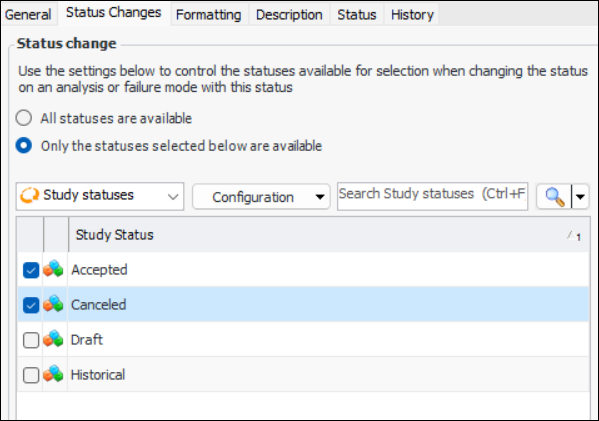
A status can be set manually or automatically based on analysis type and system event. For example, in one typical implementation, when the study is added to an analysis, its status is automatically set to “Draft”. The user develops the analysis or failure mode and manually sets the study status to “Ready for Review”. At that point, Send for Approval becomes available in the Analysis menu because of a rule set in the status properties.This topic explains how to set up study statuses to work with the approvals and acceptance processes. For information about setting up analysis types, see Setting up Analysis Types.Tip: If you wish to prevent a status from being used, select it in the Study Status tab and click Mark as Inactive. In the dialog that appears, provide a reason and click OK. The status is shown as Inactive in the table. To make the status available, select it and click Mark as Active.To Set up a Study Status
1. From the Site window, select the Strategy Development view, Settings tab and then the Strategy Development tab. Select the Strategy development settings node in the tree.Tip: You can also select the Administration menu, Strategy Development Settings, and then Strategy Development. The Strategy Development Management Settings dialog appears.
2. Select the Studies tab and then the Statuses tab. This tab lists all of the study statuses that have been defined for the site.
3. Click New. The Study Status Properties dialog appears:
6. To select a different icon for the status, click Change Icon. Select the new icon and then click OK.
10. Select the Events tab.
12. Select the Rules tab.
13. By default, a status can be manually selected by users. To prevent this, clear Can be manually set. The status can only be set by system events.
14. Select the Status Changes tab.
15. By default, all statuses are available for selection when the user wishes to change the status on an analysis or failure mode. To limit the choices, select Only the statuses selected below are available. The table is populated with the site’s statuses. Select the study statuses that will be available. For example:
16. Select the Formatting tab if you wish to distinguish the status from others when it appears in tables and charts.
18. Select the Description tab to add information about the status.The Status tab displays information about the status’ active status. The History tab displays information about the status’ creation and update history.
19. When you are finished defining the status, click OK. The status is added to the Study Statuses table.