|
Setting up RBI Lookup Tables and Sets
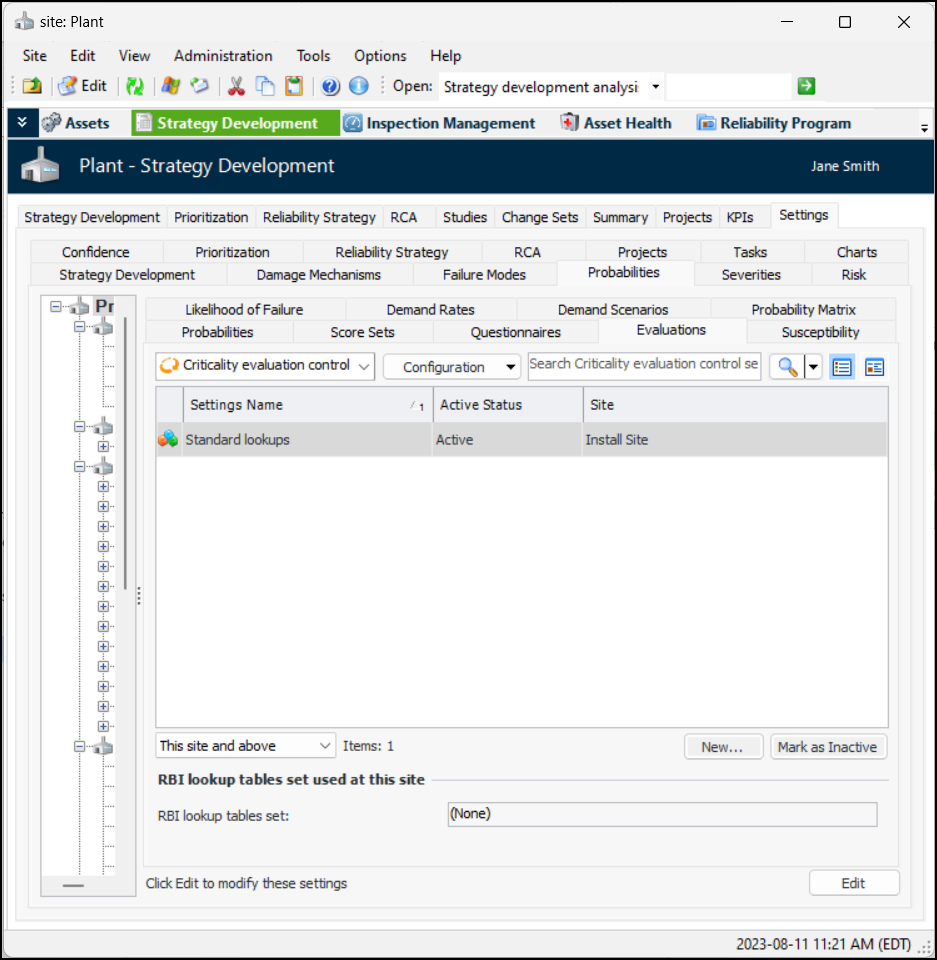
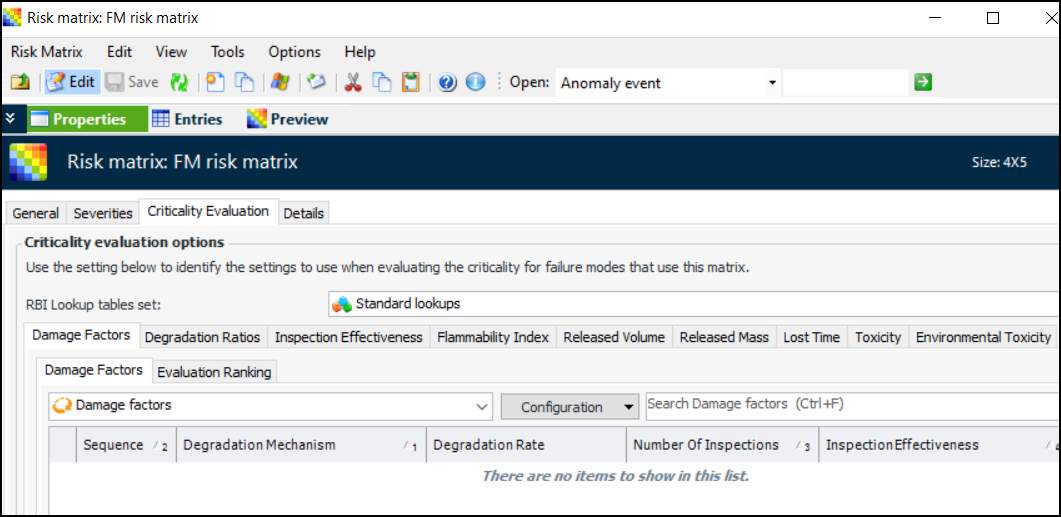
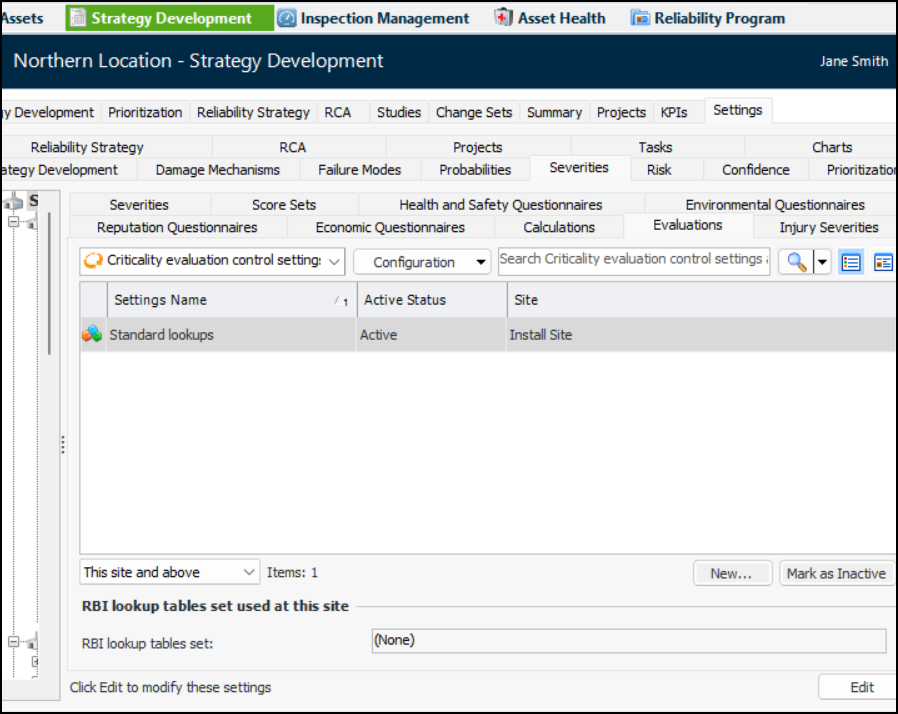
For related information, see Setting up Consequence Severity Evaluations to use Lookup Tables and Setting up Probability of Failure Evaluations to use Lookup Tables.Note: Support for criticality evaluation calculations is generally available. However, you must first enable feature 115 to use the functionality in APM. In the Enterprise window, select the Features view and the Enabled Features tab. Click Browse, select “Practical RBI - criticality evaluation calculations” and click OK. If APM is running as a smart client, click Refresh Enabled Features on the server. Then restart the client to use the functionality.You can view lookup tables and populate them with values appropriate for you organization. In the Site window, select the Strategy Development view, Settings tab, and either the Probabilities or Severities tab. Select the Evaluations tab. For example:You can also view lookup tables in the Risk Matrix window. To open this window, open the Site window, select the Strategy Development view, Settings tab, Risk tab, and Risk Matrices tab. Double-click the risk matrix to open the Risk Matrix window. Select the Criticality Evaluation tab. In the RBI lookup tables set list, select “Standard lookups”. For example:Note: Data shipped as part of the Content classes, for example, Released Volume, might include data members that use UOMs that exist in the install database but not in your APM database. If you wish to use instances that use UOMs not currently in your database, you will need to manually create those UOMs. See Adding Units of Measure.To Create an RBI Lookup Tables Set
1.
2. Tip: You can also select the site’s Administration menu, Strategy Development Settings, Risk Analysis and then Probabilities (or Severities). The Strategy Development - Probabilities Settings dialog appears.
3. Select the Evaluations tab. This tab lists the RBI lookup tables sets defined for the site. For example:Tip: You can mark a set as inactive until it is ready to be used. Select the set in the table and click Mark as Inactive. The Mark as Inactive/Active dialog appears, where you can enter a comment. When you click OK, a confirmation message appears. Click OK. When you are ready, click Mark as Active to make the set available for use.
4. Click New. The Control Settings Set dialog appears:
6. To change the graphic that represents the set in the UI, click Change Icon, select another icon, and click OK.
7. Select the Lookups tab. This tab contains a tab for each of the lookup tables currently available in the product. For example:
9. Select the Description tab to add more information about the set.
10. Click OK. The dialog closes and the set is added to the table.
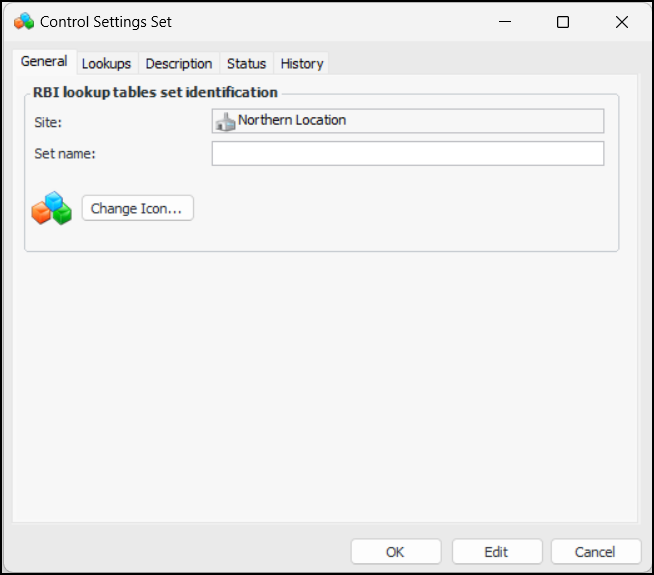
To Assign an RBI Lookup Tables Set to the Site
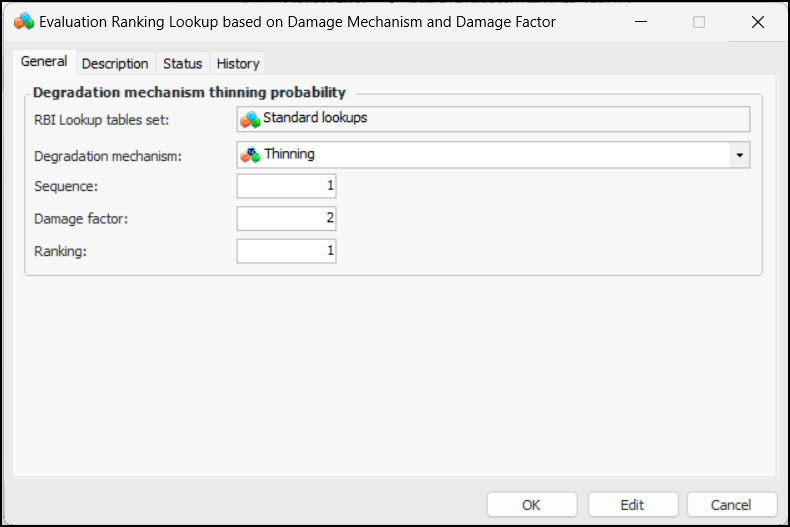
1. In the Site window, Strategy Development view, Settings tab, select either the Probabilities or Severities tab.
2.
3. In the RBI lookup tables set list, select a set.
4. Click Save.Lookup Table Values
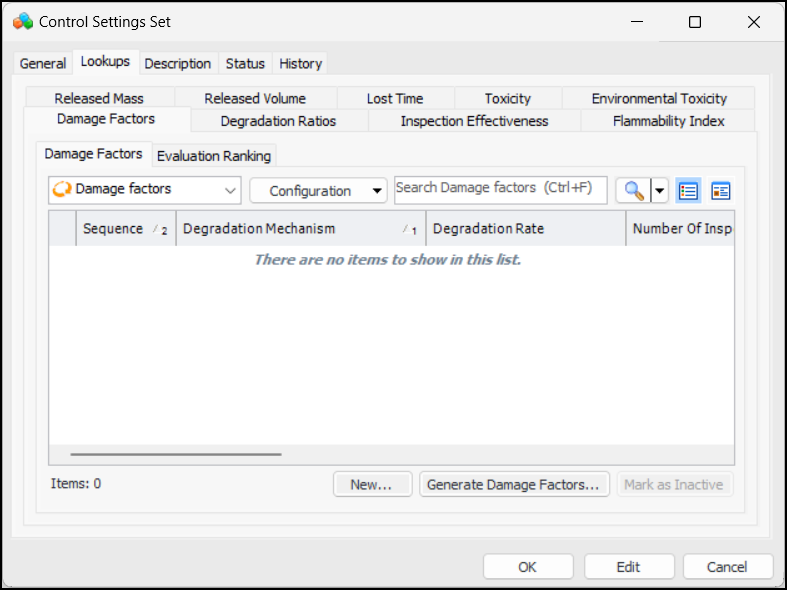
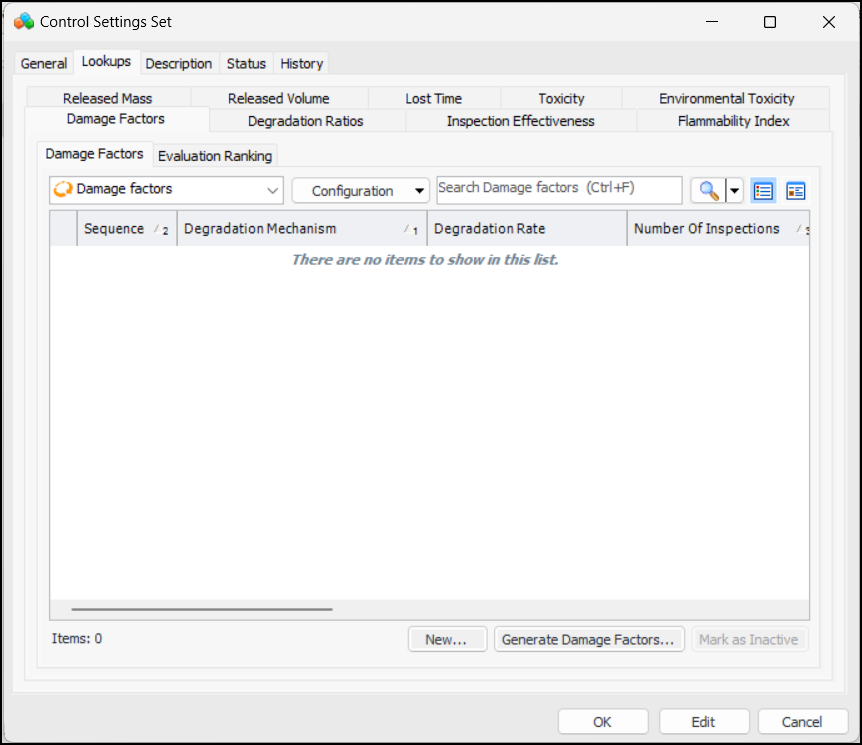
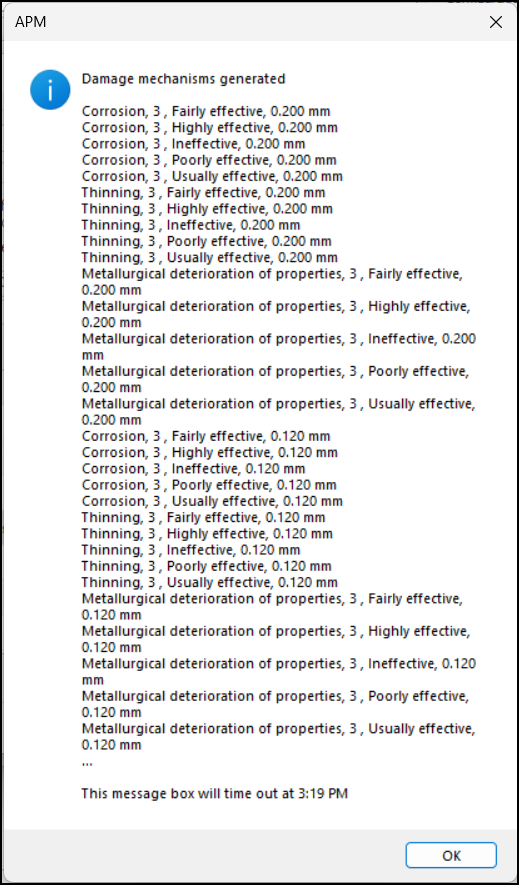
To Set up the Damage Factors Lookup Table
1. Tip: You can also select the site’s Administration menu, Strategy Development Settings, Risk Analysis and then Probabilities. The Strategy Development - Probabilities Settings dialog appears.
2. Select the Evaluations tab. This tab lists the RBI lookup tables sets defined for the site.
4. Select the Damage Factors tabs. For example:
5. Click Generate Damage Factors. The Generate Thinning Damage Factors dialog appears:
9. Click Generate. An information message appears showing the entries that were generated. For example:
10.
11. Select the Evaluation Ranking tab.
12. For each degradation mechanism that will be used, add a ranking. Click New to open the dialog.
14. Click OK.