|
|


Setting up Environmental Evaluations
Hazards and Consequences
Mitigating Factors
Anatomy of an Evaluation
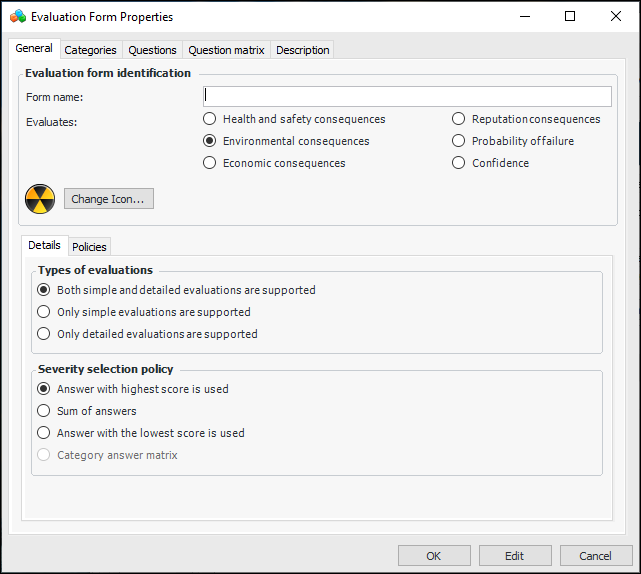
Simple and Detailed Evaluations
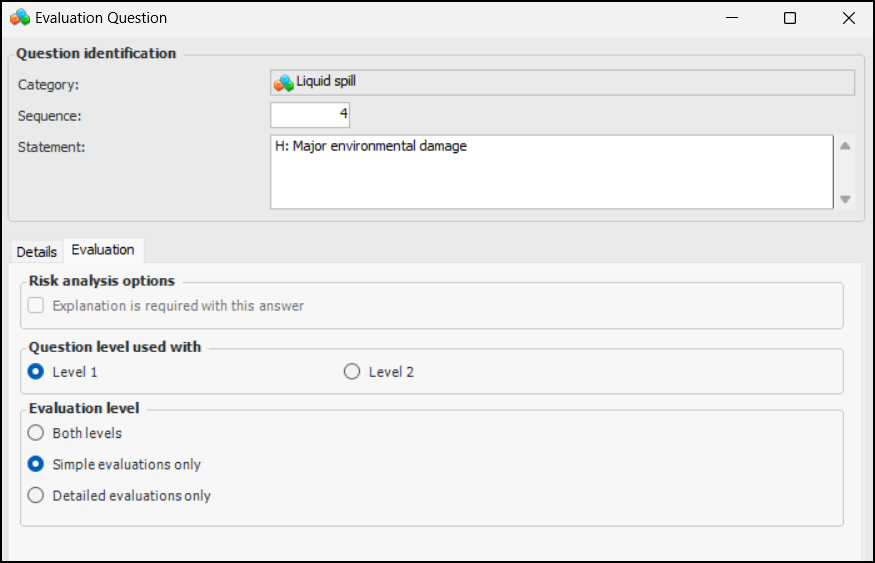
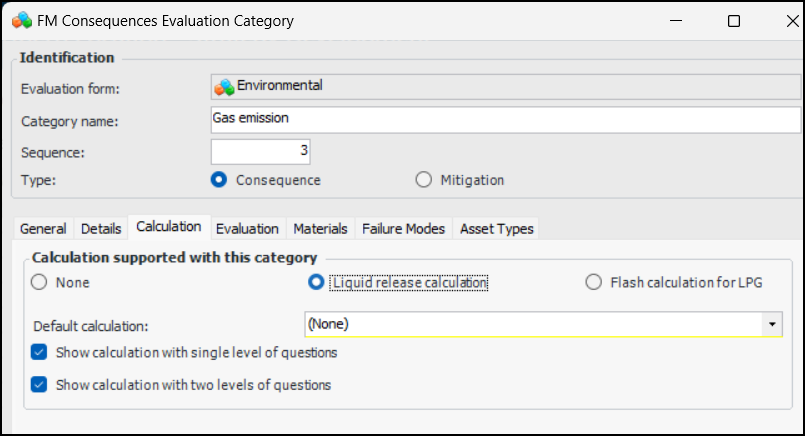
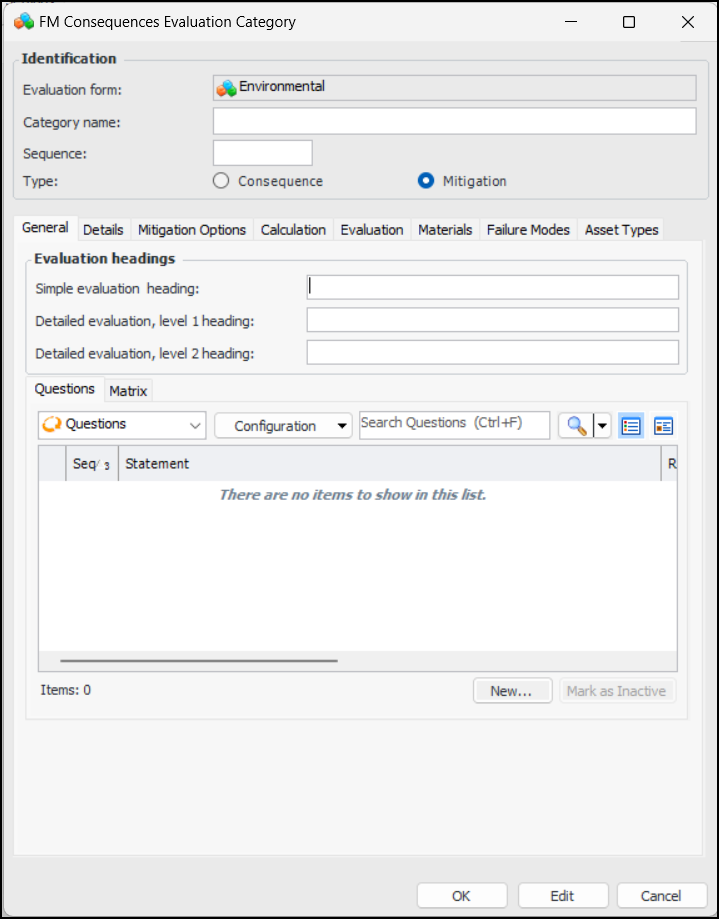
When designing an evaluation, you can specify that it supports simple evaluations (one level of questions), detailed evaluations (one or two levels of questions), or both. When two levels of questions are defined, the first set usually presents the problems and the second set presents the volume or size of the problem. For the Fire category, for example, first-level questions could deal with flammability and second-level questions with the volume of released fluid. When the evaluation supports both levels, the user can click Simple or Detailed in the questionnaire, depending on the complexity of the failure mode.Category Answer Matrix
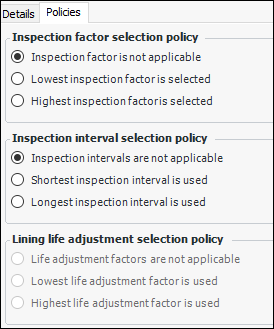
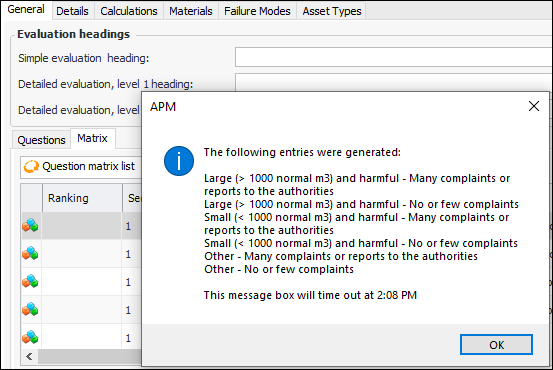
The category answer matrix is only supported for simple evaluations with one level of questions. Evaluations must be presented as embedded forms, meaning that the user opens the Maintenance Action Plan window, selects the Risk tab, and then selects options. This choice can be set in the risk options of the analysis, analysis type, or asset type.Inspection Factors and Intervals
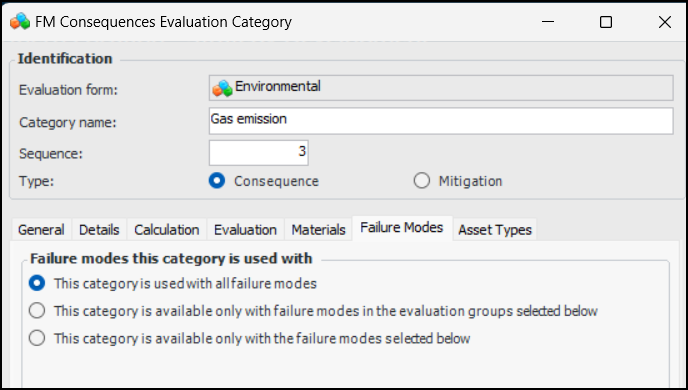
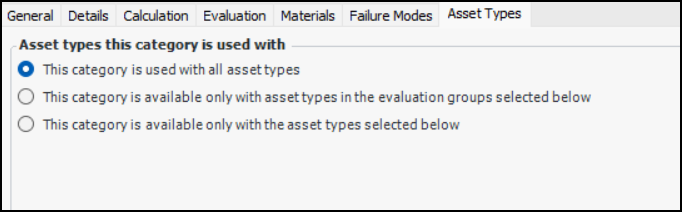
Controlling the Availability of Categories
Using Lookup Tables and Calculations
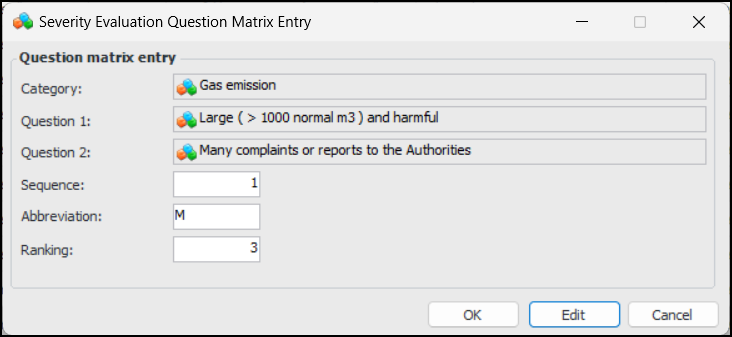
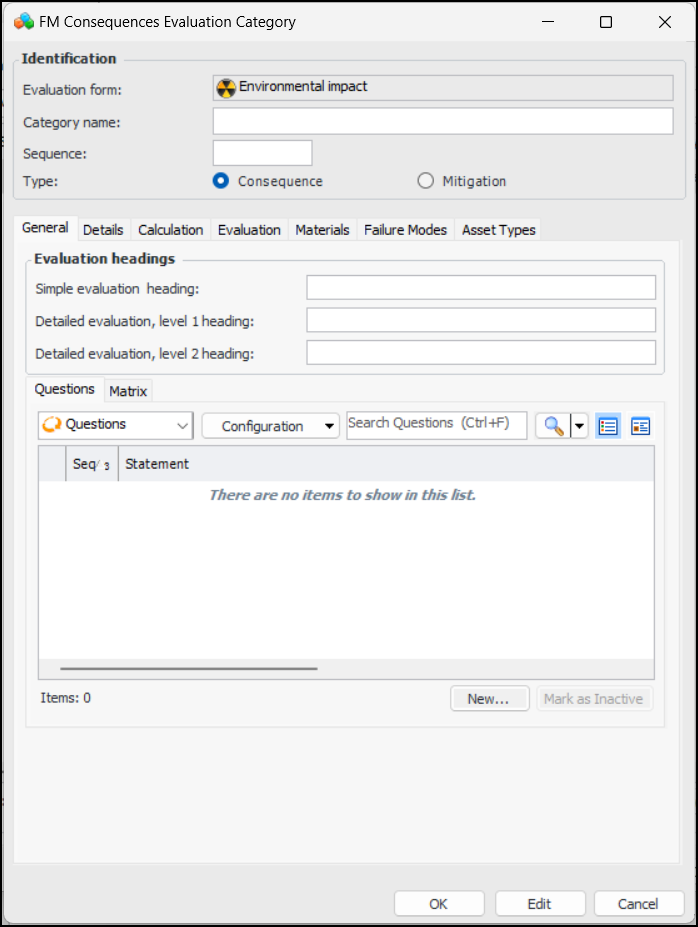
You can incorporate a lookup table and/or calculation in a category to automatically assess severity ranking. For example, use the environmental toxicity lookup table to determine a ranking. For information, see Setting up Consequence Severity Evaluations to use Lookup Tables.Example Evaluation Form
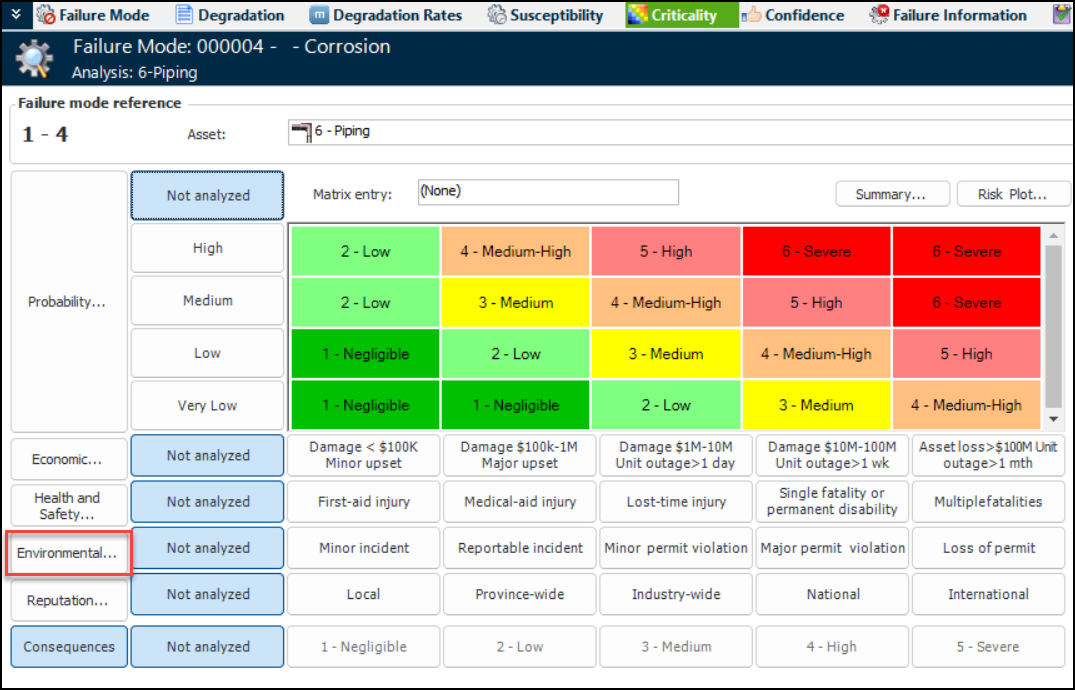
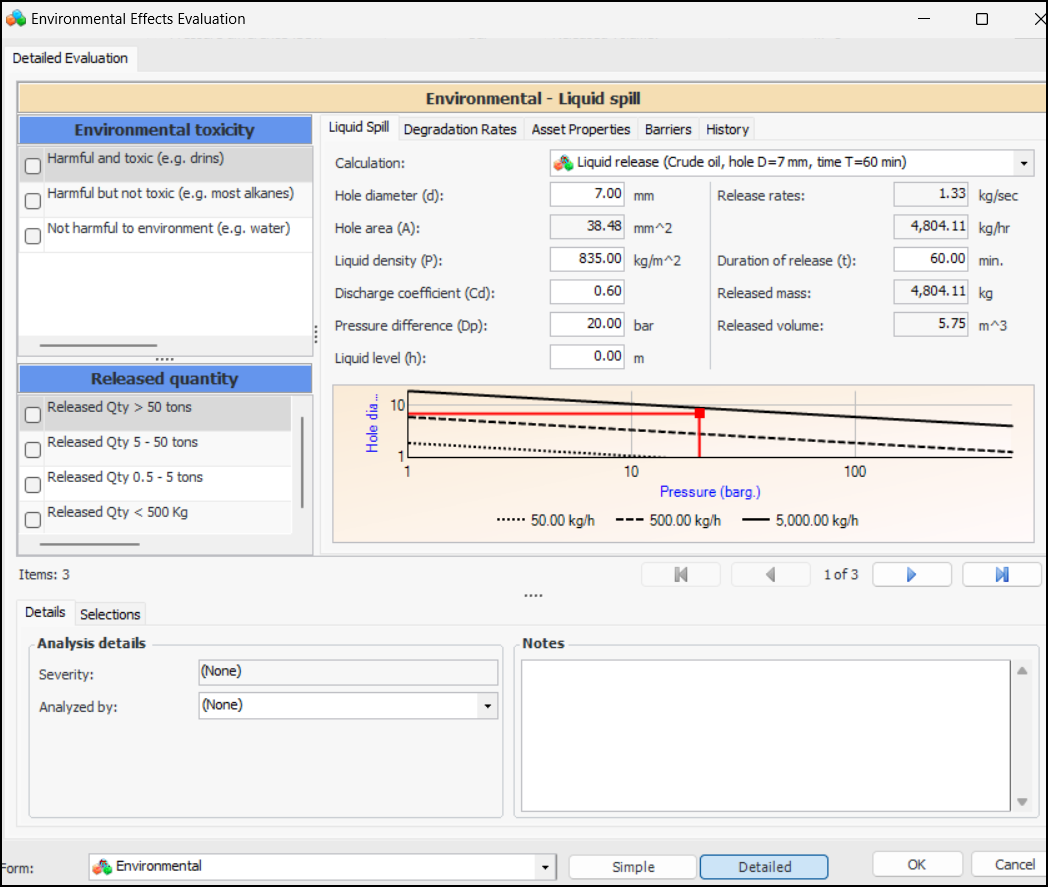
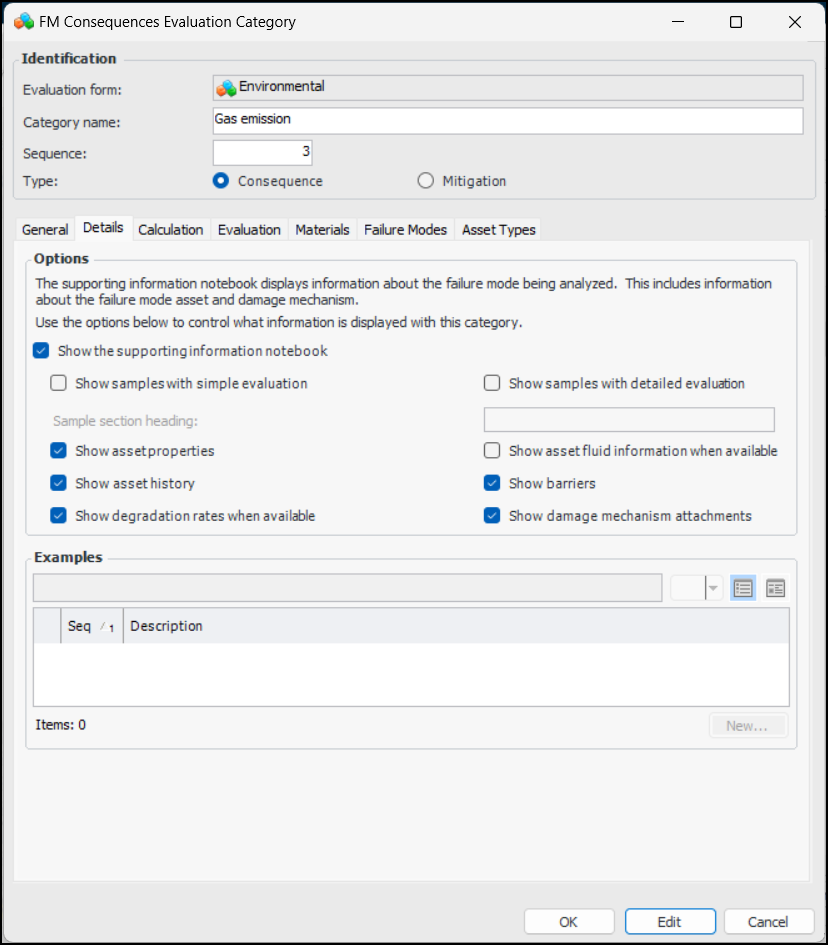
The analyst clicks Environmental to open the questionnaire:Tip: Evaluations can also be shown as “embedded” forms, meaning that the user opens the Maintenance Action Plan window, selects the Risk tab, and then selects options. This choice can be set in the risk options for the analysis, analysis type, or asset type.The analyst can refer to the Asset Properties, History, and Barriers tabs for information to aid in the evaluation, for example, historical inspections, failures, and work performed. APM provides this information automatically, based on the asset’s data. When designing the evaluation, you can add the Samples tab and provide examples. You can also choose to show asset fluid information, degradation rates, and calculations (Liquid release or flash calculation for LPG).If different evaluation types have been defined in the form, the analyst can select Simple or Detailed, as required by the complexity of the failure mode.As the analyst moves through the analysis, the Severity box displays the current calculation of severity based on the selections. The Selections tab displays the categories, selected statements, and the ranking.The analyst can select the team member performing the evaluation from the Analyzed by list and provide additional information about the analysis in the Notes box. Notes are collected and available in several locations.When the analyst completes the pop-up questionnaire and clicks OK, the evaluation form closes and the result (for example, slight effect or major effect) is selected in the risk matrix. For example:To Set up an Environmental Evaluation
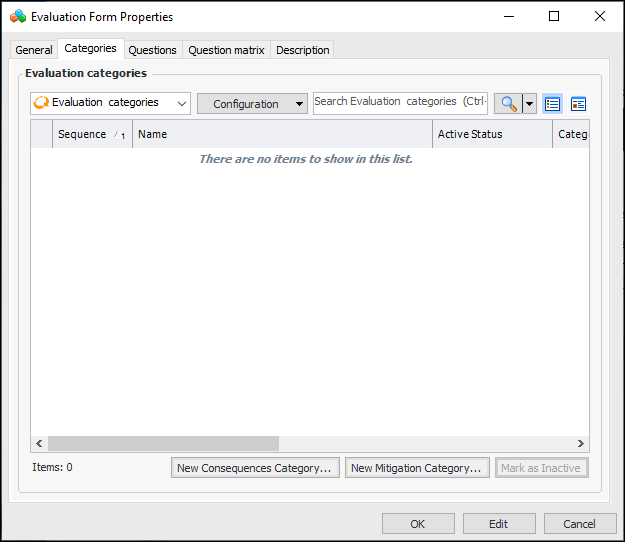
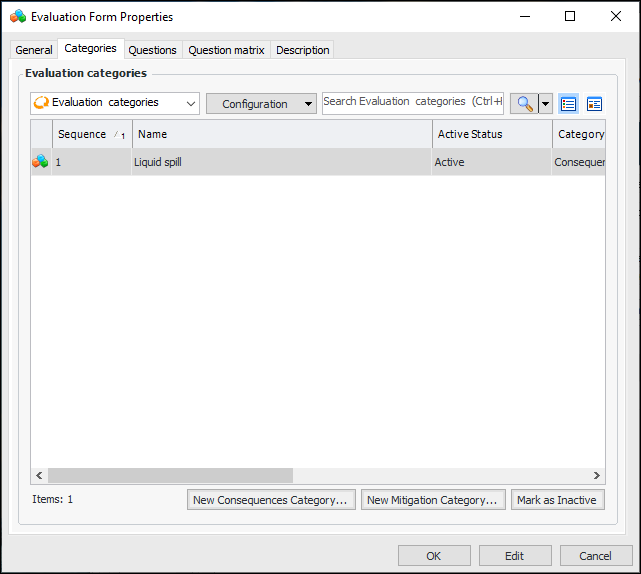
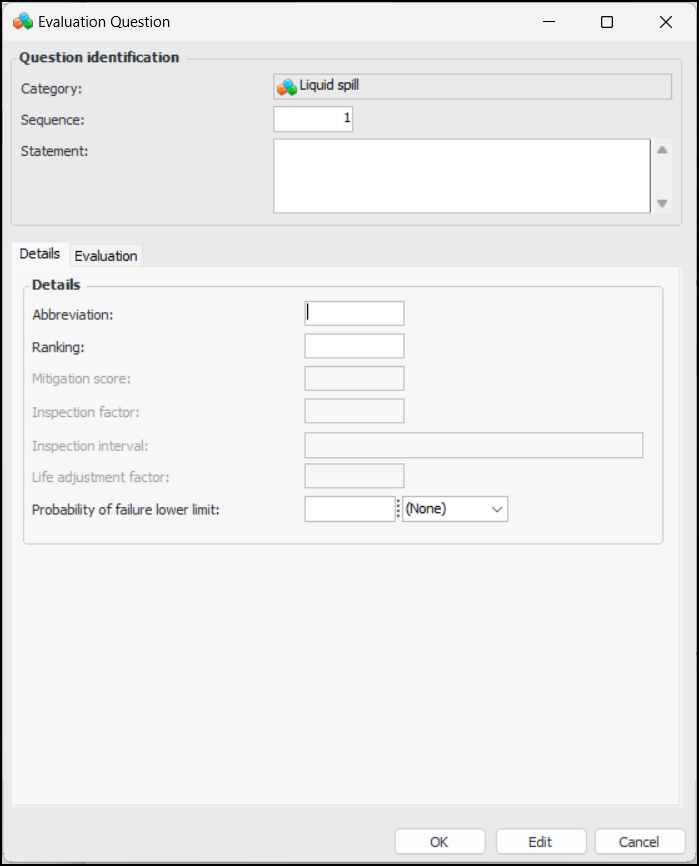
To Create Consequence Categories and Questions
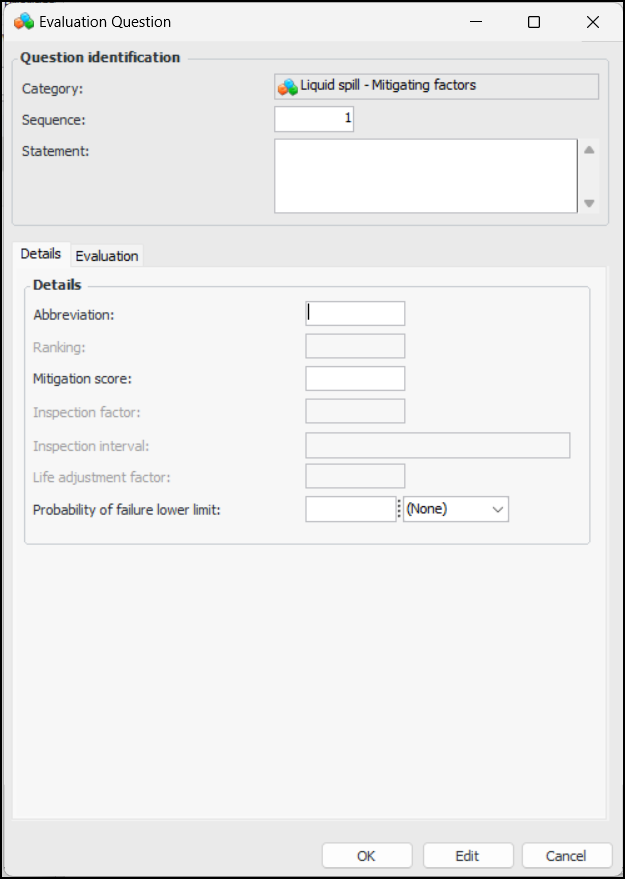
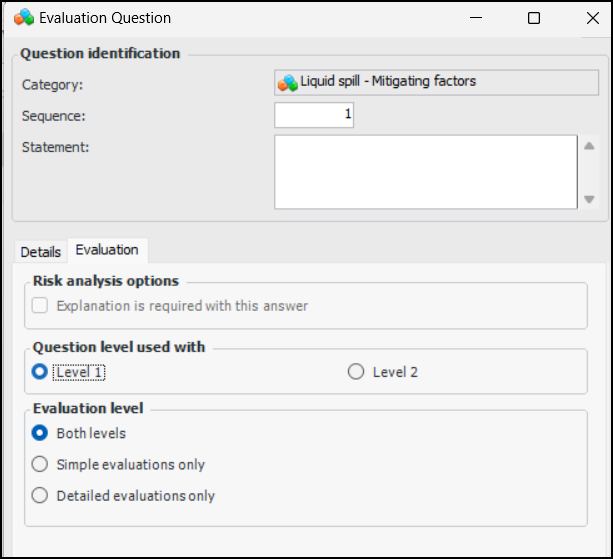
To Create Mitigation Categories and Questions