|
Setting up Project Tasks and Task Statuses
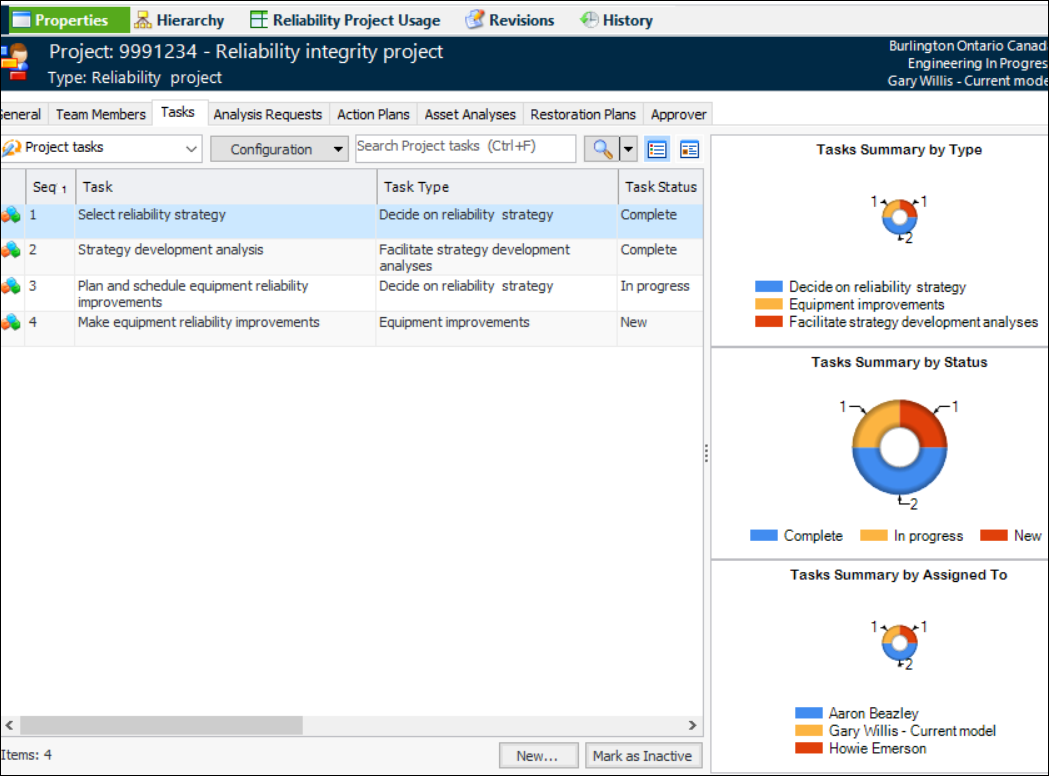
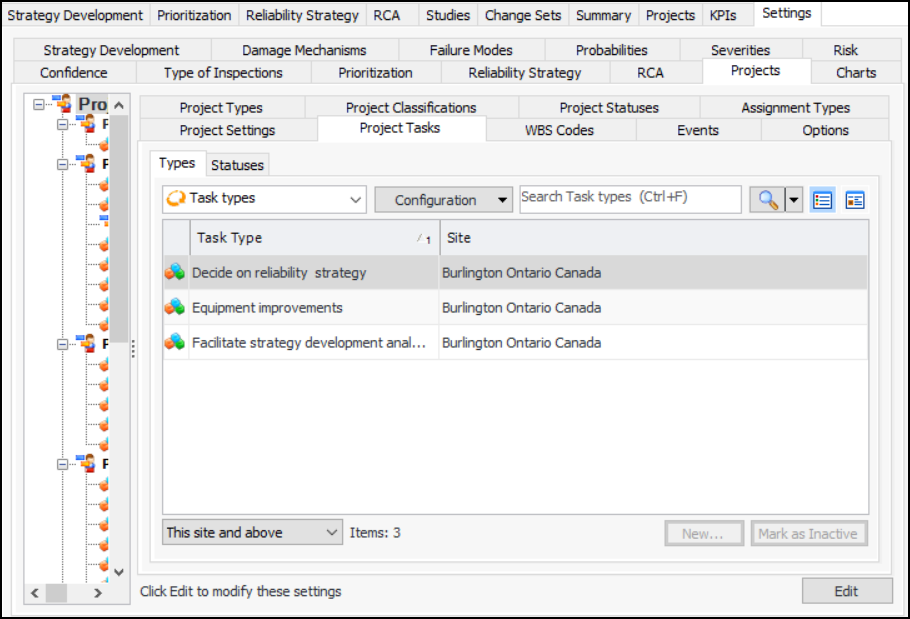
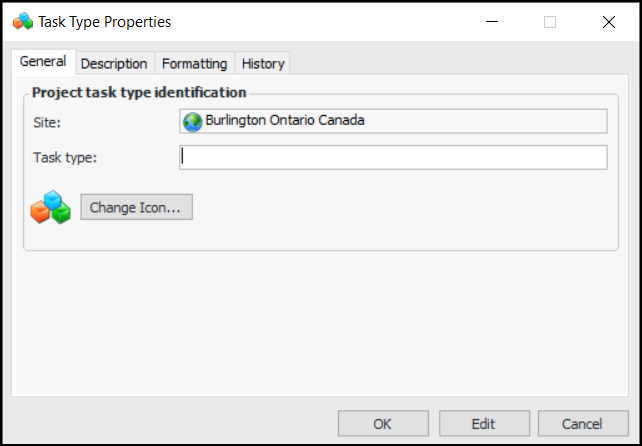
Note: This functionality is generally available. You must first enable feature 98 to use the functionality in APM. In the Enterprise window, select the Features view and the Enabled Features tab. Click Browse, select “Support for project tasks” and click OK. If APM is running as a smart client, click Refresh Enabled Features on the server. Then restart the client to use the functionality.You can select a project task when linking an object (for example, an analysis) to a project. You can also add tasks to a project in the Tasks tab in the Project window.To Set up a Project Task Type
1. From the Site window, select the Strategy Development view and the Settings tab. Select the Projects tab and the Project management settings node in the tree.Tip: You can also work with project settings in the Reliability Program, Performance Management, or Work Management views. Select the Settings tab and then the Projects tab.
2. Select the Project Tasks tab. This tab lists the task types for this site and above:You can mark a type as inactive until it is ready to be used. Select the type in the table and click Mark as Inactive. The Mark as Inactive/Active dialog appears, where you can enter a comment. When you click OK, a confirmation message appears. Click OK. When you are ready, click Mark as Active to make the type available for use.
3. Click New. The Task Type dialog appears:The Site box displays the current site.
5. On the Description tab, provide more information about the task.
6. On the Formatting tab, you can select the font, text color, and background color for the task type to define its appearance in tables and charts.
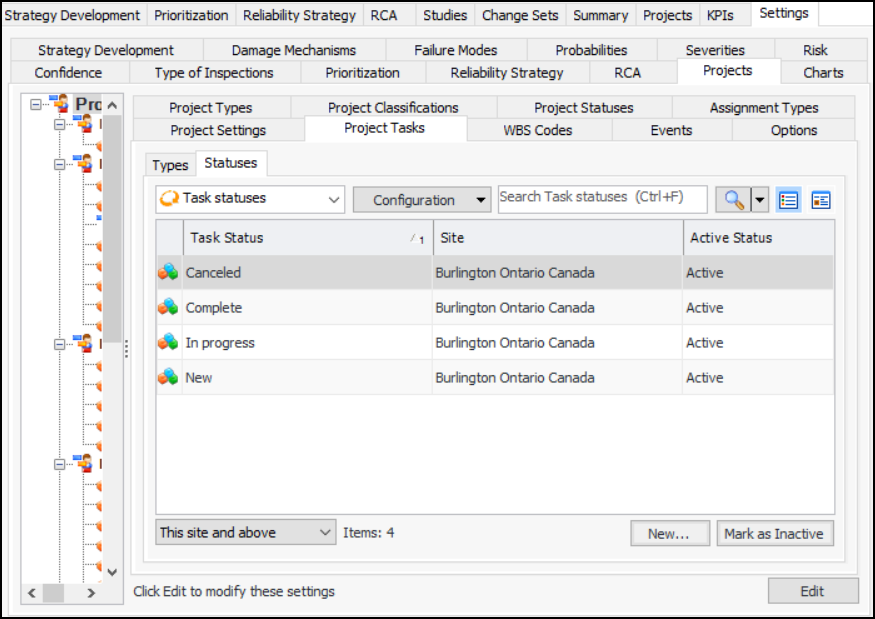
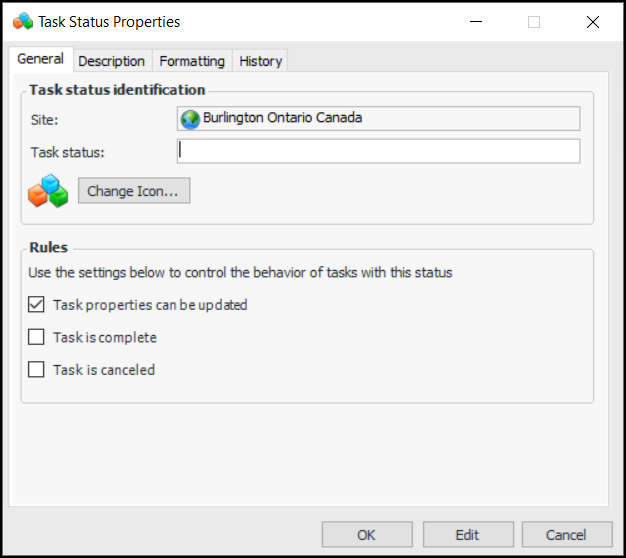
7.To Set up a Task Status
1. On the Project Tasks tab, select the Statuses tab. This tab displays the project task statuses for this site and above:You can mark a status as inactive until it is ready to be used. Select the status in the table and click Mark as Inactive. The Mark as Inactive/Active dialog appears, where you can enter a comment. When you click OK, a confirmation message appears. Click OK. When you are ready, click Mark as Active to make the type available for use.
2. Click New. The Task Status dialog appears:The Site box displays the current site.
4. In the Rules area, use the settings to control the behavior of tasks with this status:
• Task is complete – Task properties are read-only
• Task is canceled – Task properties are read-only
5. Select the Description tab to provide more information.
6. On the Formatting tab, you can select the font, text color, and background color for the task status to define its appearance in tables and charts.
7.