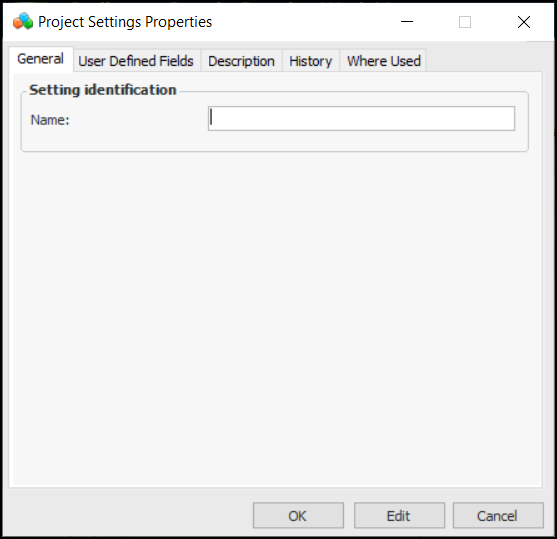
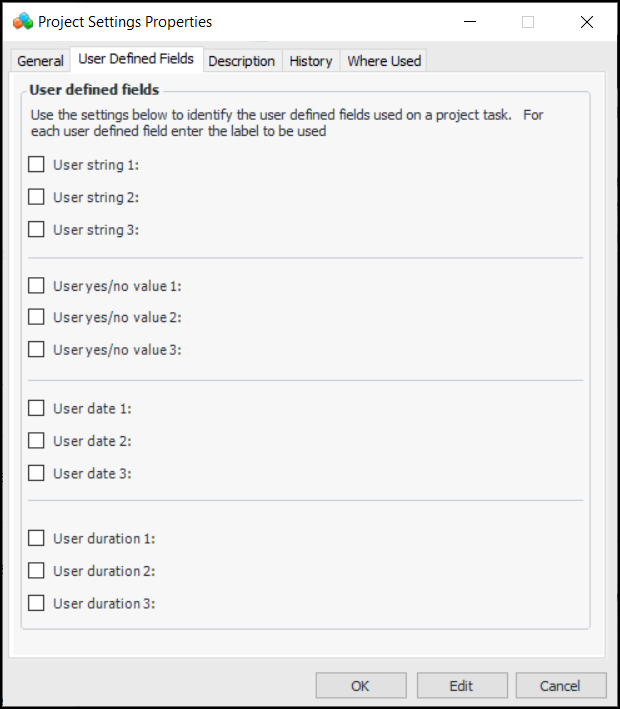
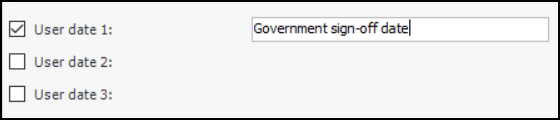
Setting up Project Settings Profiles

A project settings profile defines the fields that appear on project tasks, where users can record data. You can set up the fields and their labels to meet your organization’s requirements.
At the site level, you can select the project settings profile to be used at that site. The settings are then applied to each project task as it is created.
When defining a project settings profile, you can create up to three fields of each of the following types:
Here is an example of a project task, Details tab showing user-defined fields:
Setting up project settings involves creating one or more profiles and assigning one to the site. This topics explains how:

To Set up a Project Settings Profile

1.
From the Site window, select the Work Management view and the Settings tab. Select the Projects tab and the Project management settings node in the tree.
Tip: You can also work with project settings in the Strategy Development, Reliability Program, or Performance Management views. Select the Settings tab and then the Projects tab.
2.
Select the Project Settings tab. This tab lists the existing settings profiles. For example:
3.
Click New. The Project Settings Properties dialog appears:
4.
5.
Select the User Defined Fields tab:
6.
For each field you wish to define, click the check box for the type of data, for example, User date 1. A box appears next to the item. Enter the label that will appear in the project task. For example:
7.
On the Description tab, provide more information about the settings.
8.
Click OK. The task settings profile is displayed in the Project Settings tab.
Tip: You can return to the Project Settings Properties dialog and select the Where Used tab to see the sites that use the profile.

To Assign Settings to a Site

1.
On the Project Settings tab, click Edit. The tab opens for editing and the Edit button changes to Save.
2.
In the Settings used at this site list, select the settings profile. For example:
3.
Click Save.