|
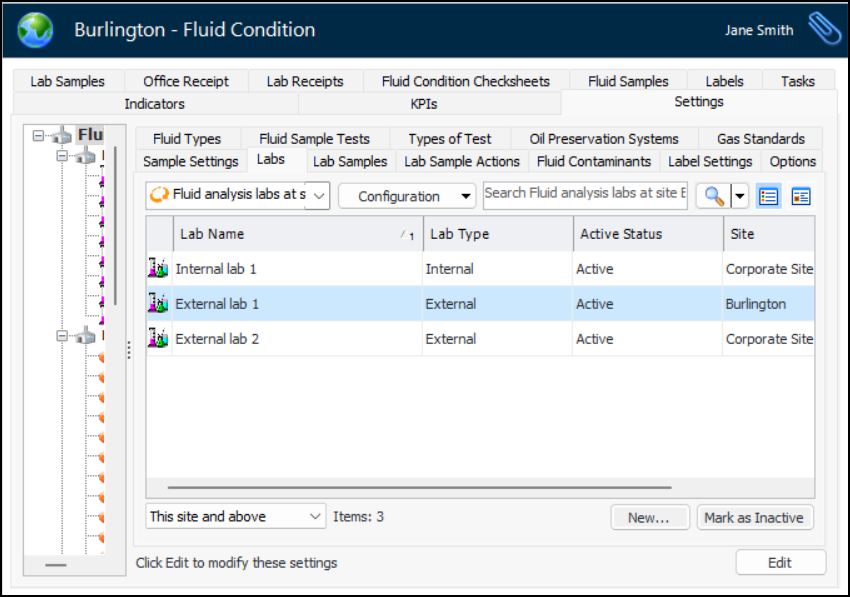
Setting up Fluid Analysis Labs
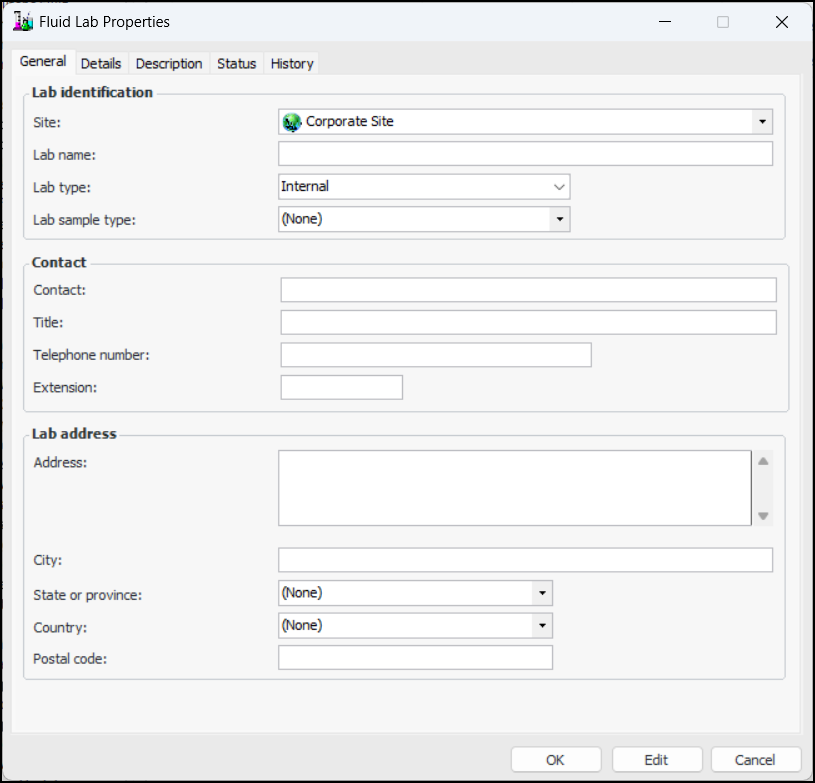
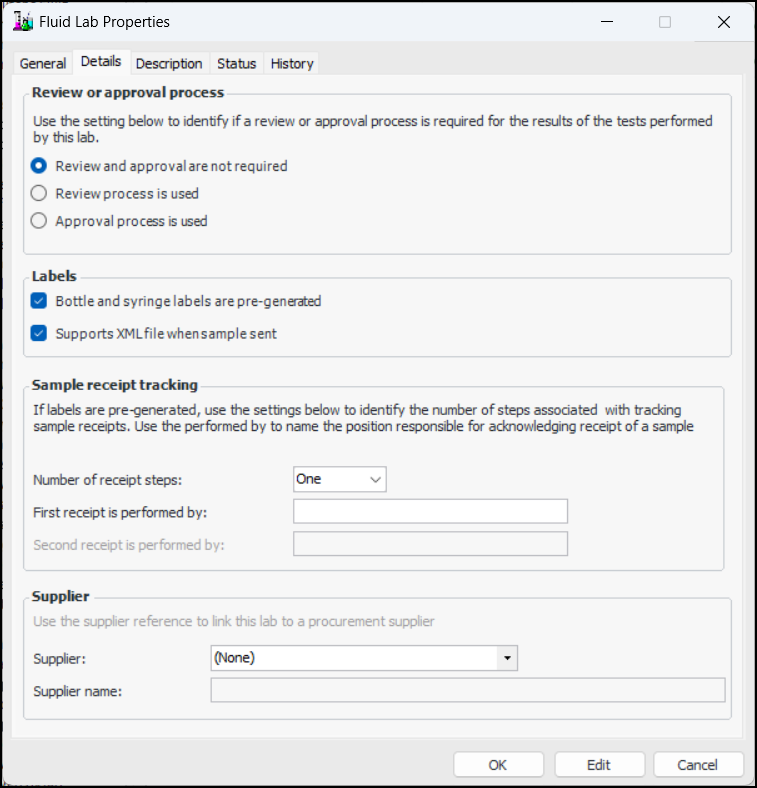
To Set up a Fluid Analysis Lab
1. From the Site window, select the Fluid Condition view, Settings tab. Select the Fluid Condition Settings node in the tree.Tip: You can also click the Administration menu and Fluid Condition Settings. The Fluid Condition Settings dialog appears.
2. Select the Labs tab. This tab lists the labs defined for the site and above. For example:You can mark a lab as inactive until it is ready to be used. Select the lab in the table and click Mark as Inactive. The Mark as Inactive/Active dialog appears, where you can enter a comment. When you click OK, a confirmation message appears. Click OK. When you are ready, click Mark as Active to make the lab available for use.
3. Click New. The Fluid Lab Properties dialog appears:
For more information, see Setting up Lab Sample Types.
5. In the Contact area, provide a contact name and the contact’s title, telephone number, and extension.
6. In the Lab address area, enter the street address, city, state or province, country, and postal or zip code for the lab.
7. Select the Details tab.
8. In the Review or approval process area, select an option for test result review or approval. The options are:
9. In the Labels area, select from the following options:
11. In the Sample receipt tracking area, if bottle and syringe labels are pre-generated, select “One” or “Two” for the number of receipt steps. (Number of receipt steps is set to “None” if bottle and syringe labels are not pre-generated.)
13. Select the Description tab to add more information.
14. When you are finished, click OK to close the dialog. The lab is added to the “Fluid analysis labs” table.