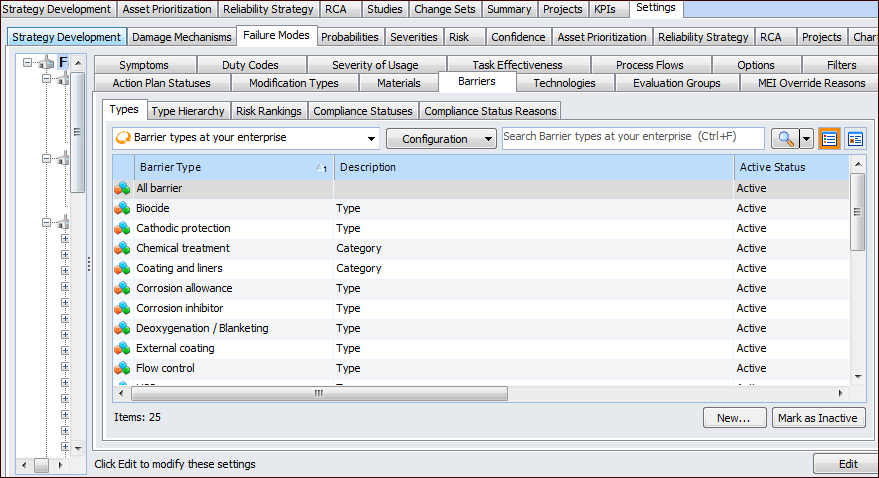
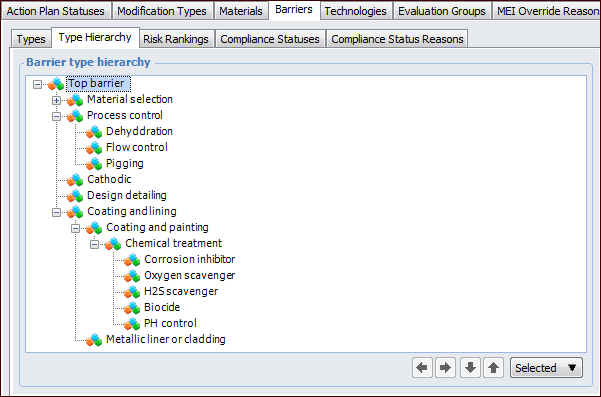
Setting up Barriers

A barrier is a means of slowing or mitigating asset degradation. For example, coating, lining, and chemical treatment are used to slow corrosion in metal piping.
You can define barrier types for use in degradation tracking on assets. Barriers can be added to assets directly or from failure modes in strategy development analyses. Setting up barriers involves adding barrier types, organizing them in a hierarchy, defining risk rankings, compliance statuses, and compliance status reasons.
Note: For barriers to be added to assets, the asset type must be set to allow barriers to be defined for it.
You can set up a hierarchy of barrier types for filtering and sorting data. For example, you could define a node in the hierarchy for Chemical Treatment and add child barriers for PH control and Biocide.
A barrier’s risk ranking identifies the relative severity of the problem that the barrier is meant to prevent or mitigate.
Barrier compliance statuses are used to indicate the degree to which the barrier is in place. The compliance status settings in APM are typically represented as amber (limited compliance), green (fully compliant) and red (not compliant).
The compliance status reason indicates why the barrier is or is not compliant. Examples are historical proof, inspection history, and coating not applied.
Tip: While you are setting up barriers, you can mark a risk ranking, compliance status, or reason as inactive until it is ready to be used. On the appropriate tab, select the item in the table and click Mark as Inactive. The Mark as Inactive window appears, where you can enter a comment. When you click OK, a confirmation message appears. Click OK. When you are ready, click Mark as Active to make the item available.
This topic explains how to create the barrier types, set up compliance statuses and compliance status reasons, and set options. See:

To Set up Barrier Types

1.
On the site’s Strategy Development view, select the Settings tab. Select the Failure Modes tab and the Failure mode settings node in the tree.
Tip: You can also select the site’s Administration menu, Strategy Development Settings, and then Failure Modes. The Failure Mode Management Settings dialog appears.
2.
Select the Barriers tab.
3.
On the Types tab, for each of the types your organization requires, click New. The Properties dialog appears.
4.
On the General tab, provide information about the barrier type:
5.
Select the Hierarchy tab to view the barrier type’s position in the hierarchy.
Tip: Once the barrier type is in use, you can open it and select the Usage tab to view the assets associated with it.
6.
Click OK to close the Barrier Type Properties dialog. The barrier type is added to the Types tab.
7.
On the Barriers tab, select the Type Hierarchy tab to view and adjust the hierarchy using the arrow keys. For example:
Tip: You can use the arrow keys to change the position of types in the tree. You can also select a type and open the Selected list to perform actions such as copying, creating child and peer types, and inserting types into the hierarchy.

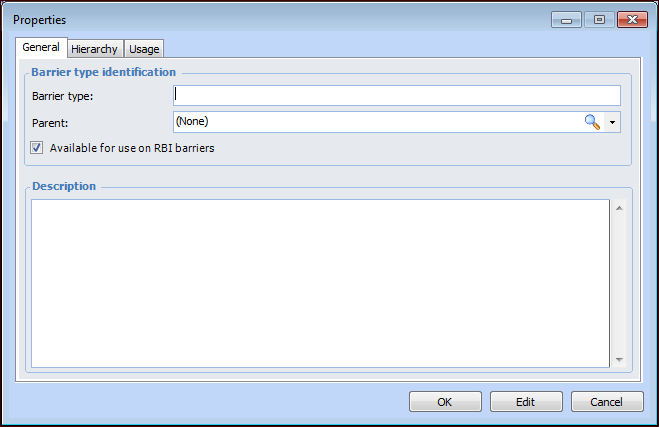
To Set up Barrier Risk Rankings

1.
On the site’s Strategy Development view, select the Settings tab. Select the Failure Modes tab and the Failure mode settings node in the tree.
Tip: You can also select the site’s Administration menu, Strategy Development Settings, and then Failure Modes. The Failure Mode Management Settings dialog appears.
2.
Select the Barriers tab and then the Risk Rankings tab.
3.
For each of the rankings your organization requires, click New. The Barrier Risk Properties dialog appears.
4.
5.
6.
To select a different graphic for the ranking, click Change Icon, select a different image, and click OK.
7.
In the Row and chart formatting area, you can set options for displaying risk rankings:
Click the Text color list to open the color palette and select a color.
Click the Back color list to open the color palette and select a back color.
8.
In the Description box, provide additional information about the ranking.
9.
Click OK. The dialog closes and the ranking is added to the table.

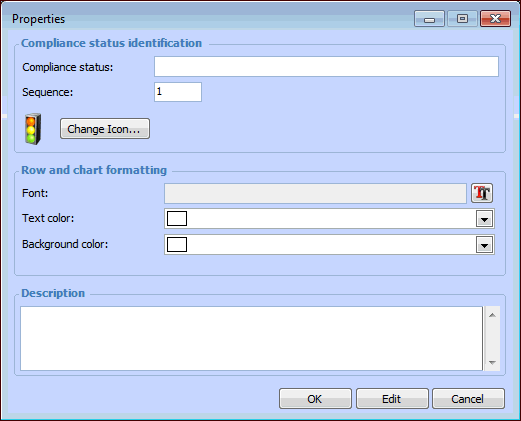
To Set up Compliance Statuses

1.
On the site’s Strategy Development view, select the Settings tab. Select the Failure Modes tab and the Failure mode settings node in the tree.
Tip: You can also select the site’s Administration menu, Strategy Development Settings, and then Failure Modes. The Failure Mode Management Settings dialog appears.
2.
Select the Barriers tab, then the Compliance Statuses tab.
3.
4.
5.
To select a different graphic for the status, click Change Icon, select a different image, and click OK.
6.
In the Row and chart formatting area, you can set options for displaying compliance statuses:
Click the Text color list to open the color palette and select a color.
Click the Back color list to open the color palette and select a back color.
7.
In the Description box, provide additional information about the status.
8.
Click OK to close the properties dialog. The status is added to the Compliance Statuses tab.

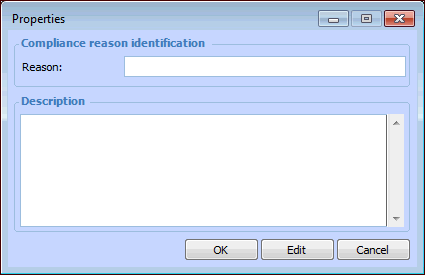
To Set up Compliance Status Reasons
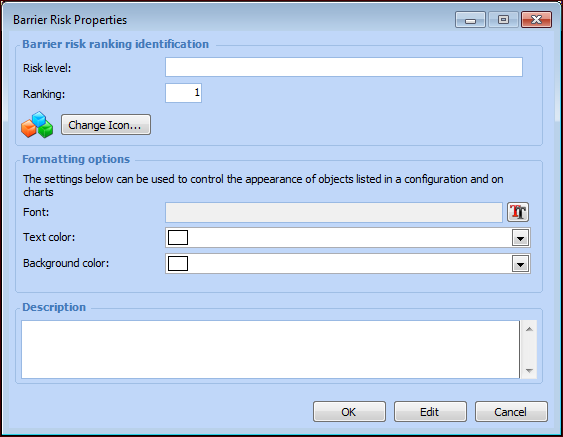
1.
On the site’s Strategy Development view, select the Settings tab. Select the Failure Modes tab and the Failure mode settings node in the tree.
Tip: You can also select the site’s Administration menu, Strategy Development Settings, and then Failure Modes. The Failure Mode Management Settings dialog appears.
2.
Select the Barriers tab, then the Compliance Status Reasons tab. The compliance status reason indicates why the barrier is or is not compliant. Examples are historical proof, inspection history, and coating not applied.
3.
4.
5.
Click OK to close the dialog. The reason is added to the Compliance Status Reasons tab.